

Leaks & Service Repairs

757-399-3066 ext 3 (Leaks & Service Repairs)

Reroof Estimates & Inspections

757-399-3066 ext 1 (Reroof Estimates & Inspections)

News

Navigating Hampton Roads HOA Rules Before You Replace Your Roof

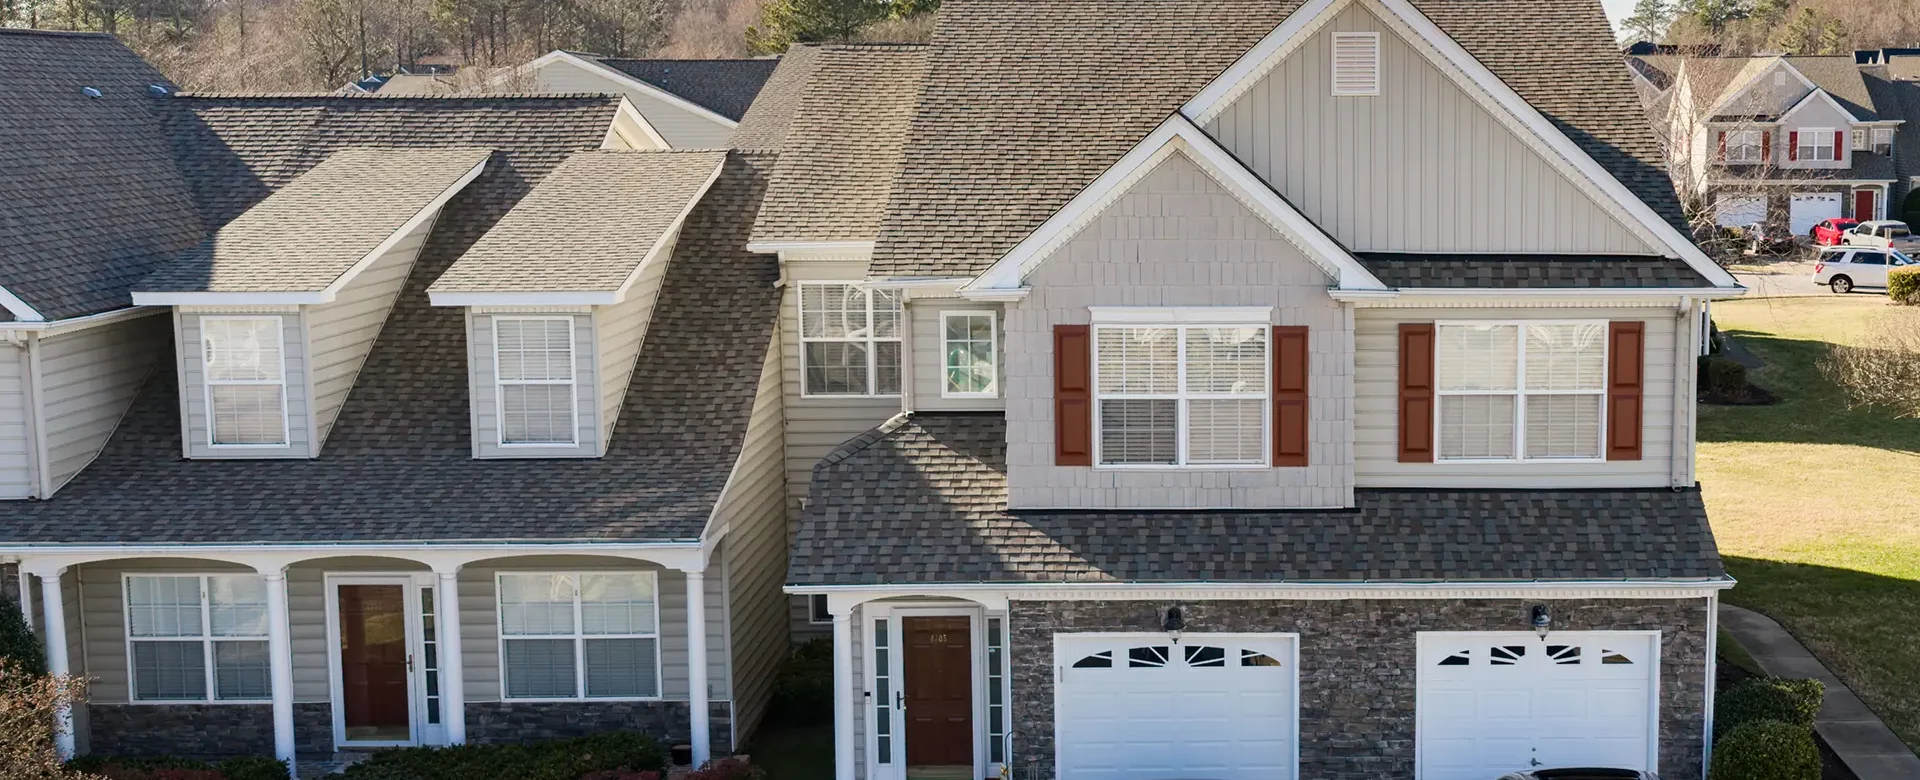
If you live in a community with a homeowners association, replacing your roof involves more than picking a shingle you like and scheduling a crew.

Across the Tidewater region, plenty of neighborhoods have architectural guidelines that govern what your new roof can look like and skipping that step can cost you far more than a fine. Here’s what tends to be true across Hampton Roads HOAs, and what to check before you get too far into planning.

Get Approval Before Work Begins

Virginia’s Property Owners’ Association Act gives HOAs the authority to set design guidelines for exterior changes, and roof replacement almost always falls under that umbrella. What catches homeowners off guard is the order of operations. Even when you’re covering the full cost of your own roof, many associations require sign-off from an architectural review committee before a single shingle comes off. It’s easy to assume that because you’re the one paying for it, it’s your call. In HOA communities, it usually isn’t, at least not entirely.

What guidelines typically cover

Every community writes its own rules, but a few categories show up again and again:

  • Color, often specified as an approved color family rather than one exact shade
  • Material type, with architectural shingles frequently required over older three-tab styles
  • Specific product lines or manufacturers, in communities with an approved materials list
  • Contractor qualifications, occasionally requested as part of the approval submission

The guidelines have to be written down somewhere and available to homeowners. If you’re not sure what applies to your property, you can request a copy of your governing documents, and Virginia law generally requires associations to provide them within a set window after a written request, commonly cited as ten to thirty days.

Skipping Approval Can Be a Big Risk

The coastal exposure Hampton Roads communities have raises the stakes for HOA paperwork. Because we sit in a higher wind and hurricane risk zone, some communities’ guidelines have requirements for wind rating or impact resistance in addition to color and material. That means a homeowner focused purely on aesthetics could choose a shingle that looks approved but doesn’t actually meet the association’s performance standard, which is an easy thing to miss if you’re not reading the fine print.

And the consequences of skipping the process aren’t limited to a sternly worded letter or dirty looks from the HOA President. If a finished roof doesn’t match what was approved, whether that’s the wrong color, the wrong material, or simply a case of never submitting for approval at all, an HOA can require the homeowner to redo it and bring it into compliance at their own expense. Nobody wants to pay for two roofs, plus the fines and potential liens that can pile up if it drags out.

The Historic Layer

A quick note for homeowners in parts of Norfolk and Portsmouth: some neighborhoods, like Ghent, Colonial Place, and Olde Towne, fall under historic district overlays that add a separate layer of review beyond a standard HOA. That’s a bigger topic on its own, and one we’ll cover in more depth in a future post, but if your home sits in one of these areas or another historic neighborhood, it’s worth knowing that HOA approval and historic district approval aren’t always the same conversation.

Start with the paperwork, not the shingles

Before you call a roofer, pull your HOA’s governing documents and look for the sections on exterior modifications, roofing materials, and the architectural review process. Having that information ready when you request a quote means your contractor can spec out a proposal that’s actually approvable, rather than submitting something that gets sent back and delays your project by weeks.

If you’re planning to sell down the road, this step matters even more. Virginia requires HOAs to include architectural guidelines and any approvals on file in the resale disclosure packet, so a roof that was never properly approved can become an ugly surprise at closing.

At Andrews Roofing, we’ve walked plenty of Hampton Roads homeowners through this process, and we’re happy to help you figure out what your HOA needs before we dive into the details. Contact us today to get started.
read more

Everything You Need to Know About Roofing Tie-Ins

If you’ve ever added on to your home or shared a roofline with a neighbor, you may have run into a common roofing challenge: the tie-in. A tie-in is any spot where one section of roofing connects into another, whether that’s where two sections of the same material meet (hopefully without a visible seam), or where two completely different materials join together at a transition point. These connection points are not simple carpentry, and getting it right takes skill and experience to avoid leaks, drainage problems, and repairs down the road. In Hampton Roads, humidity, heavy rain, hurricanes and nor’easters are constantly putting homeowners’ roofs to the test, so something like a poorly executed tie-in can become a major issue quickly and dramatically.

Home Additions

One of the most common place homeowners run into a tie-in is when they add on to their house. A new front porch, a rear sunroom, a bedroom expansion, all of these need their roofing connected to the existing roof, and that connection point is critical.

Sometimes the approach is straightforward if the addition is roofed in the same shingle style as the main house. A skilled crew can blend the new material into the old with a clean, watertight transition. But an addition might call for a different material altogether, like metal or a membrane roof on a flatter section, in which case, the tie-in will require a different approach.

Flat roof additions using TPO or metal have their own manufacturer specs for how that material should be flashed and sealed where it meets shingle roofing, and skipping those specs is a common source of future leaks.

Because matching old and new materials (or even old and new shingles that may have weathered differently) can be such a challenge, many homeowners choose to reroof the entire house, addition included, at the same time. If the main roof is nearing the end of its lifespan, it may be worth considering a new, uniform roof that works together from day one and isn’t aging at different paces.

Shared Rooflines

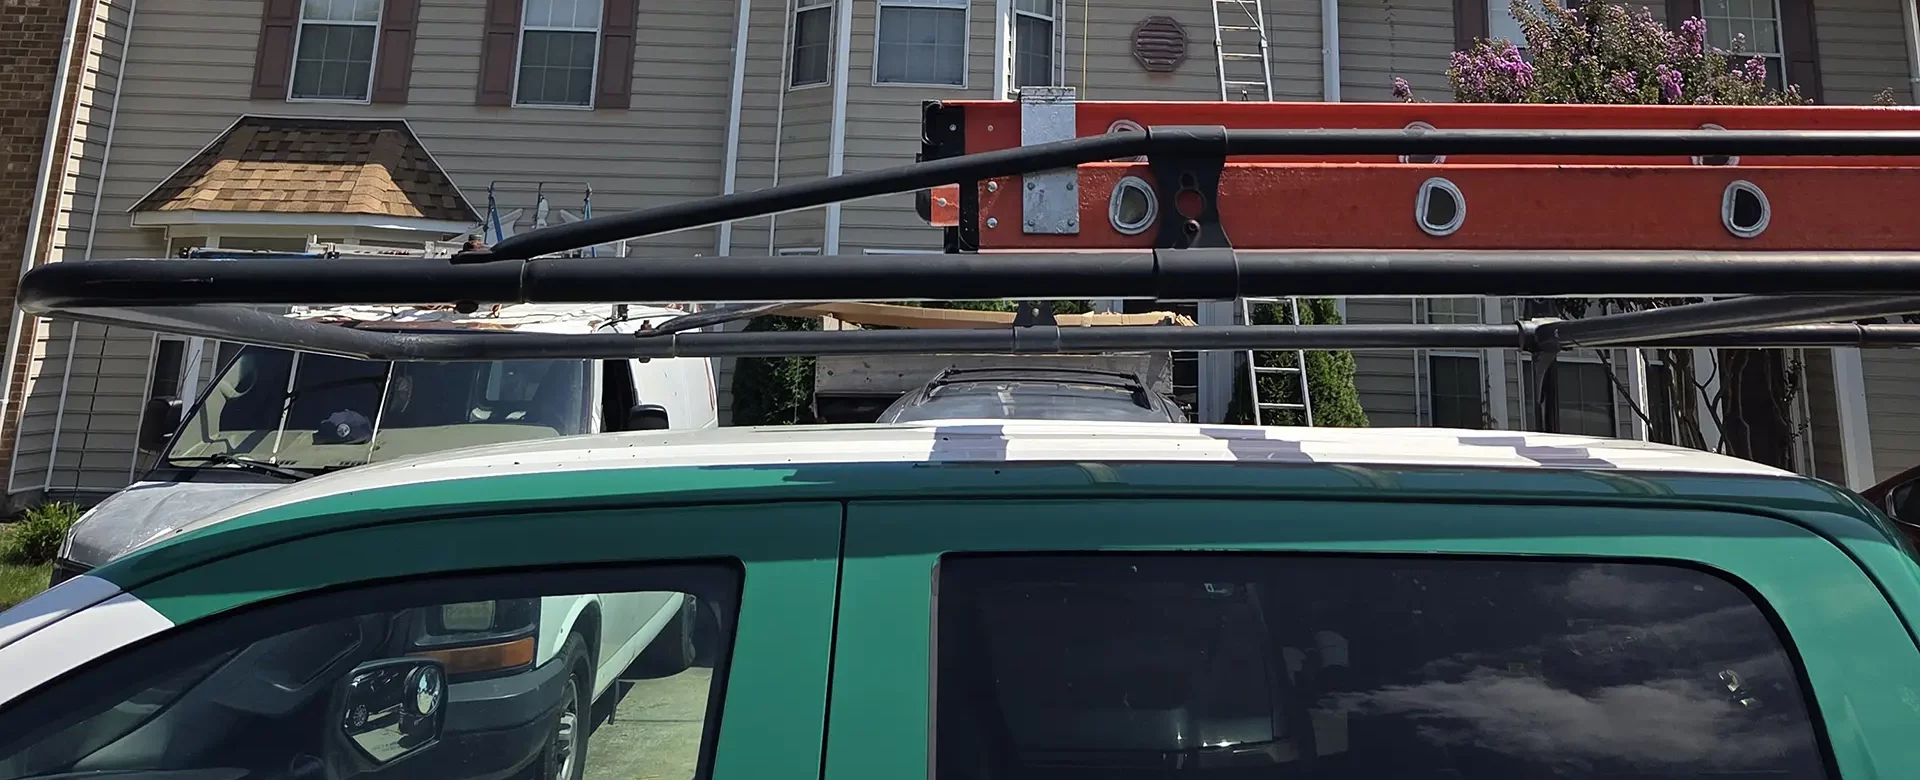
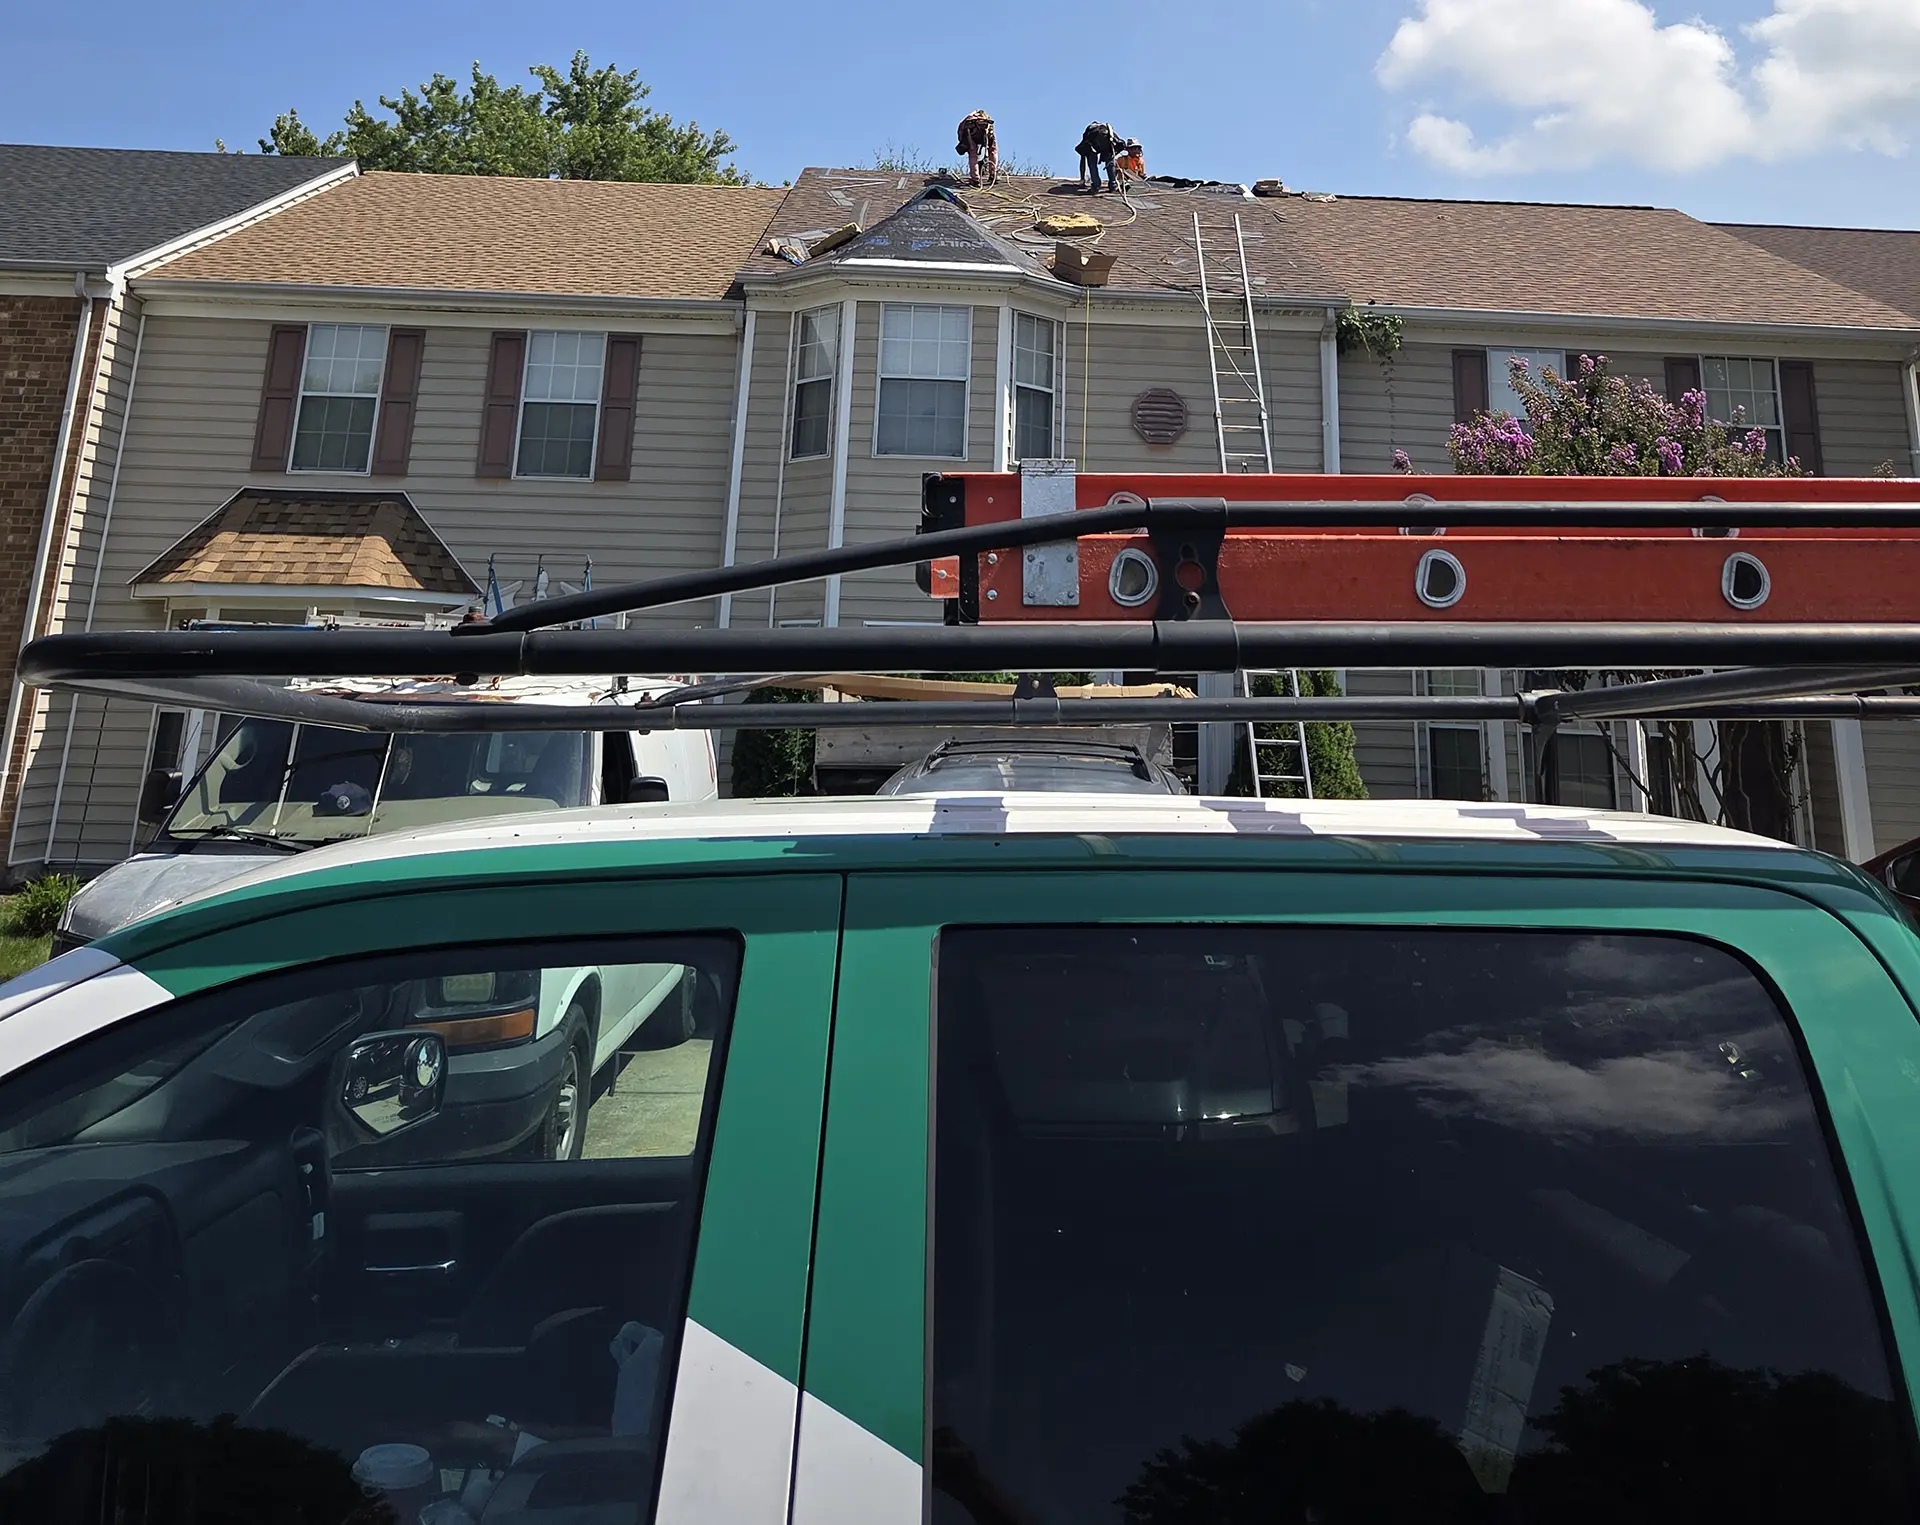
Tie-ins get even more complicated when two separate homeowners share the same roof structure, which is common with townhomes in Virginia Beach and Chesapeake or even older and historic rowhouses in Norfolk and Portsmouth. In these cases, the roofing may run continuously across both or several units with no visible line where one owner’s roof ends and the neighbor’s begins.

This shared structure creates a unique problem when something goes wrong. A leak you’re seeing in your ceiling or walls may actually be originating somewhere on the neighbor’s side of the roof and traveling across the shared line. This can obviously create some cooperation problems. If the leak’s source sits on the neighbor’s portion of the roof, that neighbor needs to be involved in the repair, and not everyone is equally willing or able to pitch in for a repair right away (especially if they’re not experiencing the downsides of it). A homeowner who’s ready to move forward can find themselves stuck waiting on someone else’s schedule, budget, or willingness to cooperate, even though the water damage is happening on their side.

Commercial Material Tie-Ins

Tie-ins aren’t just a residential issue. Commercial buildings, particularly those with membrane roofing, run into them too, usually when only a portion of the roof needs replacing rather than the whole system. Manufacturers publish specific installation guidelines for exactly how a membrane roof section should be removed and how the new material should be reinstalled and sealed where it meets the existing roof. Following those specs closely is what keeps the whole system watertight.

How To Do Tie-Ins Right

Whether it’s residential or commercial, metal, asphalt shingle or any other material, the tie-in is an important detail that you probably haven’t thought much about. While it’s common in construction to transition from one roofing material to another, or to work new roofing into a previous install, it still takes careful attention to manufacturer specs, an understanding of how water moves across a roofline, and experience with the specific materials involved.

It’s not uncommon for us to get service calls that trace back to a tie-in that wasn’t handled quite right, especially after a home addition. A tie-in that’s properly flashed, sealed, and integrated will protect the new section of roof and the entire roofing system it’s connected to. If you’re planning an addition, dealing with a shared roofline situation, or noticing a leak near where two roof sections meet, give us a call. We have decades of experience in Hampton Roads homes, and can provide the best solutions for your budget and situation. Contact Andrews Roofing today.

read more

Seven Reasons that Leak May Not Be Your Roof’s Fault

When you spot a water stain on the ceiling, your first thought is probably that your roof has a leak which is a reasonable assumption and often correct.

But a surprising number of leaks in Hampton Roads homes and businesses trace back to something other than a failed shingle, membrane, or flashing system.

Practically, however, you should still call a professional roofer first. Diagnosing a leak takes training and experience, and a reputable company will tell you exactly what they find, even when the answer is “it’s not us” or “we can’t help you.” Understanding some of the other common leak sources can help you go into that conversation informed, and it can save you time if the fix ends up requiring a different kind of specialist. Here are seven reasons why your roof might not be the problem.

Gutters and Drainage

Water can enter your house in more ways than one, and it’s not always because of a hole or puncture. Overflowing gutters at the eaves are one of the most common non-roof leak sources. When gutters clog with leaves and debris, or when they’re installed incorrectly, water backs up and spills over the edge instead of flowing through the downspouts. That water then runs down your siding, seeps behind fascia boards, or pools against your foundation. Inside the house, it can show up as a stain on your exterior walls or ceiling corners, which makes it easy to mistake for a roofing problem.

The fix is often as simple as a thorough gutter cleaning and a check of the gutter’s pitch, hangers and downspouts. A roofing company can usually handle this directly, since gutters and roofs work as a system.

Debris Buildup on the Roof Surface

Shingle roofs are designed to shed water quickly, but that’s only if there’s a clear path. Piled-up leaves, pine needles, and other debris in valleys or along the roofline can dam up water and force it to sit rather than drain. Standing water on a shingle roof, even for a short time, increases the odds it finds a way underneath the shingles through a seam or a nail hole that would otherwise never be an issue.

This issue comes down to maintenance, rather than repair. Regular debris removal, especially after the fall when the leaves have dropped, or after a big storm, keeps water moving the way it’s supposed to.

Rooftop AC Units

Commercial buildings and some homes with rooftop-mounted HVAC equipment have a built-in leak source in their heating and cooling system’s condensate lines and drain pans. AC units generate a lot of condensation, which is why it has a built in system for expelling that water. However, if a condensate line is clogged or a drain pan has rusted through, water can pool right on the roof surface or drip directly into the building.

This is a case where a roofing company usually can’t fix the issue alone, and an HVAC company will need to be called in. What a roofer can do is inspect and repair the roofing membrane or flashing around the unit in the event that it’s been damaged from the water exposure. Best results usually come from the two trades coordinating rather than working in isolation.

Inadequate Attic Ventilation

Not all “leaks” come from the outside! Sometimes it’s moisture that never left. Attics with poor ventilation trap warm, humid air, especially here in Hampton Roads where summer humidity is no joke. That trapped moisture condenses on the underside of the roof deck and drips down, mimicking the signs of a leak, even when the roofing system is in perfect working order.

A roofing company can evaluate whether your attic has enough intake and exhaust ventilation and recommend upgrades like ridge vents, soffit vents, or additional attic fans. This repair or upgrade will usually fall under a roofing company’s purview, since they’re well trained in ventilation and how to improve it.

Chimneys, Pipes, and Penetrations

Anywhere something pokes through your roof is a potential entry point for water, and in this case a roofing company should be able to handle the fix. Flashing around chimneys, plumbing vent pipes, and other penetrations can come loose, or even rust out and wear down over time, creating one of the most common actual roof-related leak points. Often homeowners assume leaks that pop up around their fireplace and chimney are caused by cracked masonry or a bad cap, but often the culprit is actually the flashing where the chimney meets the roof deck. A mason may need to get involved if the chimney structure itself has cracks or deteriorating mortar joints. But the flashing repair is standard roofing work.

Siding, Window Seals, and Dormers

Water doesn’t care if the opening is in the roof, window or wall. Failed or damaged caulking around window seals, gaps in siding, or bad dormer flashing can all let water in above the ceiling line, which makes it look exactly like a roof leak from inside the house. Dormers are especially tricky because they combine roof, wall, and window elements in one small area, giving water multiple potential entry points. Depending on what’s found, you may need to call in a siding or window company. A good roofer will tell you clearly where the roofing system ends and where another trade’s scope begins.

Believe It or Not: Bullet Holes

It may sound unbelievable, but it happens more often than you’d think, particularly on commercial flat roofs. If a membrane roof experiences a small, isolated leak, it is occasionally (but more than once in our experience!) because of a bullet lodged in the membrane from a stray round fired somewhere in the surrounding area. The good news is these are usually simple, inexpensive fixes once identified. While an unusual leak diagnosis, it’s not impossible. Fortunately, a roofing company with experience in commercial roofing materials should be able to patch it up in no time.

Leave the Diagnosis to the Professionals

If you’ve got a leak, call a professional roofing company first. A reputable contractor will inspect thoroughly and tell you honestly what they find, whether that’s a roofing repair, a referral to another trade, or a case where both need to work together. Don’t be surprised if the answer isn’t what you expected. Sometimes “it’s not your roof” is good news, since gutters, ventilation, and window seals are often quicker and less expensive fixes than a roofing repair would be. But no matter what you think the cause is, stay safely on the ground and let the professionals figure it out.
If you’re dealing with a leak anywhere in Hampton Roads, contact Andrews Roofing today. We’ll get to the bottom of it, even if the answer isn’t us.

read more

The Truth About Metal Roof Noise and Condensation

You may have heard people complain that metal roofs are noisy in the rain or prone to condensation dripping inside the attic, but the reality is actually more interesting. Those complaints almost never come from the metal panel itself. They come from how the rest of the roofing system was designed and installed around it.

For homeowners here in Hampton Roads, where humidity is unavoidable not just in the summer but throughout the year, understanding the real cause of these issues matters. Because tackling the true underlying issues can be the difference between a solid, long-lasting roof or a recurring headache.

What Actually Causes Condensation

Condensation isn’t a metal problem. It’s a physics problem, and it shows up on any surface, metal or otherwise. Think about a cold glass of iced tea sweating on a summer porch. The same thing happens on a roof: when warm, humid air inside a building reaches a surface that’s colder than the dew point, moisture condenses out of the air and onto that surface.

In a house, that surface is usually the underside of the roof deck. If the attic isn’t properly ventilated or insulated, humid indoor air rises, hits a cold roof surface on a chilly night, and condensation forms. That can happen under asphalt shingles just as easily as under metal. The panel material has nothing to do with it.

Three Ways to Keep It from Happening

Controlling condensation comes down to managing three things:

  • Reducing indoor humidity so there’s less moisture in the air to begin with.
  • Ventilating so humid air has a path out of the attic or roof assembly before it can condense.
  • Insulating so the underside of the roof deck never gets cold enough to hit the dew point in the first place.

One increasingly common approach on metal roofs is a small, ventilated gap between the roof deck and the panel itself, sometimes called above-sheathing ventilation. It lets air move underneath the panel, drawing cooler air in low and pushing warm, moist air out high, which keeps the deck from ever holding onto trapped moisture. It’s a detail worth asking about if you’re considering a metal roof, regardless of which manufacturer’s panels your contractor uses.

Thermal Bridging Isn’t a Metal Issue Either

If you’ve been researching roof replacements, you may have heard the term “thermal bridging.” It refers to any spot where heat (or cold) has a direct path through a roof assembly, usually because insulation is thin, compressed, or interrupted by framing. It happens in every type of roof. In fact, next time there’s a hard frost, look at an asphalt shingle roof in your neighborhood. If you can see faint outlines of the rafters through melted frost patterns, that’s thermal bridging in action, and there’s no metal involved at all. In other words, it’s a framing and insulation issue, not a panel issue.

What About the Noise?

This one’s simple: on a properly insulated, fully decked roof, rain on metal sounds about the same as rain on any other roofing material. The perception that metal roofs are loud usually traces back to old barns or farmhouses with a single layer of exposed metal and no insulation underneath which is a completely different assembly than what goes on a modern home. Add fibrous insulation and a solid deck, and the sound difference is negligible. Standing seam systems, which use concealed clips rather than exposed fasteners, add another layer of quiet by reducing vibration transfer into the structure.

Where Metal Roofs Actually Go Wrong

If condensation or noise complaints show up after installation, it’s rarely the material’s fault. It’s almost always a corner that got cut somewhere along the way: a skipped strip of vapor barrier tape, insulation that got compressed or gapped over a framing member, or a ventilation detail that got value-engineered out during construction. These are small decisions made in the field, and they’re exactly where roof performance is won or lost.

The Takeaway

A metal roof isn’t inherently loud or prone to sweating any more than any other roofing material. What matters is the full system around it: how it’s insulated, how it’s ventilated, and how carefully it’s installed. That’s true whether you’re comparing standing seam panels, architectural shingles, or anything in between.

If you’re weighing a metal roof for your home or commercial building in Hampton Roads, Andrews Roofing can walk you through the insulation and ventilation details that actually determine how your roof performs, not just what it’s made of. Contact us today to talk through your options.

read more

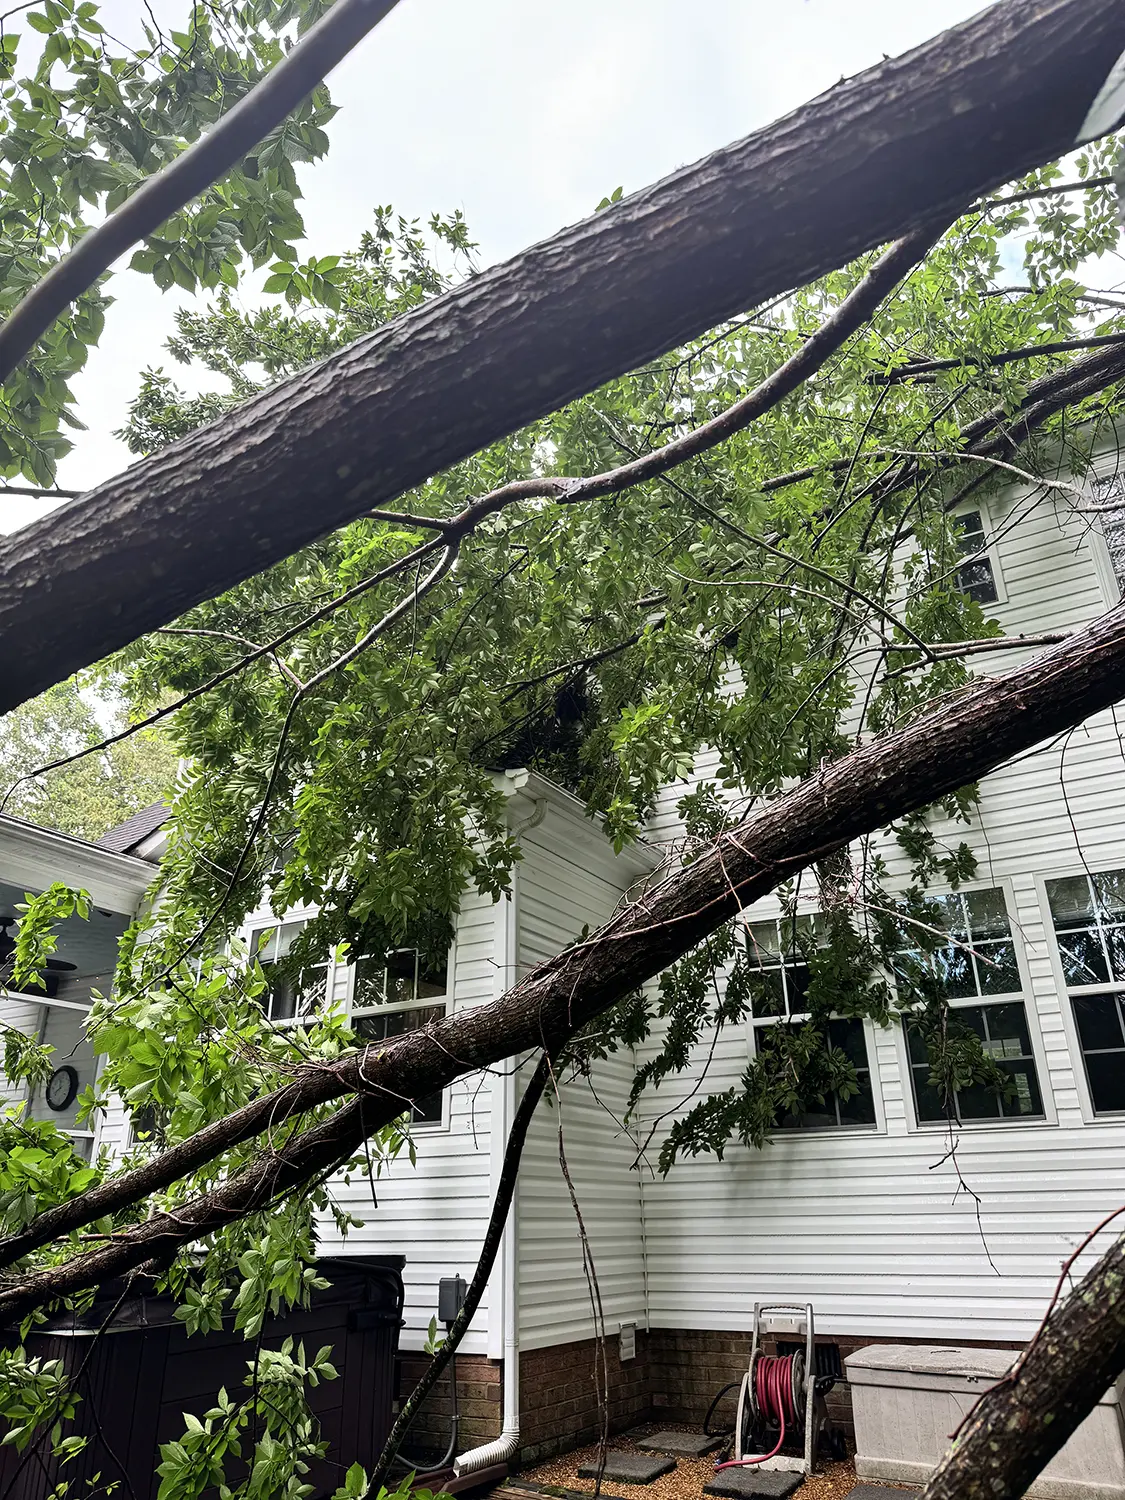
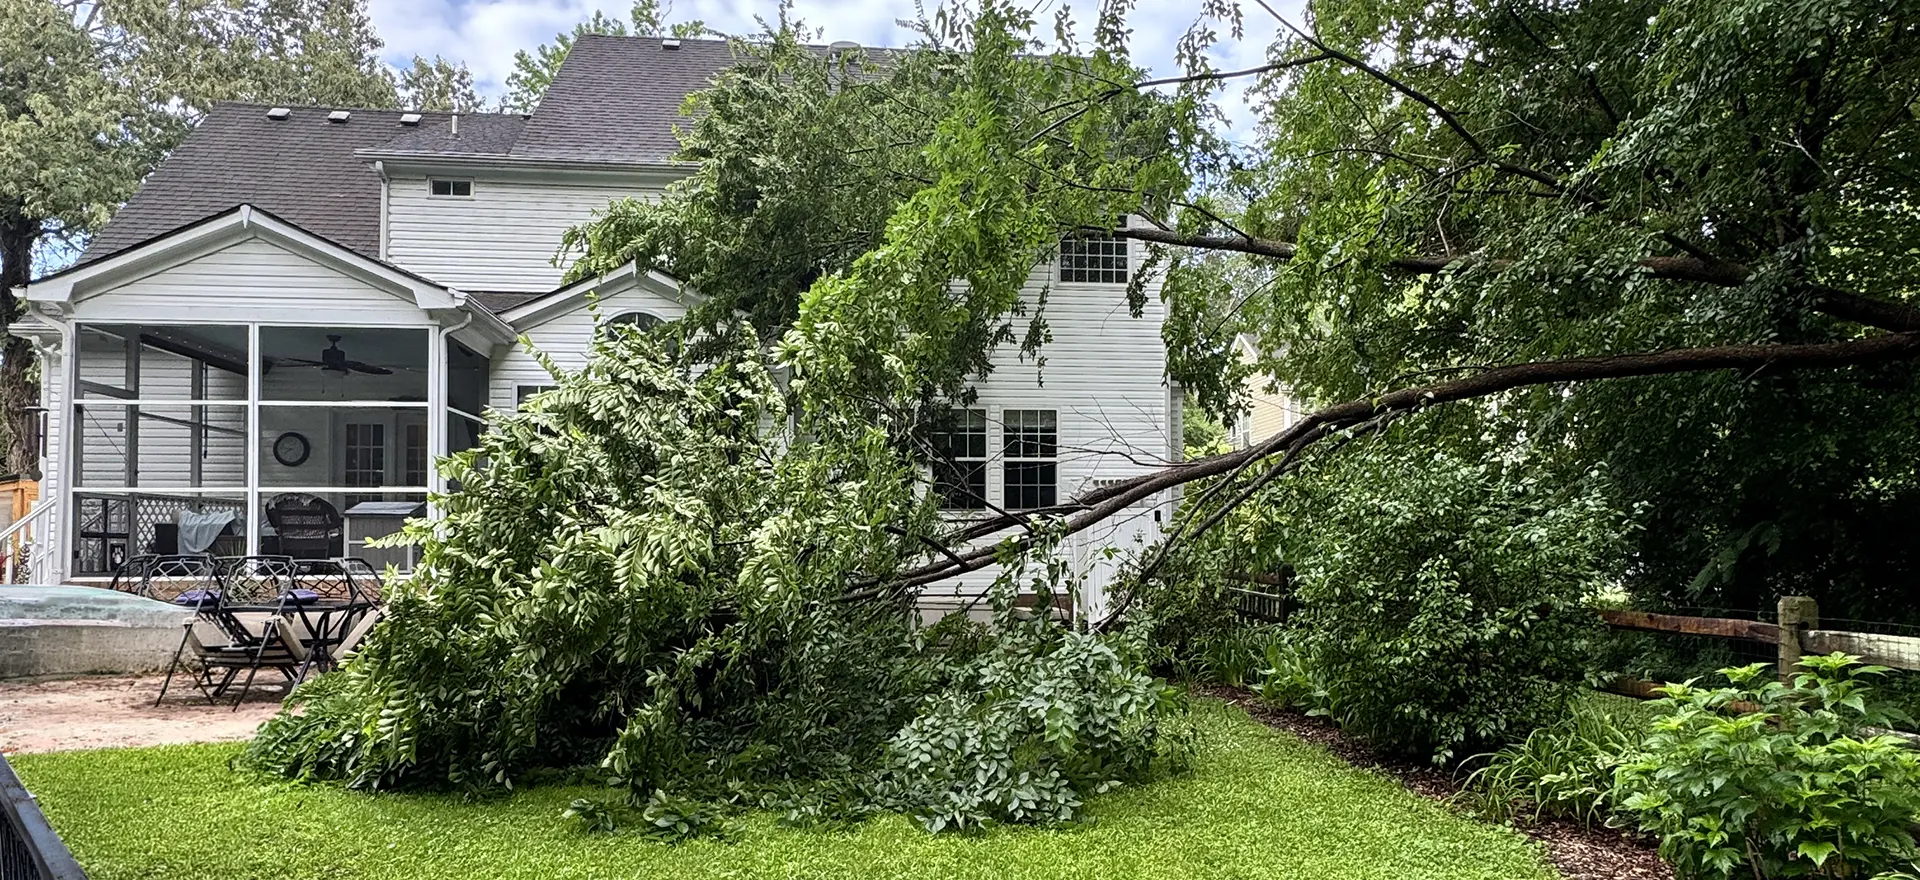
What to Do When a Tree Hits Your House

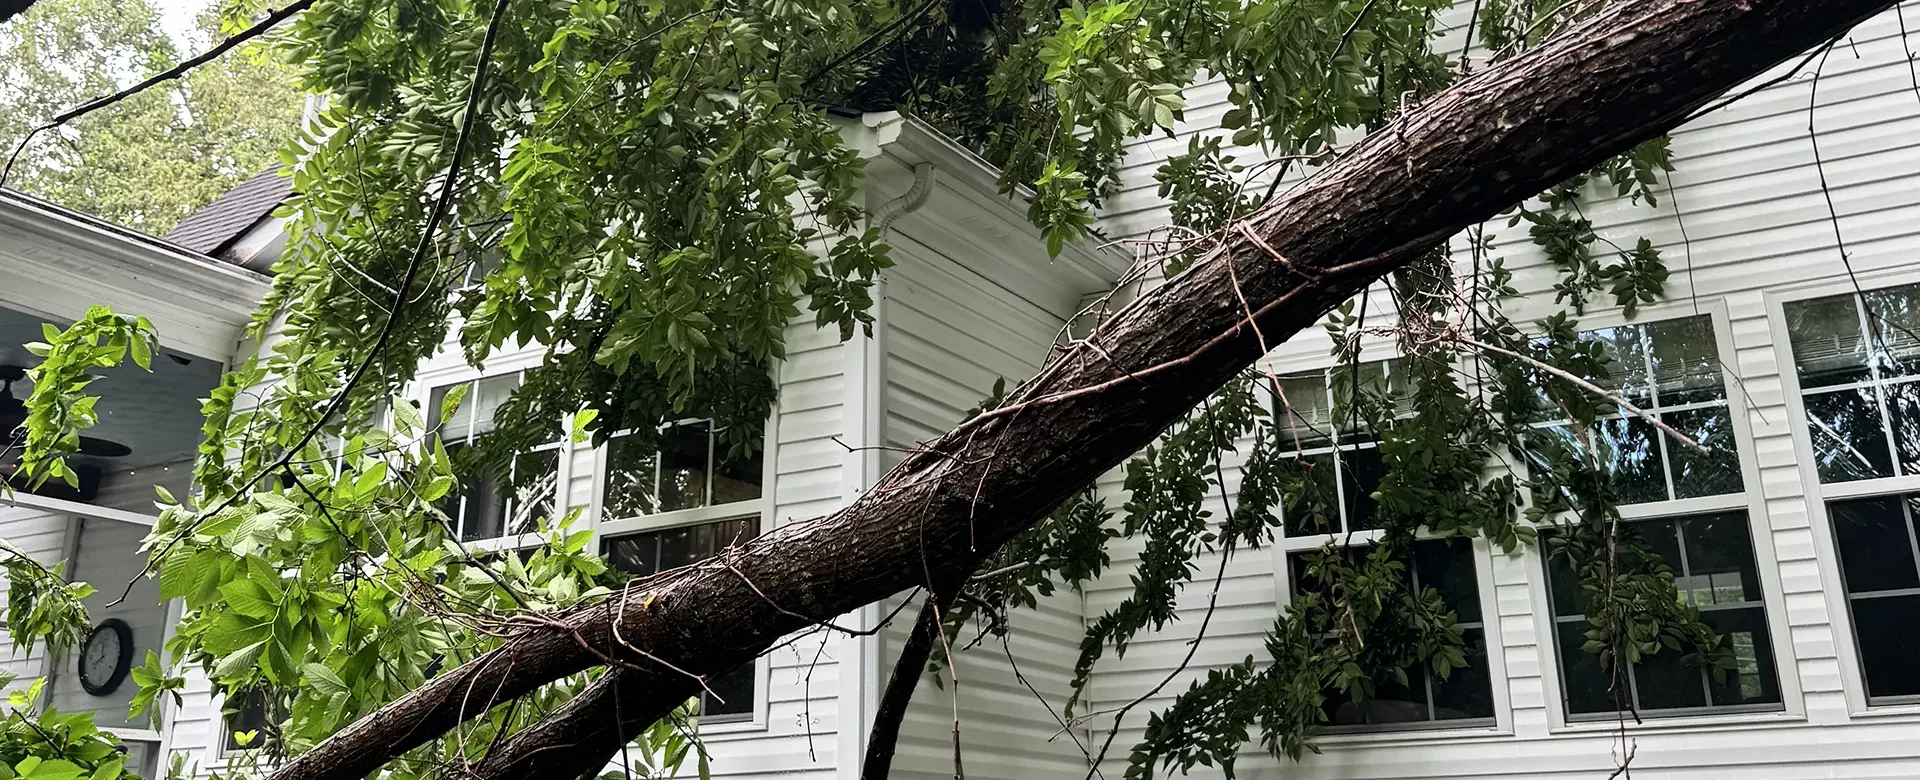
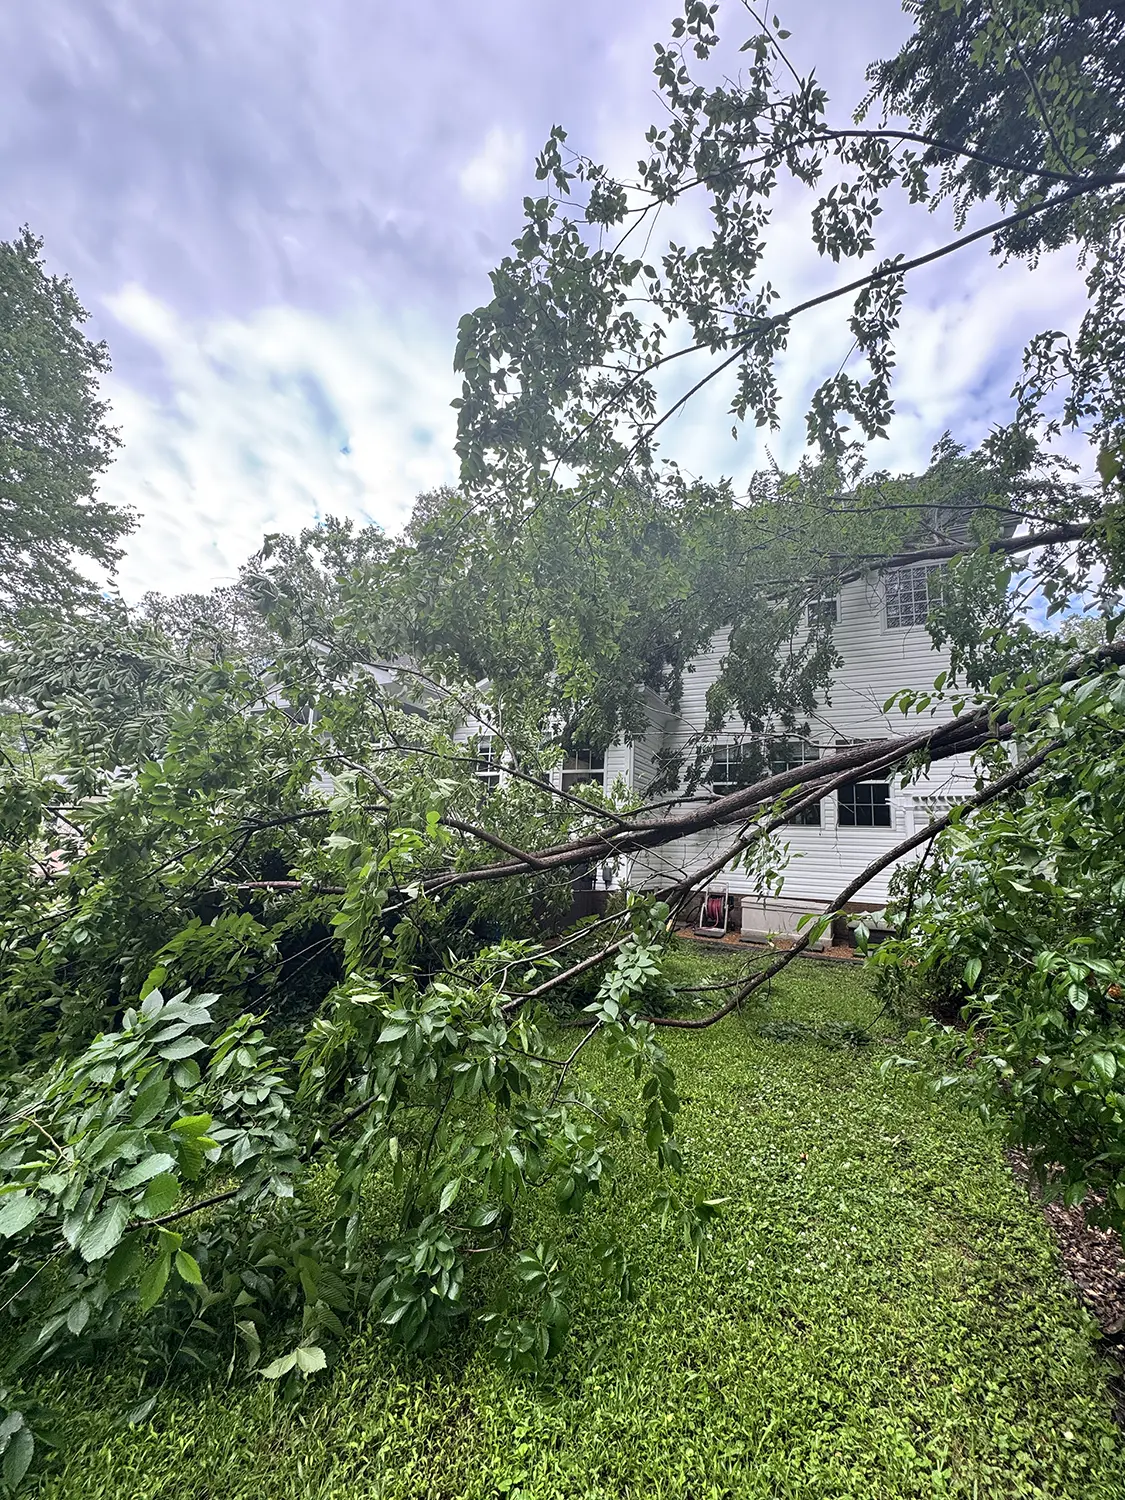
We hope it never happens, but in Hampton Roads, where wooded lots are as plentiful as the pop-up storms, tropical system and nor’easters we experience, it’s never out of the question. There may come a day when you’re awoken in the middle of night to the unmistakable “thud” of a tree landing on your roof. As jarring as that moment can be, the real anxiety is usually in the follow up. Who do you call first? What can you do yourself and what should you wait for an expert for? Who pays for the damage? While we always hope for the best, let’s walk through how to be prepared for the worst.

Step 1: Inspect for Immediate/Emergency Damage

Depending on the size of the tree or the force with which it hit your home, some damage may be immediately obvious. If the tree has penetrated your roof, windows or siding, it will be hard to miss. But in most cases, this doesn’t actually happen. A tree lands on your roof and the damage is typically only exterior and often is underneath the tree in a way that may not be visible without equipment or risky roof access. Immediately following the incident, do a basic safety check first. Look for downed power lines, gas leaks, structural sagging – all things that mean you should vacate the house and call emergency services.

If you don’t see signs of imminent danger, access your attic to check for any penetration or daylight coming through. This may be hard to do if the incident happens at night, so double check when it’s daylight. Next, look for water intrusion – even if there isn’t a visible hole. You may see seeping water coming through the roof deck from the inside where shingles have been lifted or come off.

Whatever you find, document everything! Take photos and videos from multiple angles where it’s safe to do so. This will matter enormously for any insurance claims that need to be made. Unless it is absolutely critical in order to exit the home or for immediate safety, avoid moving debris or cutting the tree yourself, especially if it’s resting up against the house. Shifting the weight of a tree can actually cause further structural damage, and one large limb or piece being moved off the house can drag across and remove shingles, gutters, siding, etc.

Most insurance companies will actually require you to take “reasonable steps” to prevent any further damage, but this does not mean getting on your roof or putting yourself in danger. Tarping your roof is a job for a professional. Your “reasonable steps” should be calling a tree removal company and roofing company as soon as possible.

Step 2: Reach Out to Insurance

As soon as you’ve documented the damage, reach out to your insurance company, even if you’re not sure yet that you’ll need to make a claim. You can ask them specifics about what they consider “reasonable steps” to mitigate any damage, but again – no one should be asking you to put yourself in danger. Instead, ask them if they have preferred vendors for doing this kind of temporary repair work.

Clarify with your agent or representative what exactly is covered in your policy. If your home is not actually damaged by the tree, the cost of removal may or may not be covered. Schedule an insurance adjuster to come inspect your property as soon as possible. Have your documentation ready to share – some insurance companies will have you email or upload photos to their app or website. In the meantime, keep every receipt for any work you have done for immediate repairs, tarping or even hotel costs if you’ve had to vacate your home.
Phase 3: Call in the Professionals

Your insurance company may have preferred contractors and vendors they work with for this type of job, but most policies do not require you to use those vendors. Whether the reference comes from them or elsewhere, you should call a licensed, insured tree removal company ASAP. Until the tree is removed it will be impossible to know the extent of the damage done to the house. As best as you can, coordinate the timing between the tree removal and a roofing inspection by a licensed roofing contractor as closely as possible.

Even if you don’t see signs of a leak, bring in a professional roof inspector. Hidden damage like cracked shingles, missing shingles or compromised flashing are very common and not always visible from the ground. Get a detailed, written estimate from the roofing contractor to supply your insurance adjuster. If possible, work with tree removal and roofing companies who are experienced with insurance claims and who have a process in place for how those jobs are estimated and billed.

Once the inspection is complete and repairs are scheduled, make sure the area stays properly secured until the fix is complete. Especially since storms tend to come in waves in our area, it’s important to try and avoid any additional damage that could complicate a claim or put any of the fault on you.

Step 4: Finalize the Claim

Hopefully the damage is covered by your insurance and the vendors you’ve worked with understand the claims process. In many cases, contractors will bill your insurance company directly. But in other cases, you’ll pay out of pocket, submit your receipts to your claims agent and then your insurance company will cut you a check for what is covered, minus your deductible. This can be stressful, as it’s not always clear that all expenses will be covered, but the best thing you can do is document everything fully, and submit everything you have in an organized, clear way.

Contact a Local Expert

If you’re dealing with a felled tree on your house, Andrews Roofing can help. We have decades of experience with Hampton Roads homeowners and insurance companies, and we have processes in place to help you easily file claims for the work done to your home. We are licensed, insured and experienced. Contact us today for a roof inspection, professionally written estimate and quickly scheduled repair to help you get through this stressful time.

read more

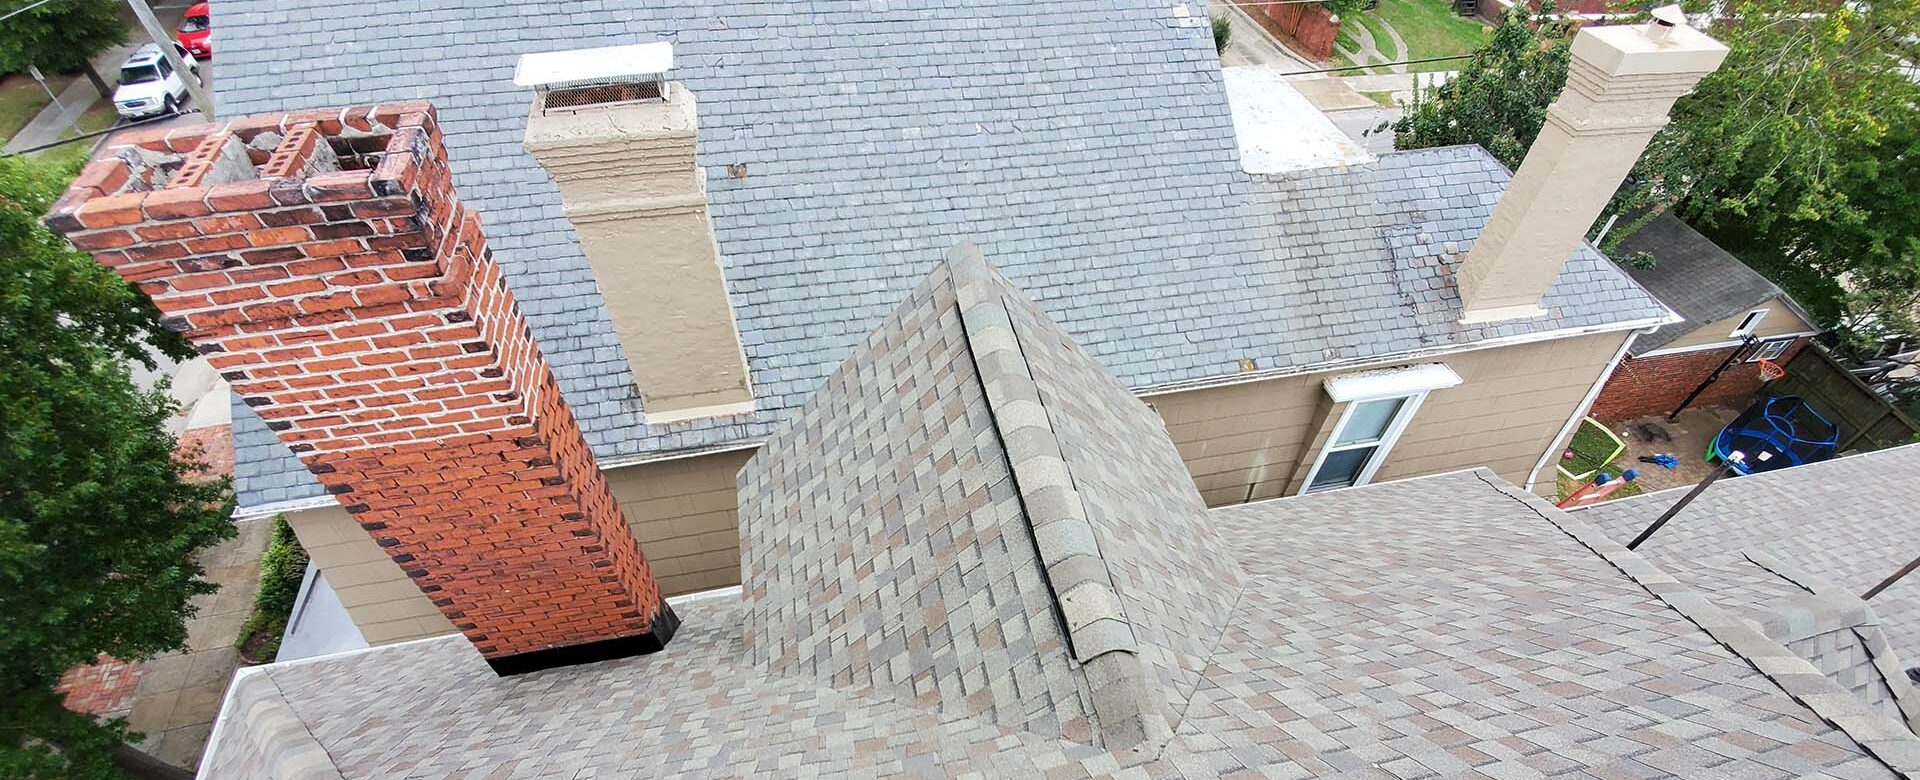
Don’t Wait for Winter: How Summer Chimney Care Keeps Your Whole Roof Healthy

When the temperatures rise in Hampton Roads and your fireplace goes cold for the season, it can be easy to forget the chimney even exists.

That is, until the fall, when you’re ready to get cozy, lighting your first fire of the year and noticing a musty smell, a mysterious water stain on the ceiling, or worse, the sound of something potentially living up there?

Summer is actually the ideal time to inspect and address chimney issues before you’re ready to snuggle up in front of a fire. Here’s why regular maintenance matters for your roof, your home, and your peace of mind.

The Off-Season Advantage

Most homeowners think about their chimneys in late fall when the evenings start to cool down. The problem is that by then, roofing and chimney contractors are slammed with demand, and any damage that’s been accumulating all summer has had months to get worse. Scheduling your chimney inspection and any needed repairs during summer means no disruption in your routine or heat. It also means you’ll get more scheduling flexibility with contractors, dryer summer weather that’s better conditions for mortar work, flashing repairs and sealant curing, and peace of mind heading into the cooler months knowing your system is sound.

Summer is Wildlife Season

An uncapped or damaged chimney is prime real estate for birds, squirrels, raccoons, and other wildlife who are out and about during the warmer months. Once a chimney isn’t in frequent use, it becomes an attractive nesting spot that is dark, sheltered and elevated.

In addition to nesting materials being a major fire hazard and mess, when wildlife intrudes into your chimney, the cap can be physically damaged or removed entirely, leaving the flue wide open to rain, debris, and ongoing animal access. A raccoon or even a squirrel that’s been using your chimney all summer can cause a lot of damage that you might not know about until you go to light that first fall fire of the season. Fortunately, the solution to this is simple: a properly installed, well-fitting chimney cap keeps wildlife AND weather out.

The Importance of Chimney Caps

Not all chimneys are alike, which means not all chimney caps are either. There are standard sizes, which can be dealt with using stock caps but then there are non-standard sizes and special situations where custom caps are needed. This is not at all uncommon in Hampton Roads, given the number of older and historic homes here.

For standard flue openings, a stock chimney cap is practical, cost-effective and can be installed quickly, solving most animal intrusion issues immediately. But for those outliers, Andrews Roofing can custom fabricate chimney caps to fit virtually any opening, ensuring a proper seal, a professional appearance, and longevity.

A well-fitted chimney cap does more than keep animals out. It also:

  • Prevents rain and moisture from entering the flue and damaging the firebox, liner, and surrounding masonry
  • Blocks wind-driven debris from accumulating inside the chimney
  • Reduces downdrafts that can push smoke back into the home
  • Extends the life of your chimney liner and surrounding masonry

Why Your Chimney is so Important to Your Roof

Chimney leaks are one of the most common sources of roof-related water damage, but they are also often the most misdiagnosed. Your roof may be in great shape, but the connection points between it and the chimney may actually be to blame for the damage.

Brick Chimneys: Mortar and Masonry Concerns

On brick chimneys, the most common leak source is deteriorating mortar – the material that holds the bricks together and seals the top crown of the chimney. Our coastal climate can be hard on masonry due to the summer heat, humidity and thaw-freeze cycles in the winter. That repeated expansion and contraction can eventually crack or erode mortar joints.

Once mortar begins to fail, water can get inside the masonry itself. Without remediation, bricks can literally pop off or become loose, causing significant structural deterioration and water intrusion into attic and living spaces. However, there are masonry specialists who can make these repairs, called “tuckpointing” which removes and replaces damaged mortar. Summer is the ideal time of year for this type of work for the mortar to dry quickly and effectively.

Vinyl-Sided Homes: Flashing Concerns

On homes with vinyl siding and vinyl sided chimneys, the critical element is flashing, that thin metal material installed around the base of the chimney where it meets the roof deck. When installed properly, step and counter flashing should create a watertight seal at this important transition point.

But flashing can fail for a number of reasons: poor original installation, sealant that has dried out and cracked over time, or physical damage from storms or settling. Because the failure point is often hidden under the siding or shingles, flashing leaks can be particularly tricky to diagnose and are often blamed on the roof itself when the chimney is actually the culprit.

Hampton Roads Humidity and Chimney Health

Hampton Roads’ coastal climate brings year-round moisture challenges that accelerate the wear on chimneys faster than drier inland climates. High humidity means mortar stays damp longer, sealants and caulks degrade more quickly, and any small opening in a cap, crown, or flashing becomes an invitation for ongoing water intrusion. That’s why staying ahead of chimney maintenance in our region is essential.

Check It Off Your List

At Andrews Roofing, we can inspect, and in some cases repair or replace chimney-related roofing components. From flashing to custom-fabricated chimney caps built to fit your specific chimney, we have the expertise to take care of it. If it’s been more than a year since your chimney was inspected, or if you’ve noticed any signs of water intrusion near the fireplace or in the attic above it, now is the time to act. Contact us today to schedule your chimney and roof inspection before summer flies by.

read more