You may have heard people complain that metal roofs are noisy in the rain or prone to condensation dripping inside the attic, but the reality is actually more interesting. Those complaints almost never come from the metal panel itself. They come from how the rest of the roofing system was designed and installed around it.
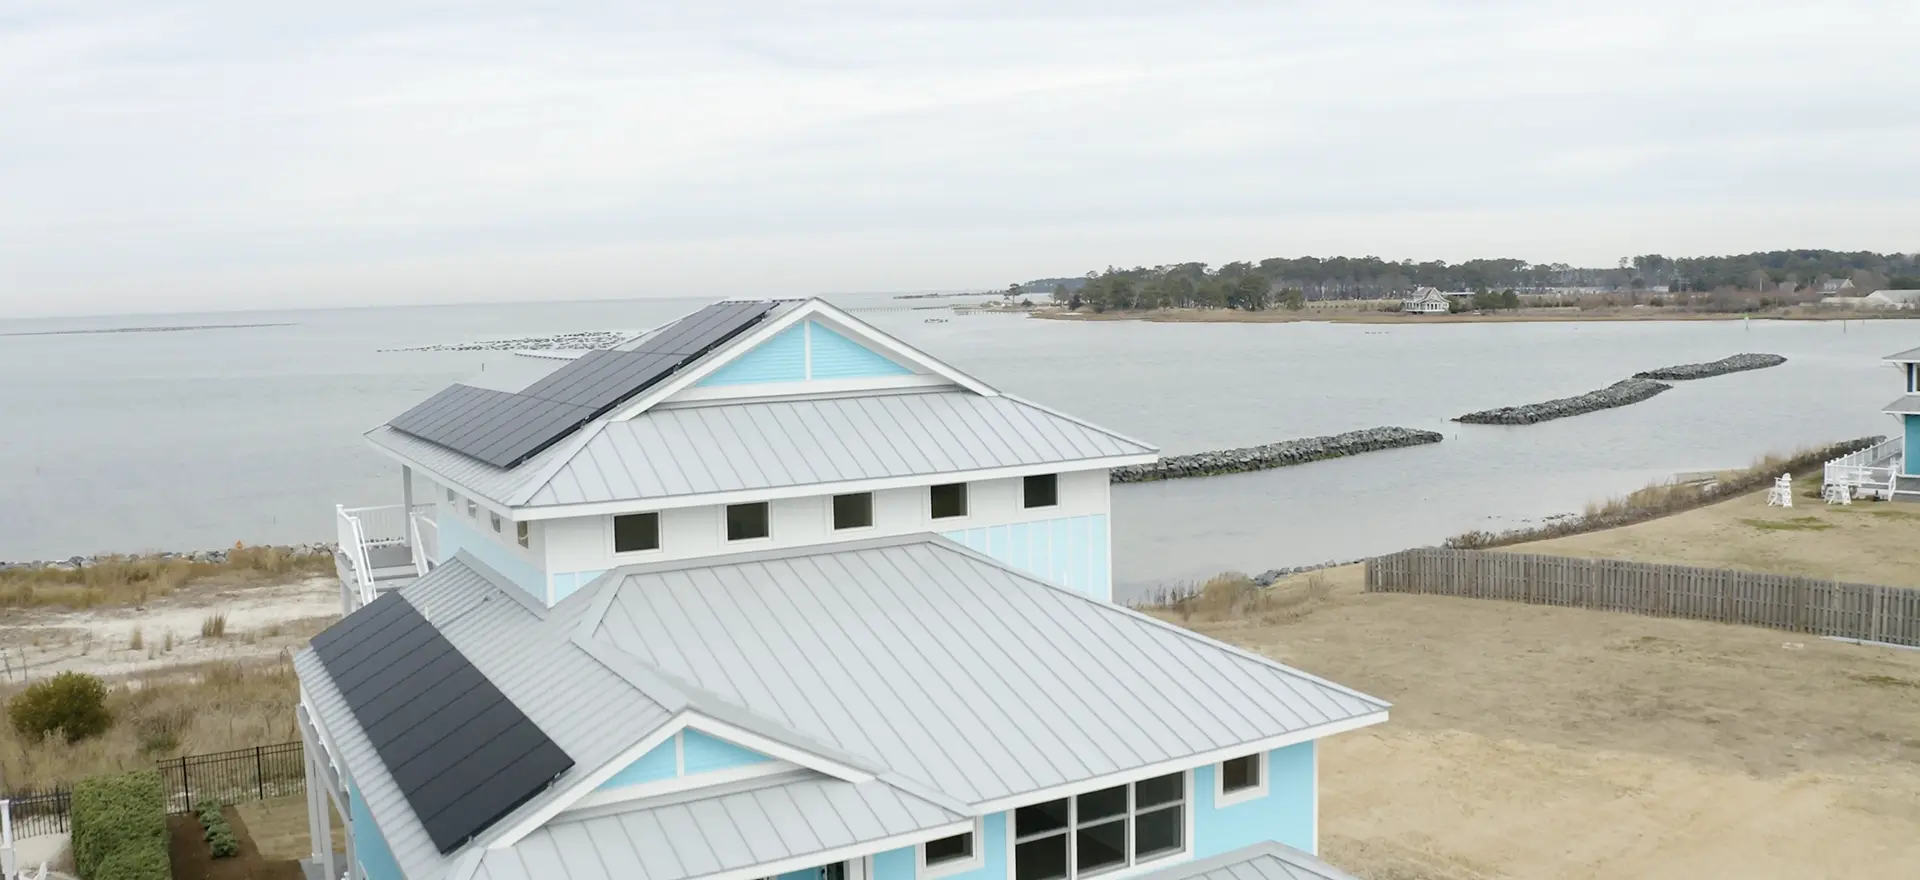
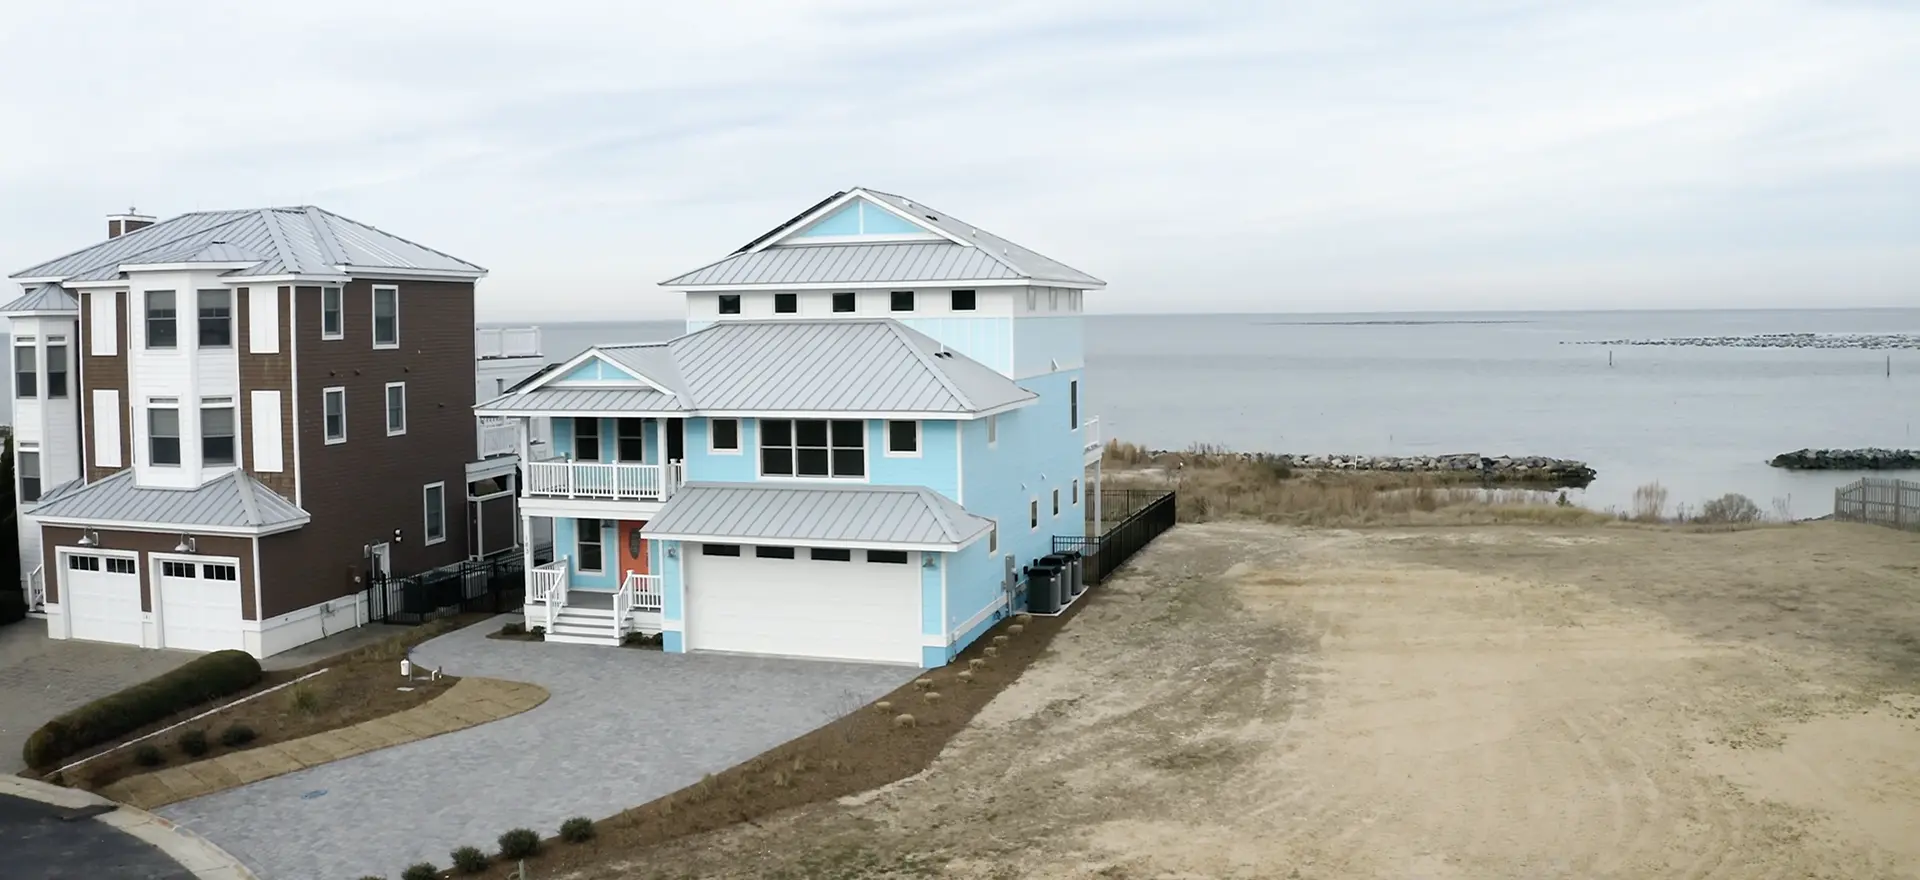
For homeowners here in Hampton Roads, where humidity is unavoidable not just in the summer but throughout the year, understanding the real cause of these issues matters. Because tackling the true underlying issues can be the difference between a solid, long-lasting roof or a recurring headache.
What Actually Causes Condensation
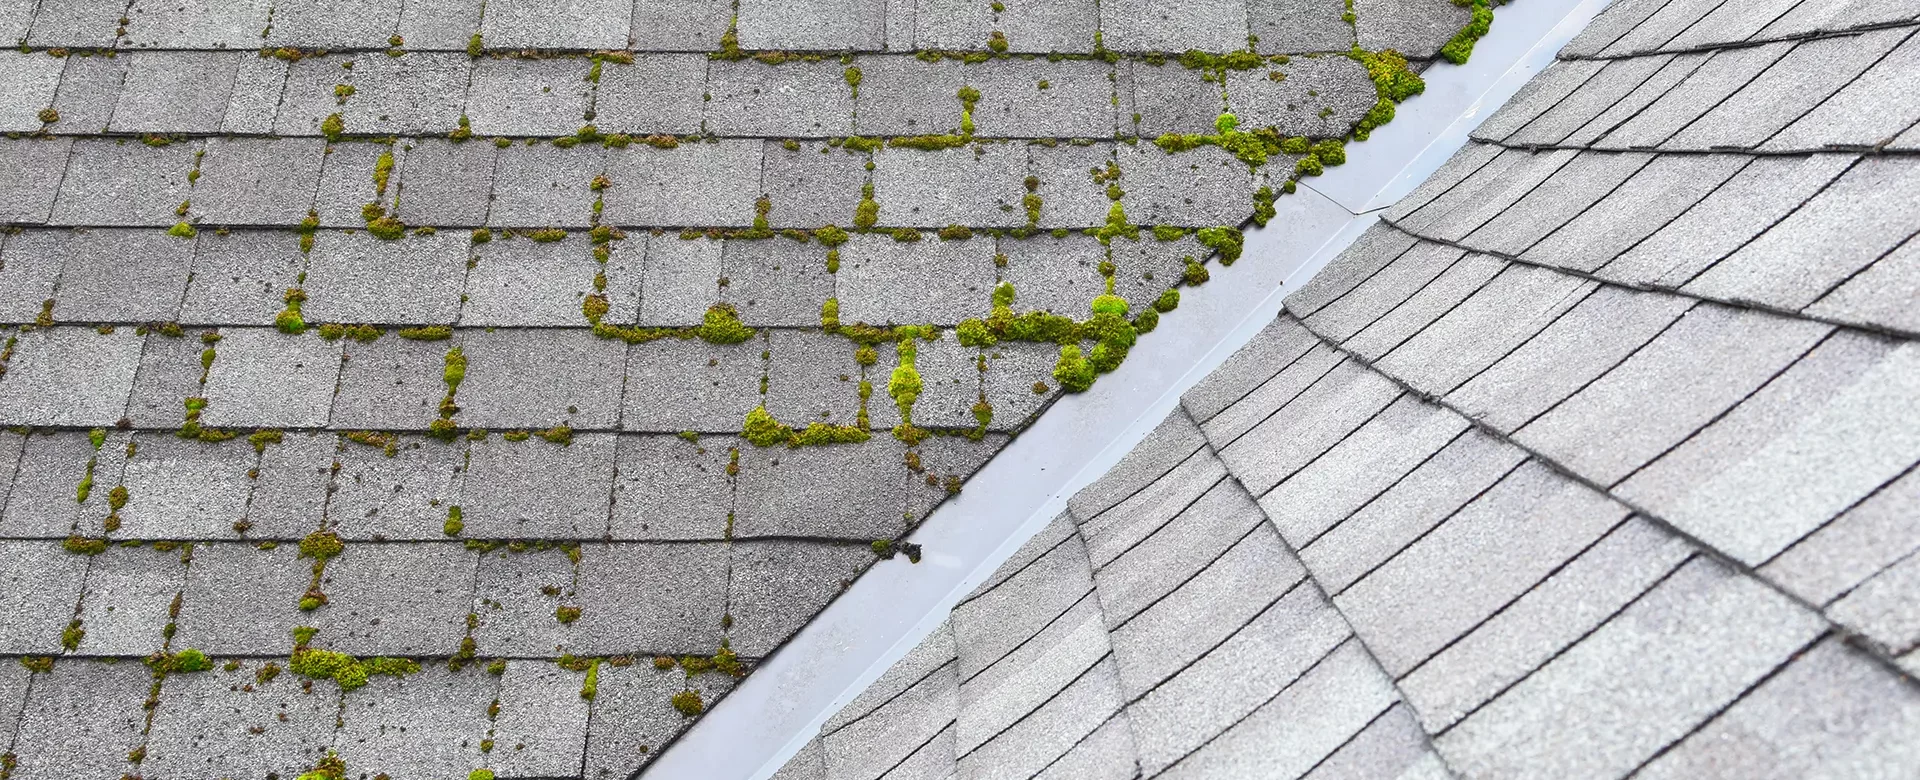
Condensation isn’t a metal problem. It’s a physics problem, and it shows up on any surface, metal or otherwise. Think about a cold glass of iced tea sweating on a summer porch. The same thing happens on a roof: when warm, humid air inside a building reaches a surface that’s colder than the dew point, moisture condenses out of the air and onto that surface.
In a house, that surface is usually the underside of the roof deck. If the attic isn’t properly ventilated or insulated, humid indoor air rises, hits a cold roof surface on a chilly night, and condensation forms. That can happen under asphalt shingles just as easily as under metal. The panel material has nothing to do with it.
Three Ways to Keep It from Happening
Controlling condensation comes down to managing three things:
- Reducing indoor humidity so there’s less moisture in the air to begin with.
- Ventilating so humid air has a path out of the attic or roof assembly before it can condense.
- Insulating so the underside of the roof deck never gets cold enough to hit the dew point in the first place.
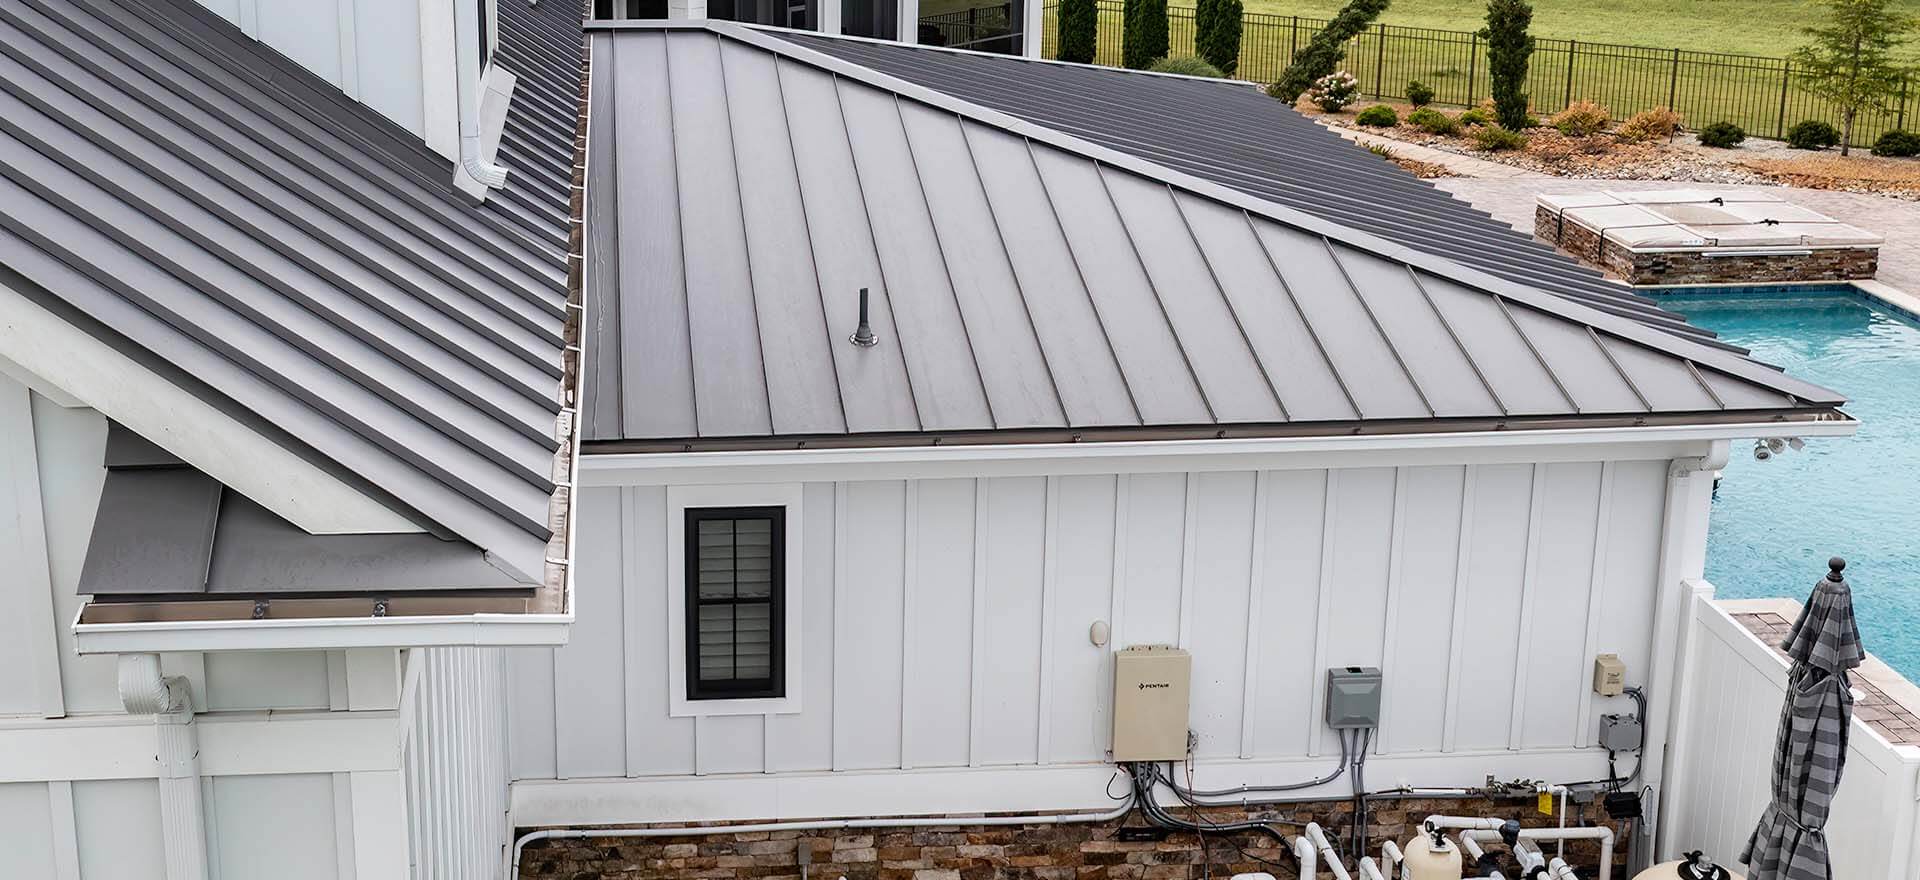
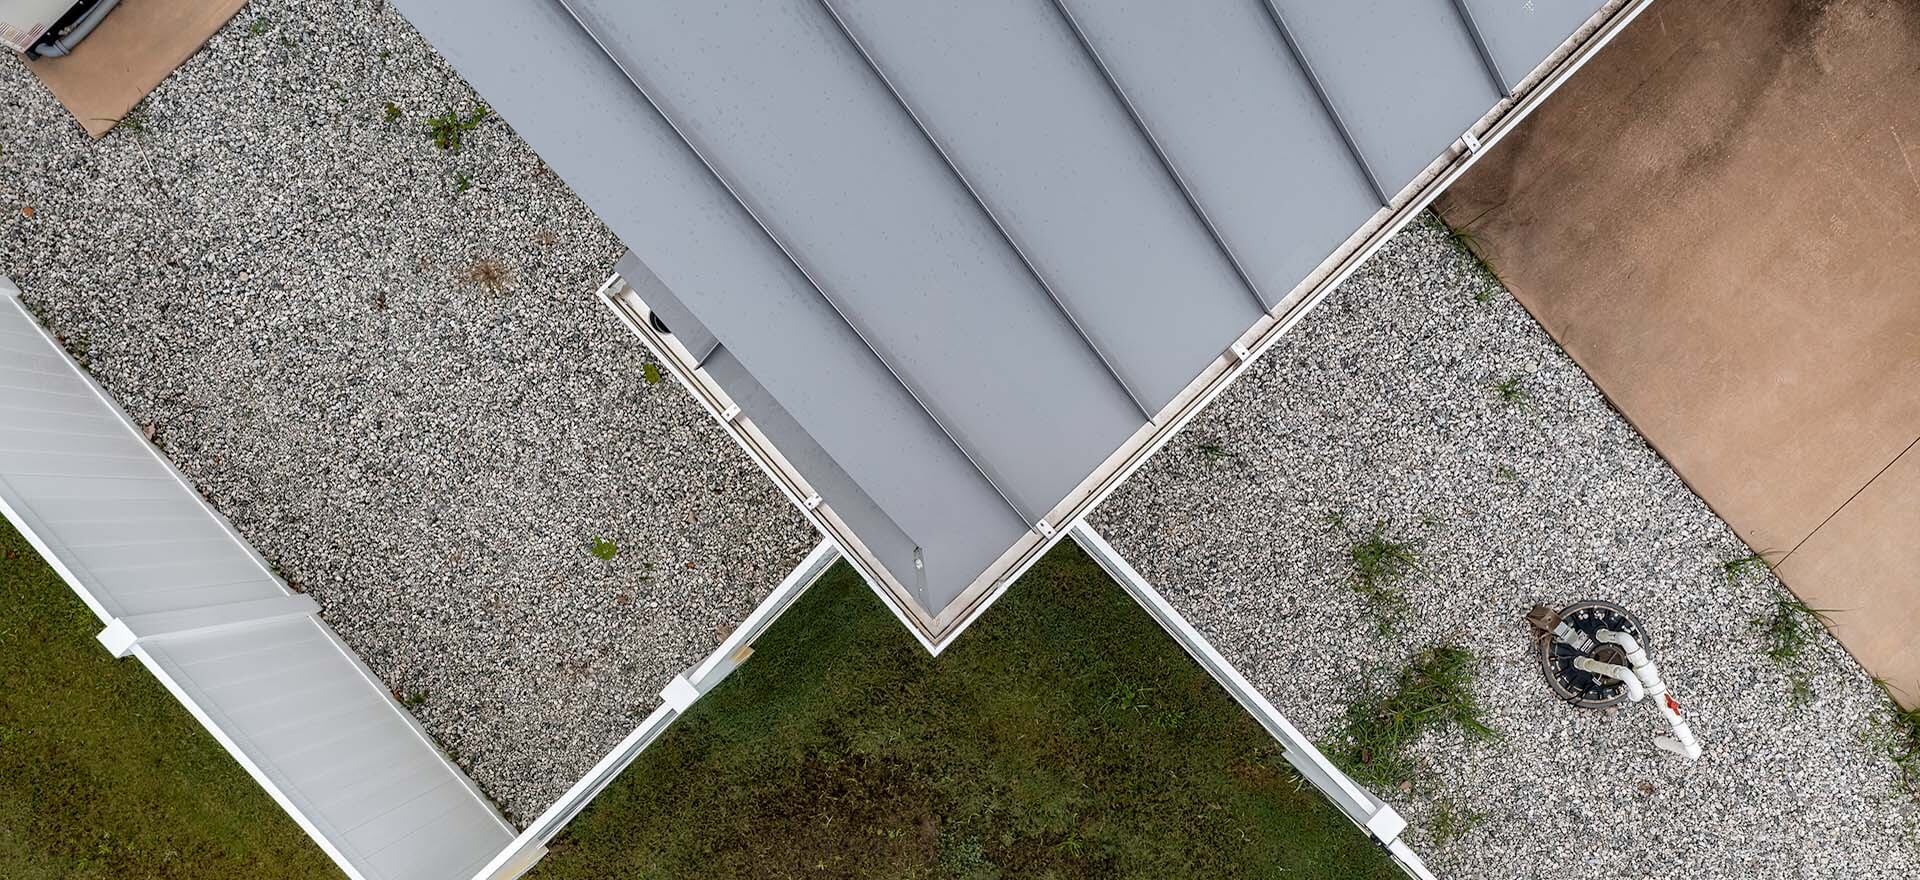
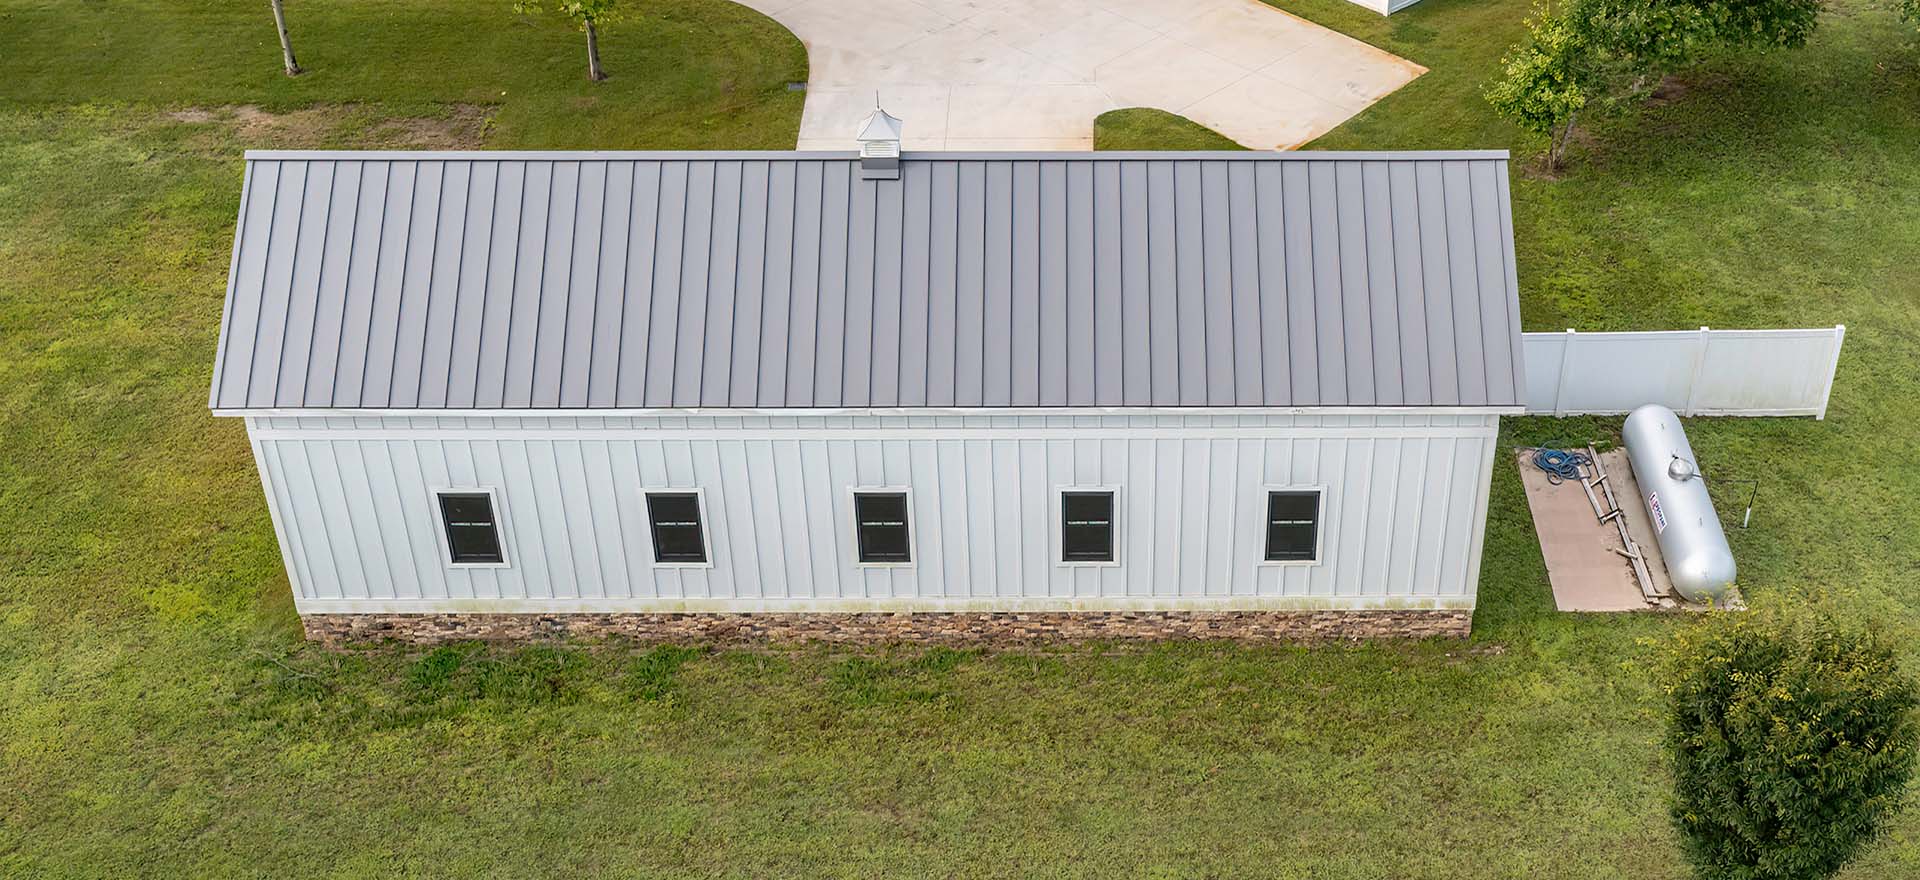
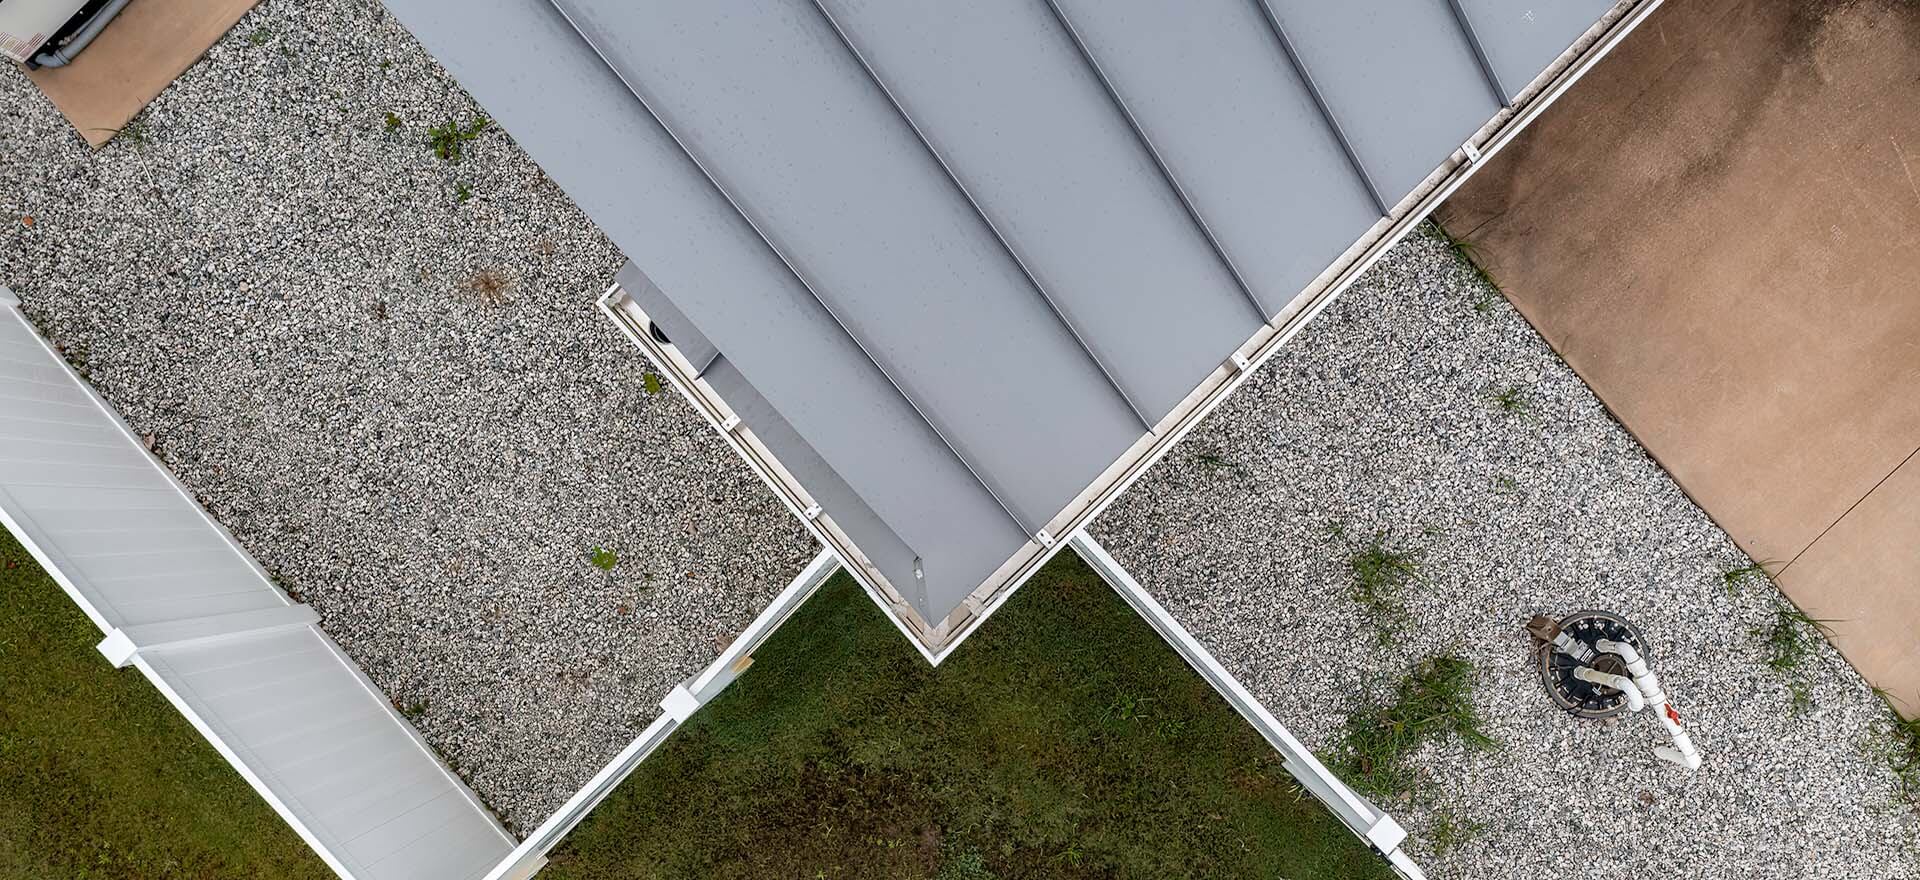
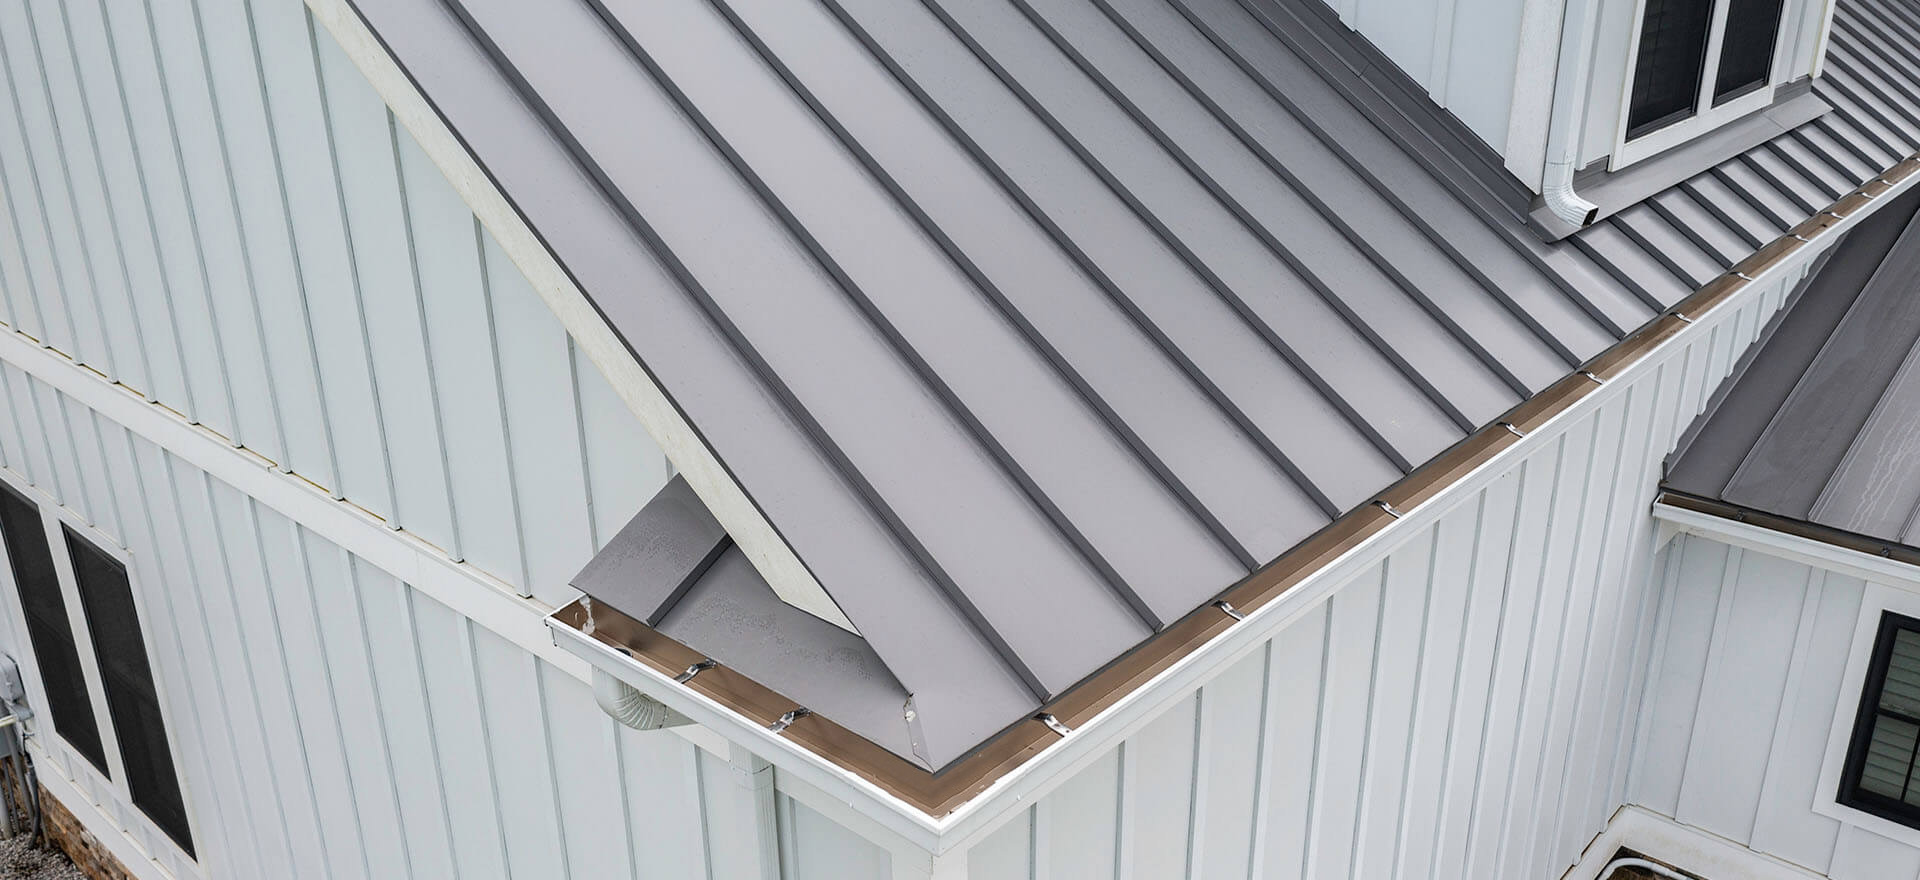
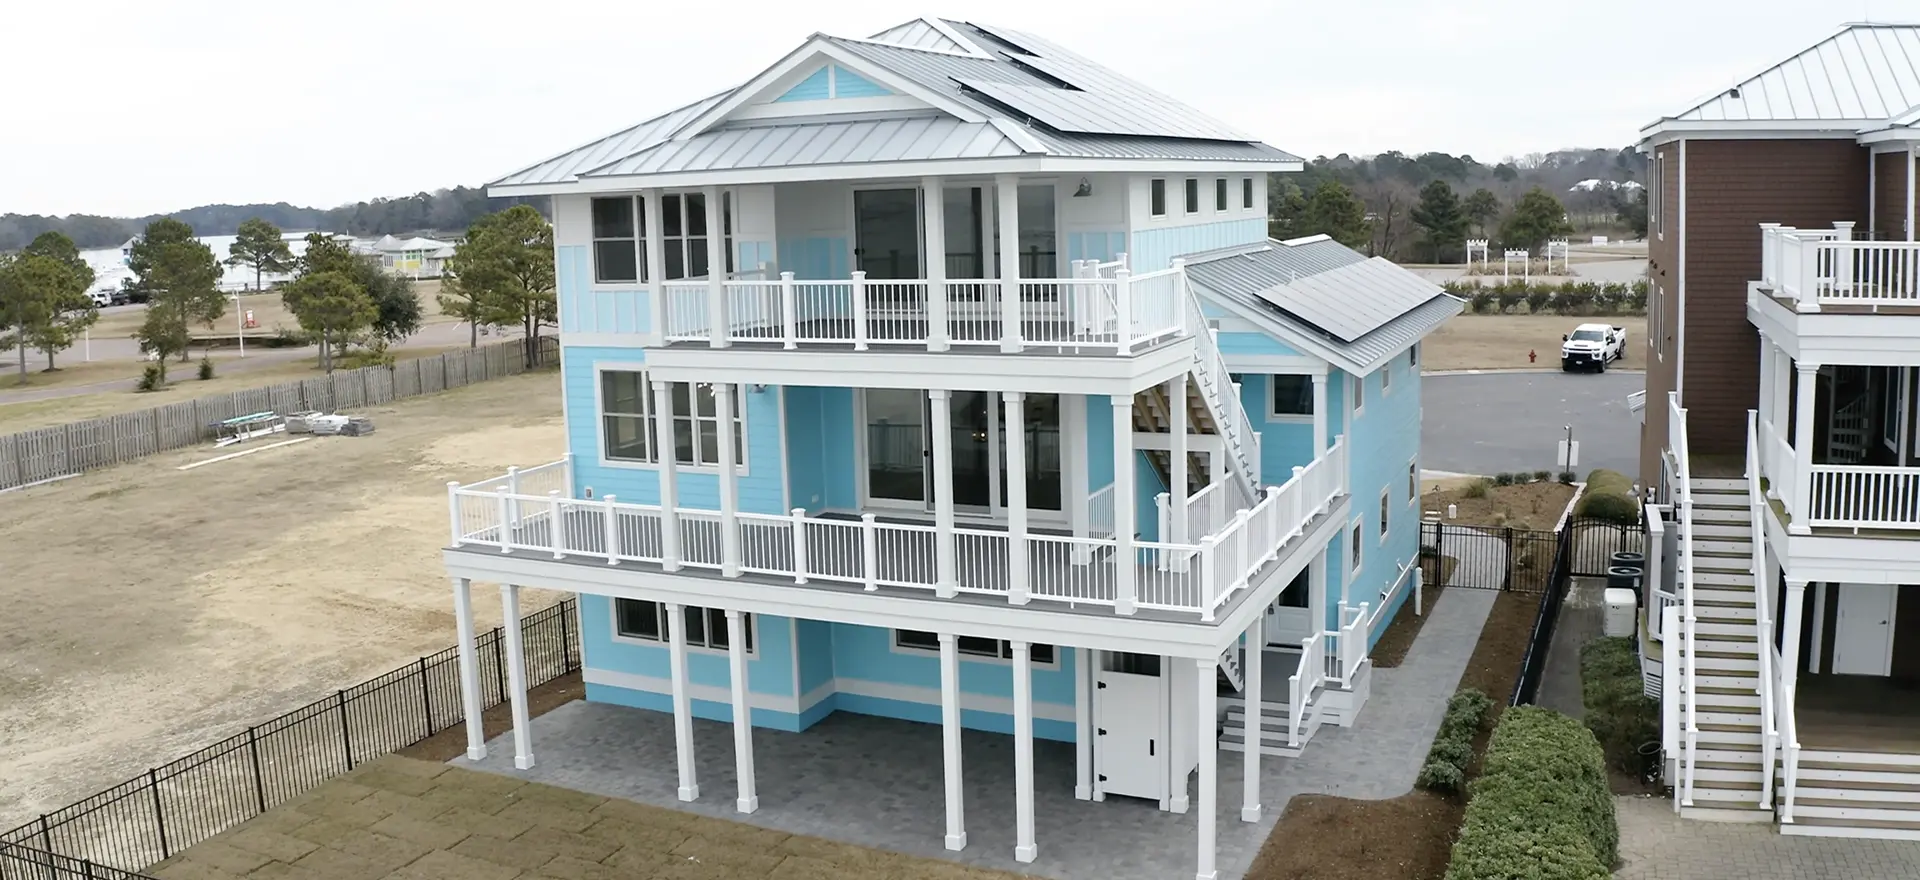
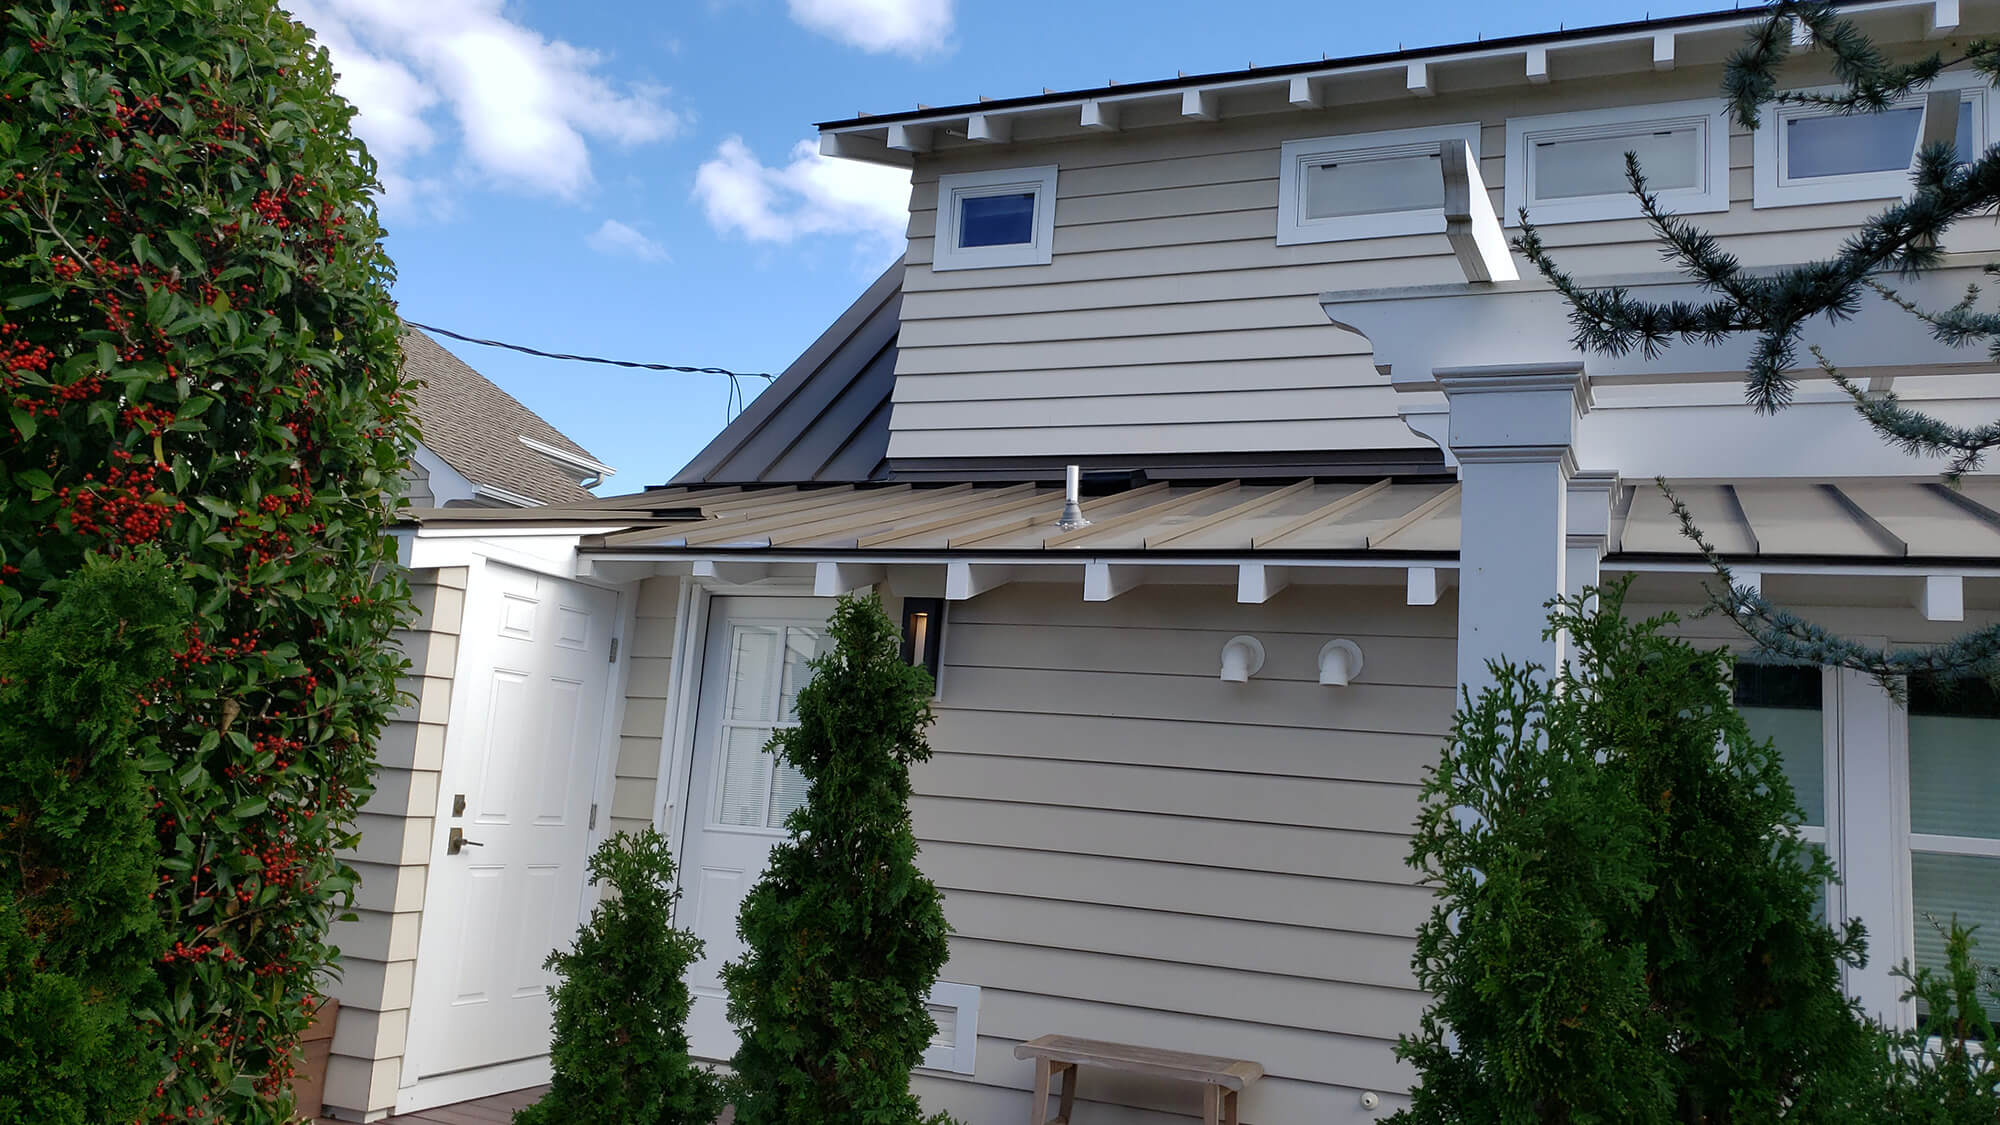
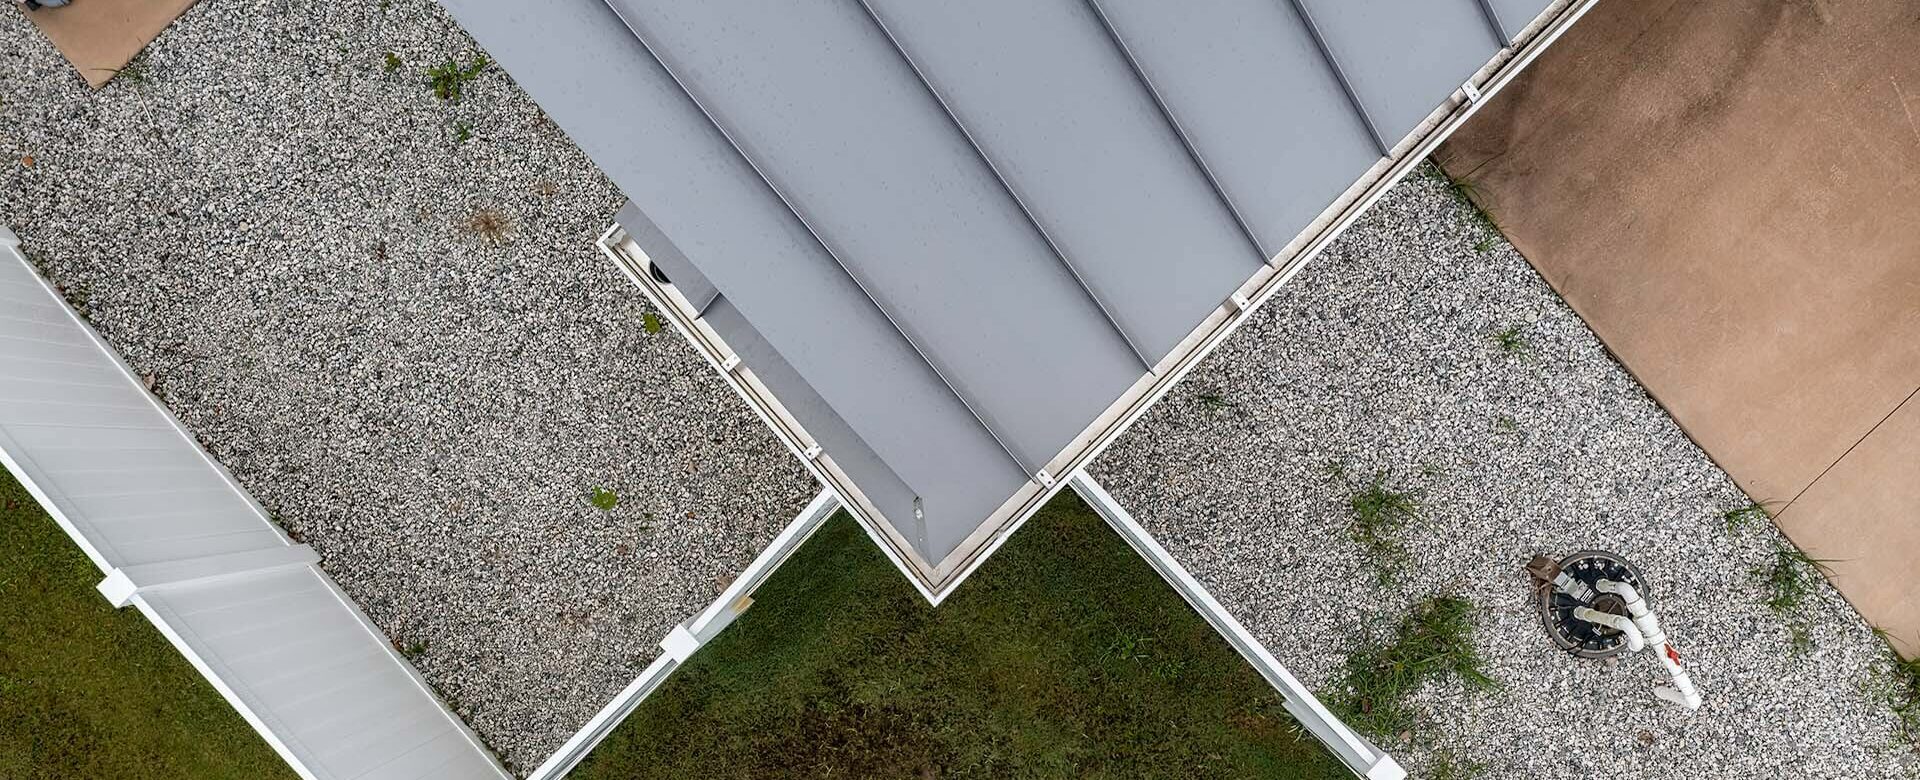
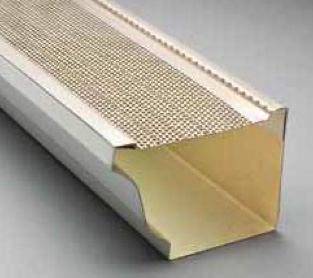
One increasingly common approach on metal roofs is a small, ventilated gap between the roof deck and the panel itself, sometimes called above-sheathing ventilation. It lets air move underneath the panel, drawing cooler air in low and pushing warm, moist air out high, which keeps the deck from ever holding onto trapped moisture. It’s a detail worth asking about if you’re considering a metal roof, regardless of which manufacturer’s panels your contractor uses.
Thermal Bridging Isn’t a Metal Issue Either
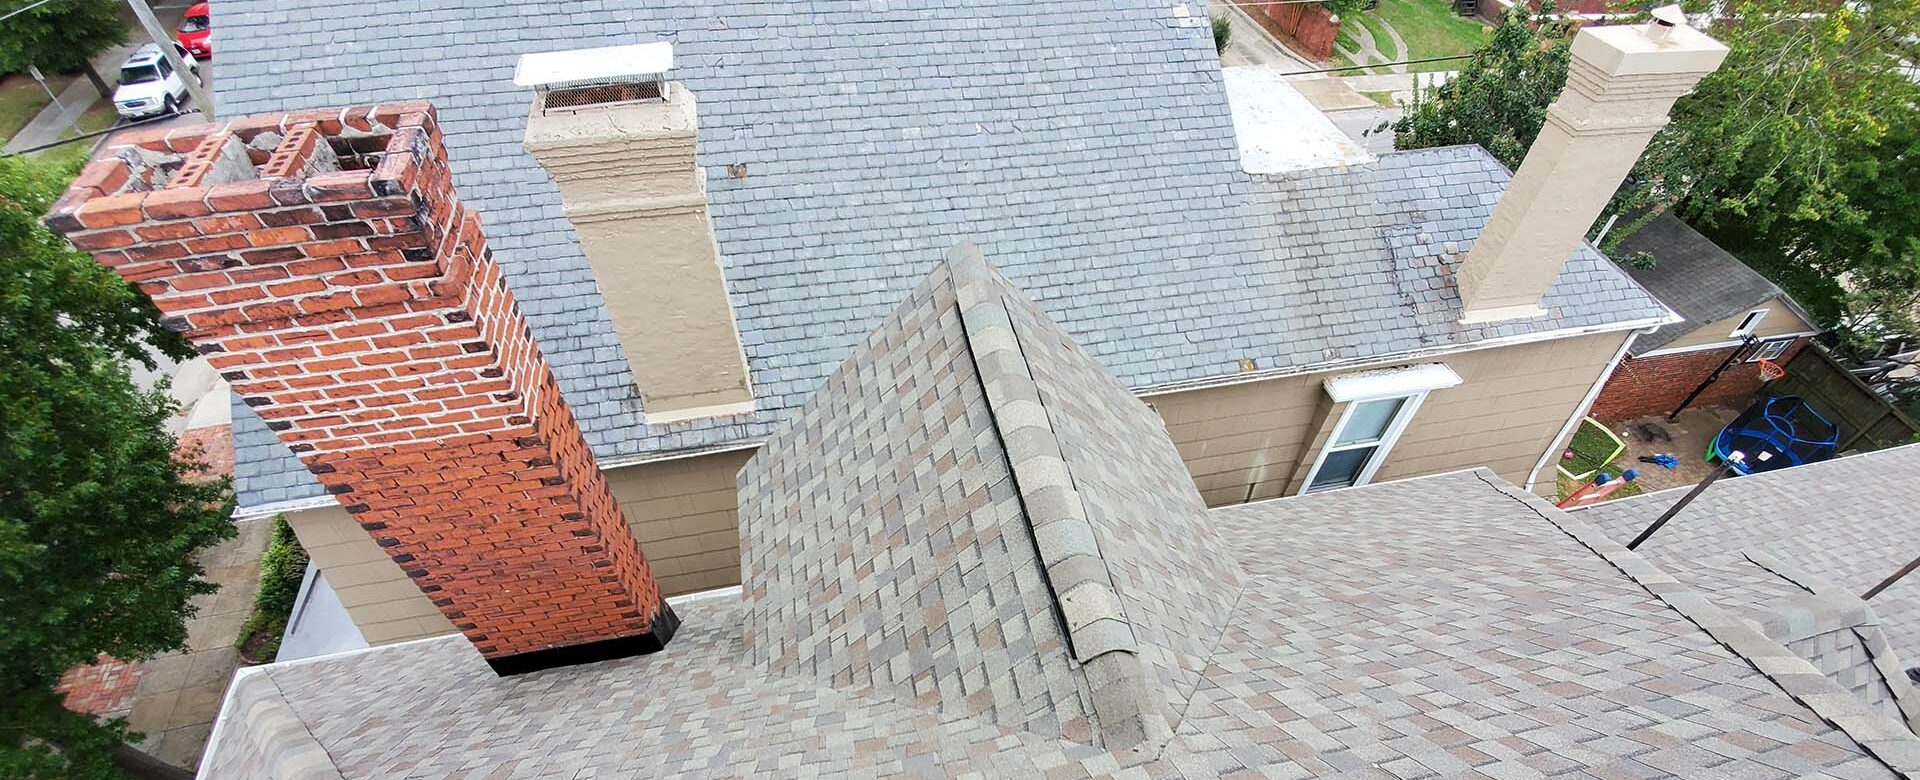
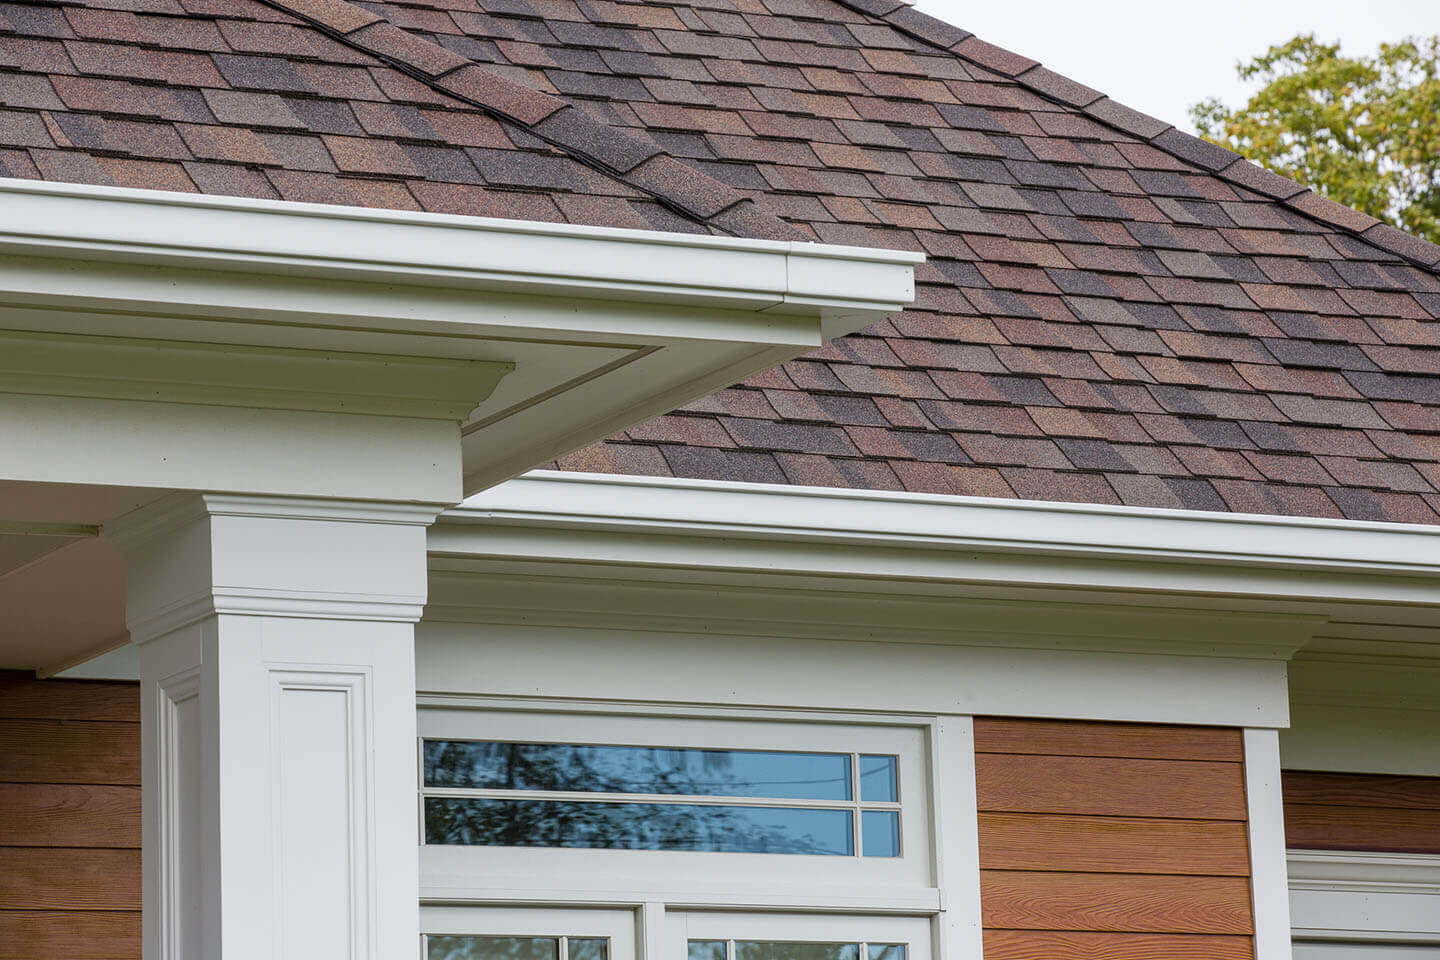
If you’ve been researching roof replacements, you may have heard the term “thermal bridging.” It refers to any spot where heat (or cold) has a direct path through a roof assembly, usually because insulation is thin, compressed, or interrupted by framing. It happens in every type of roof. In fact, next time there’s a hard frost, look at an asphalt shingle roof in your neighborhood. If you can see faint outlines of the rafters through melted frost patterns, that’s thermal bridging in action, and there’s no metal involved at all. In other words, it’s a framing and insulation issue, not a panel issue.
What About the Noise?
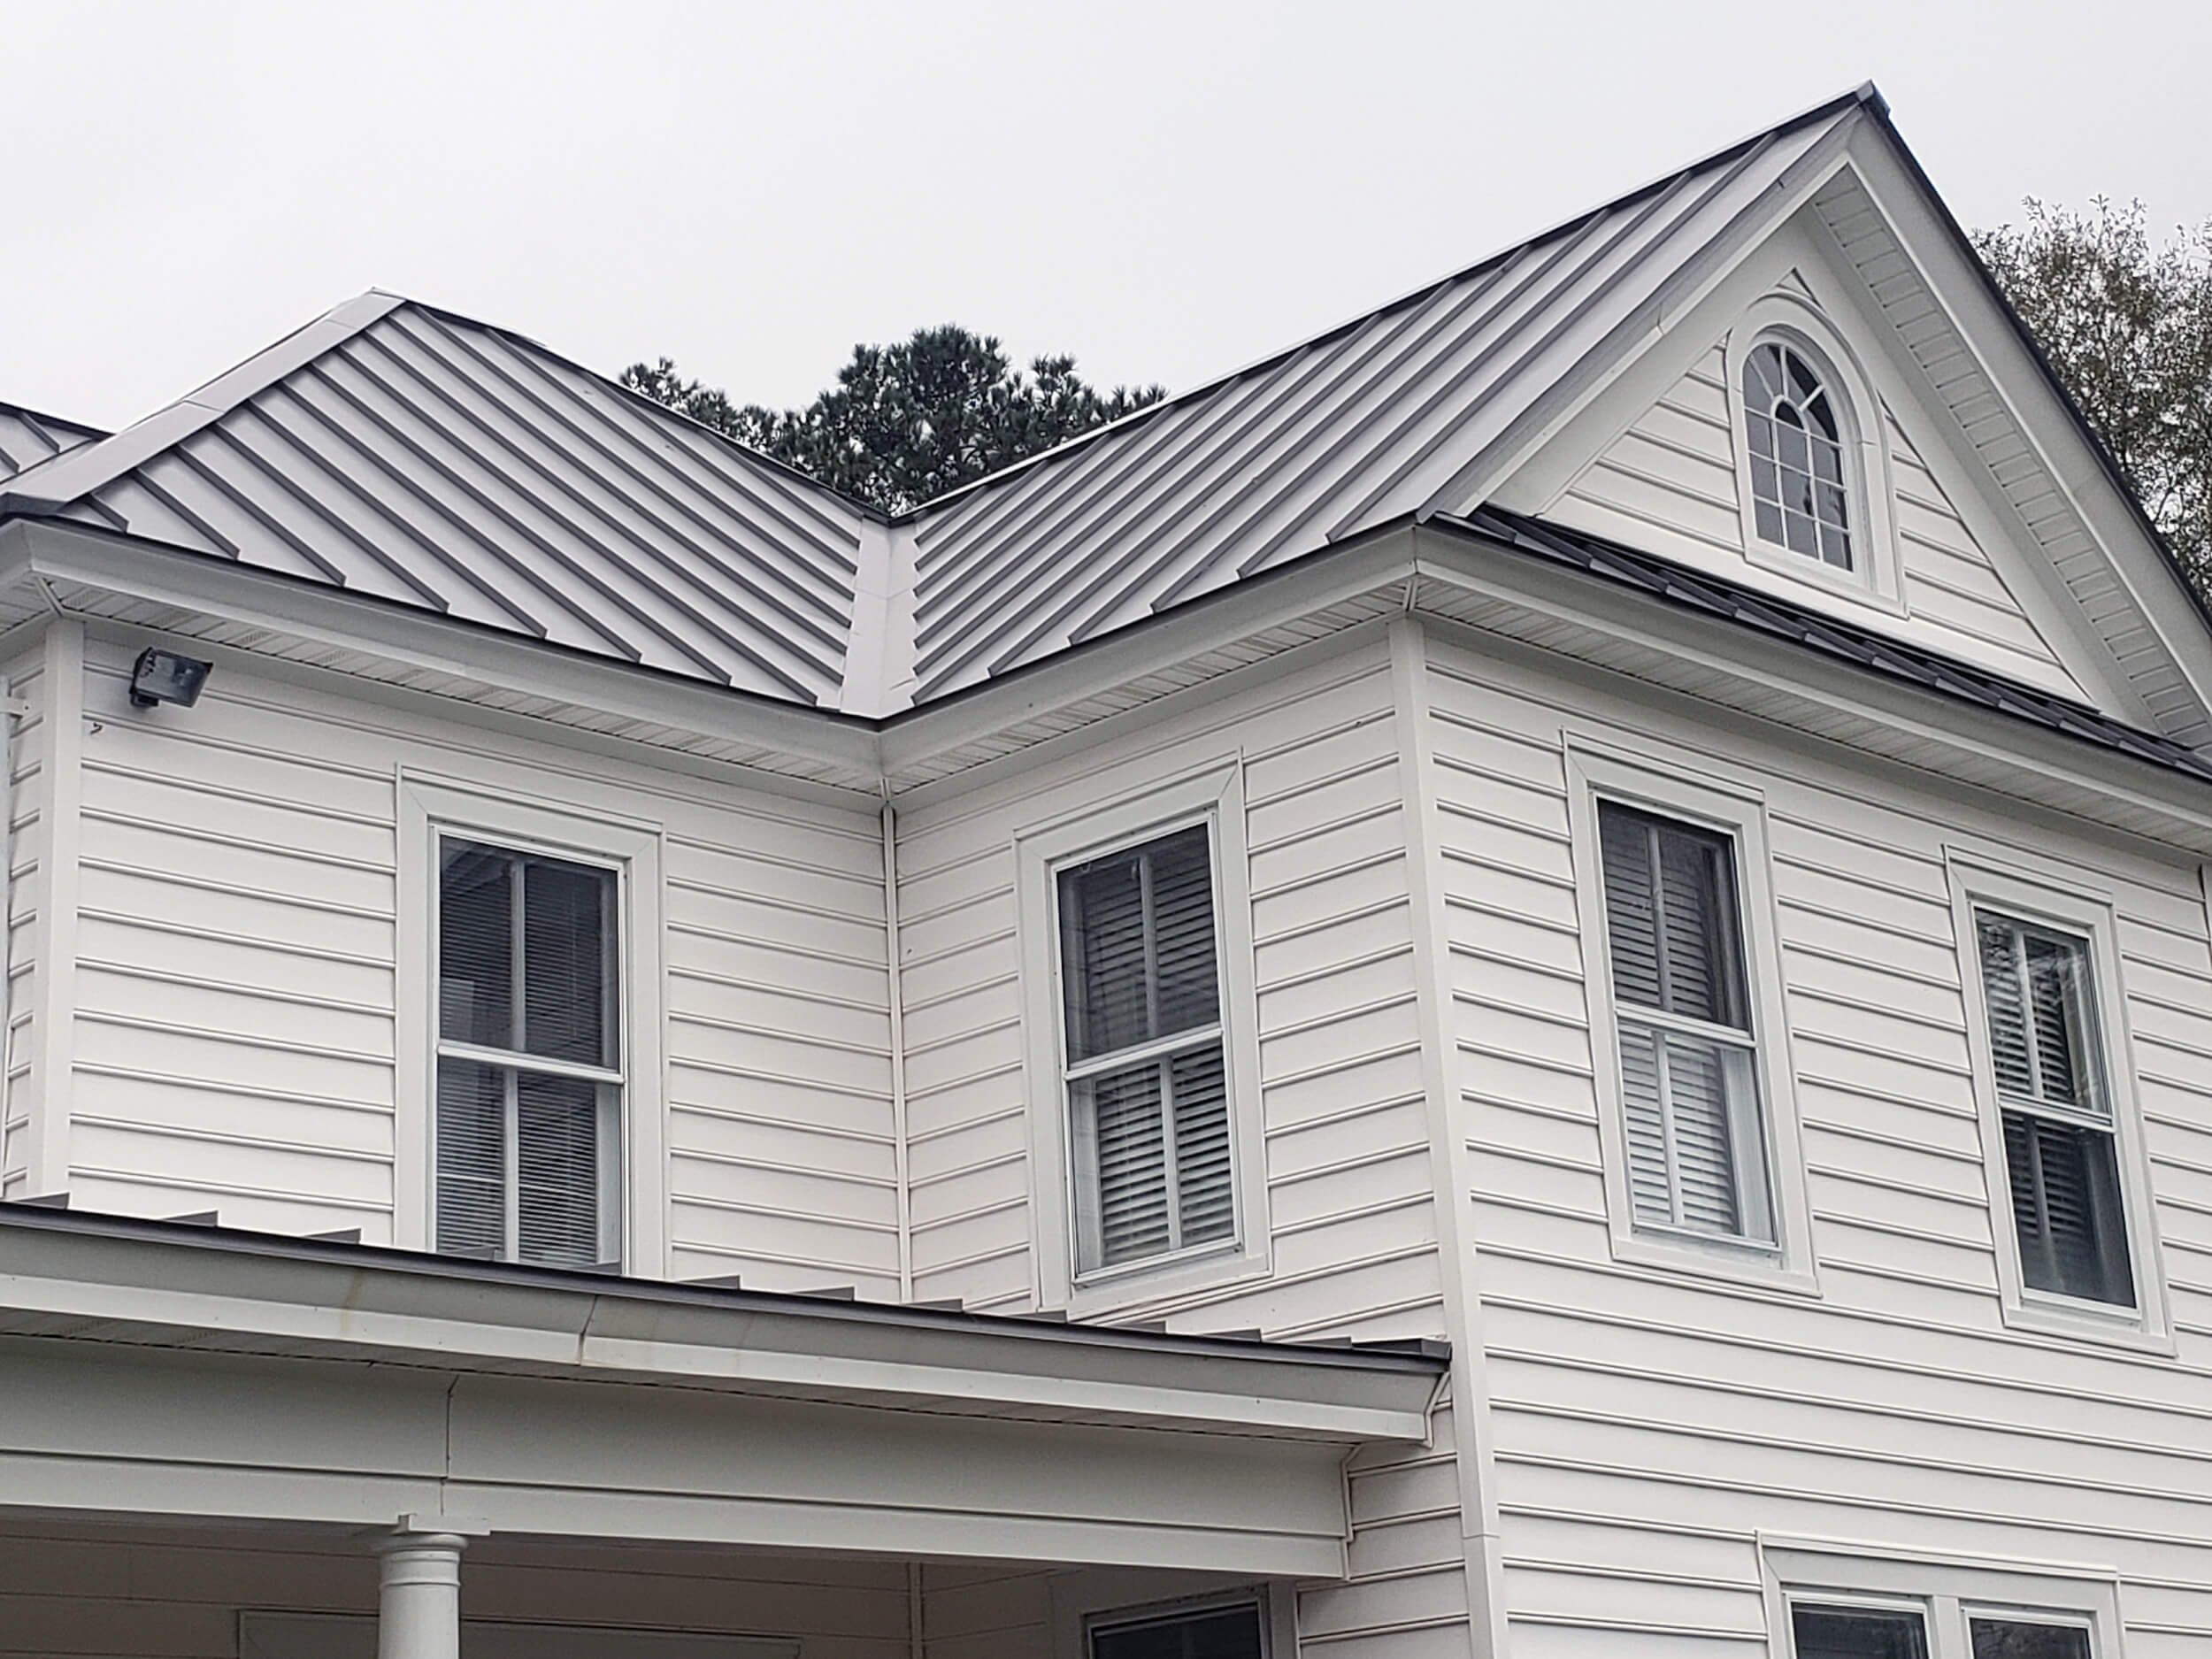
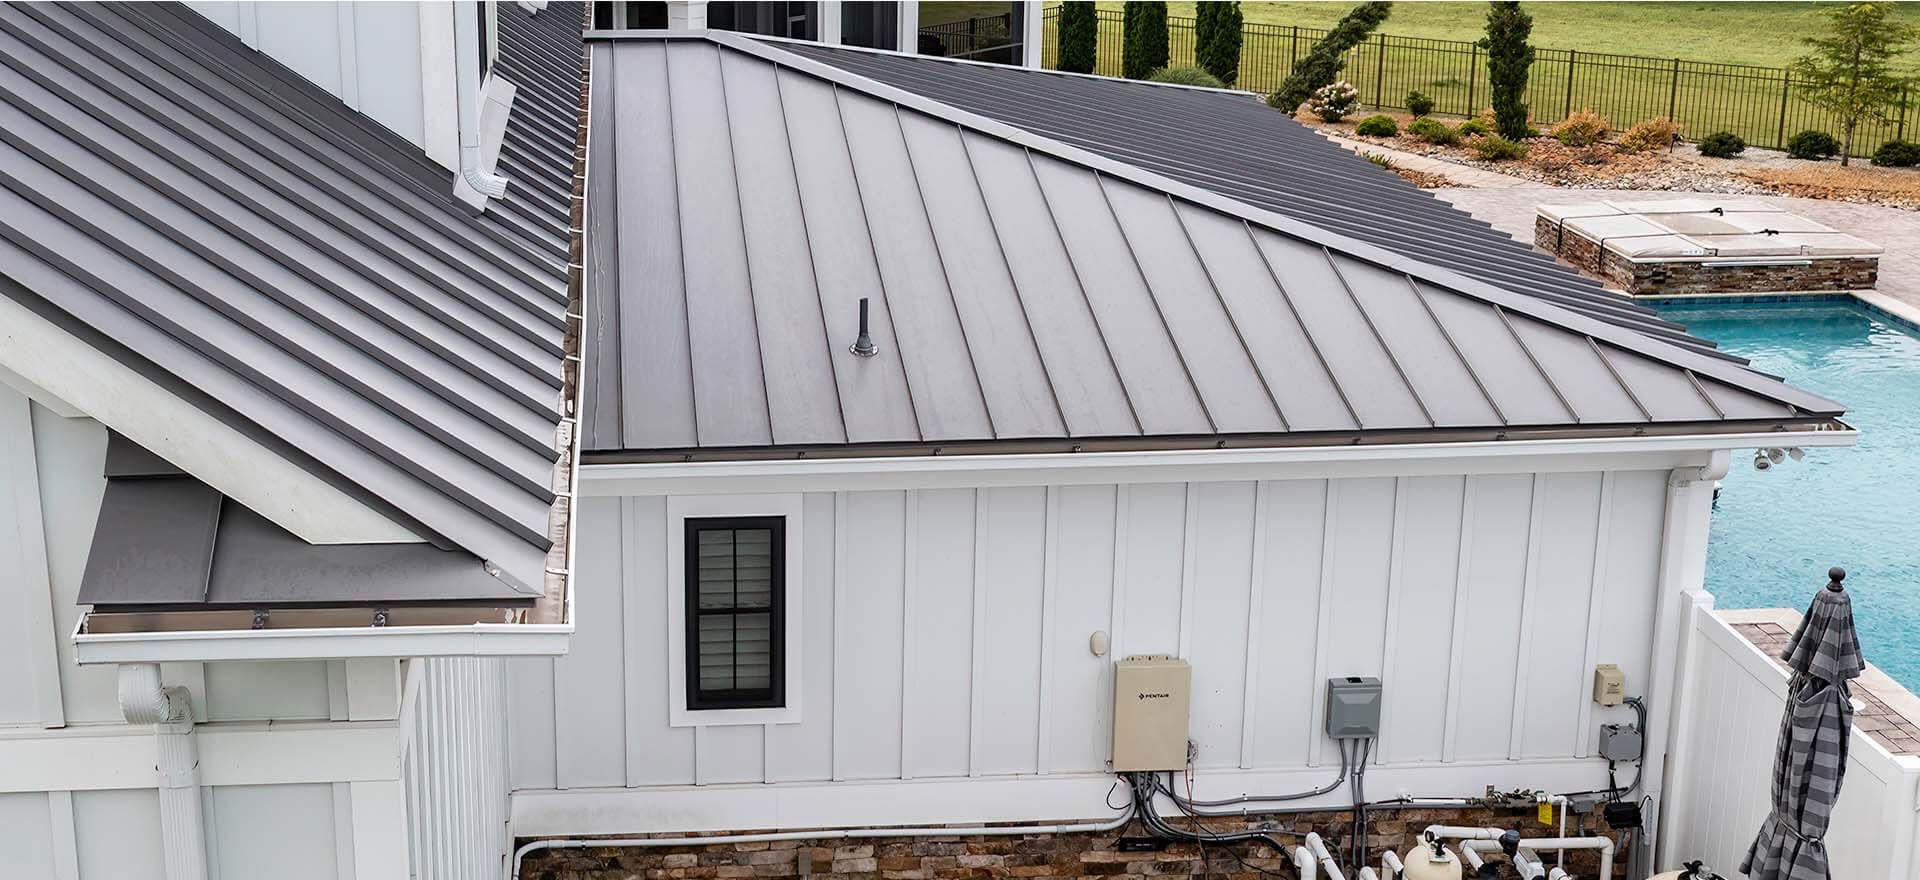
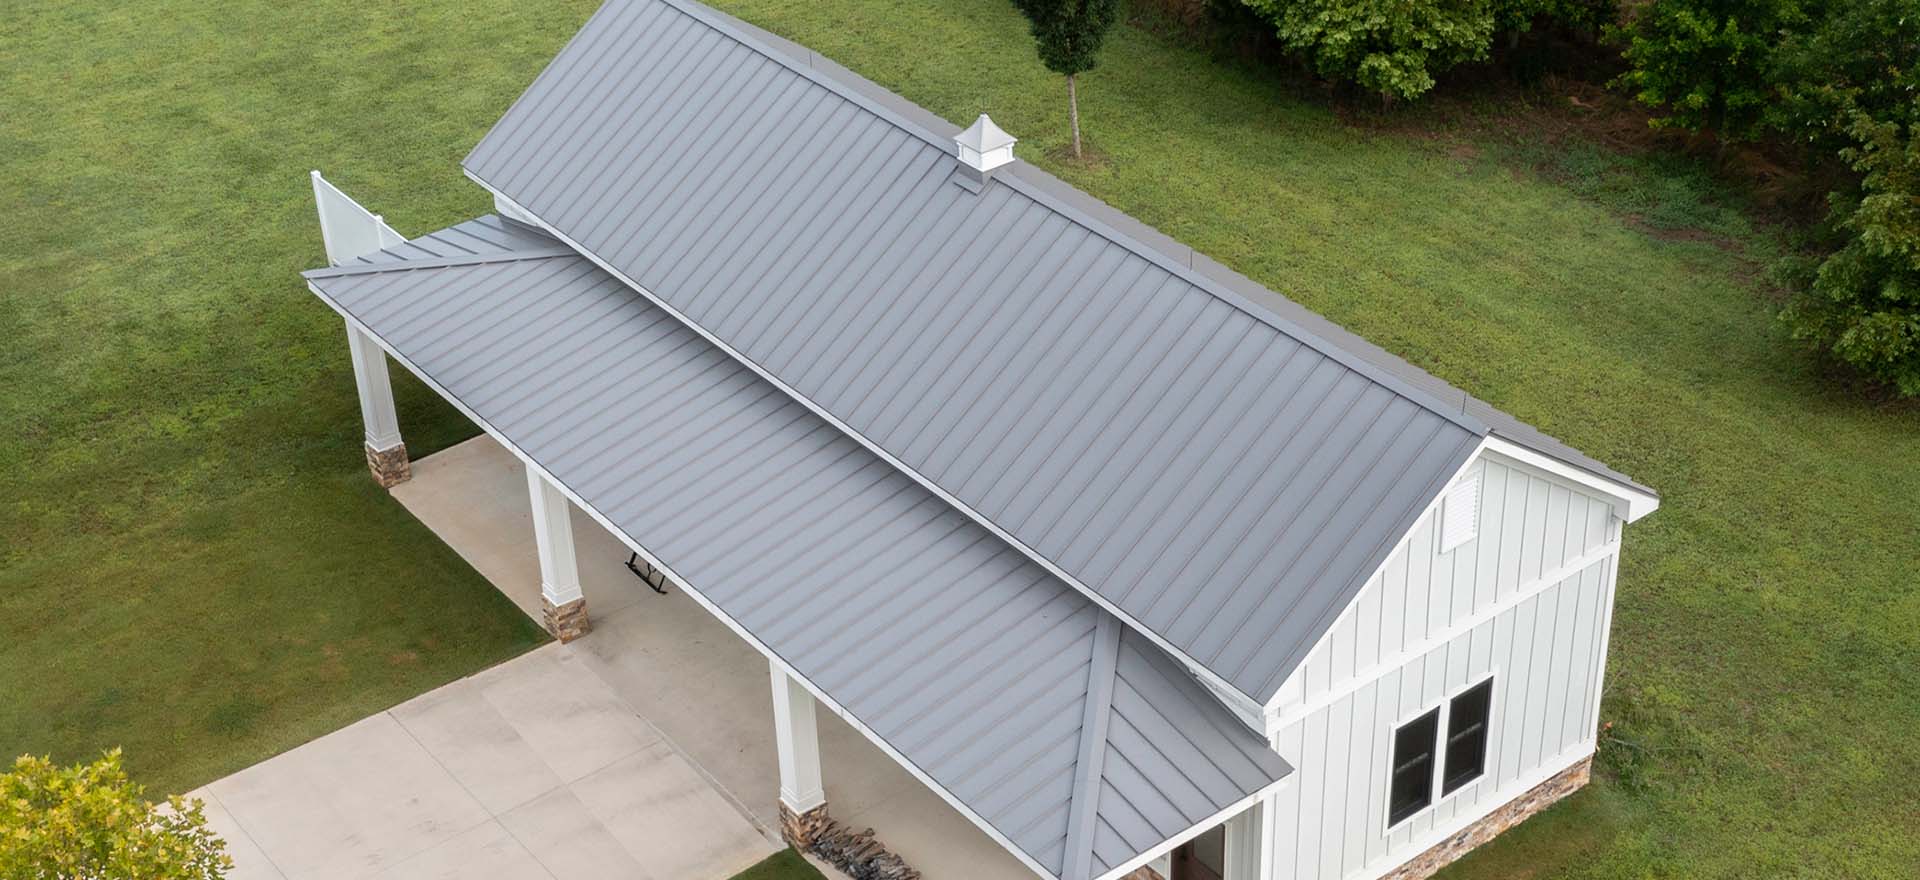
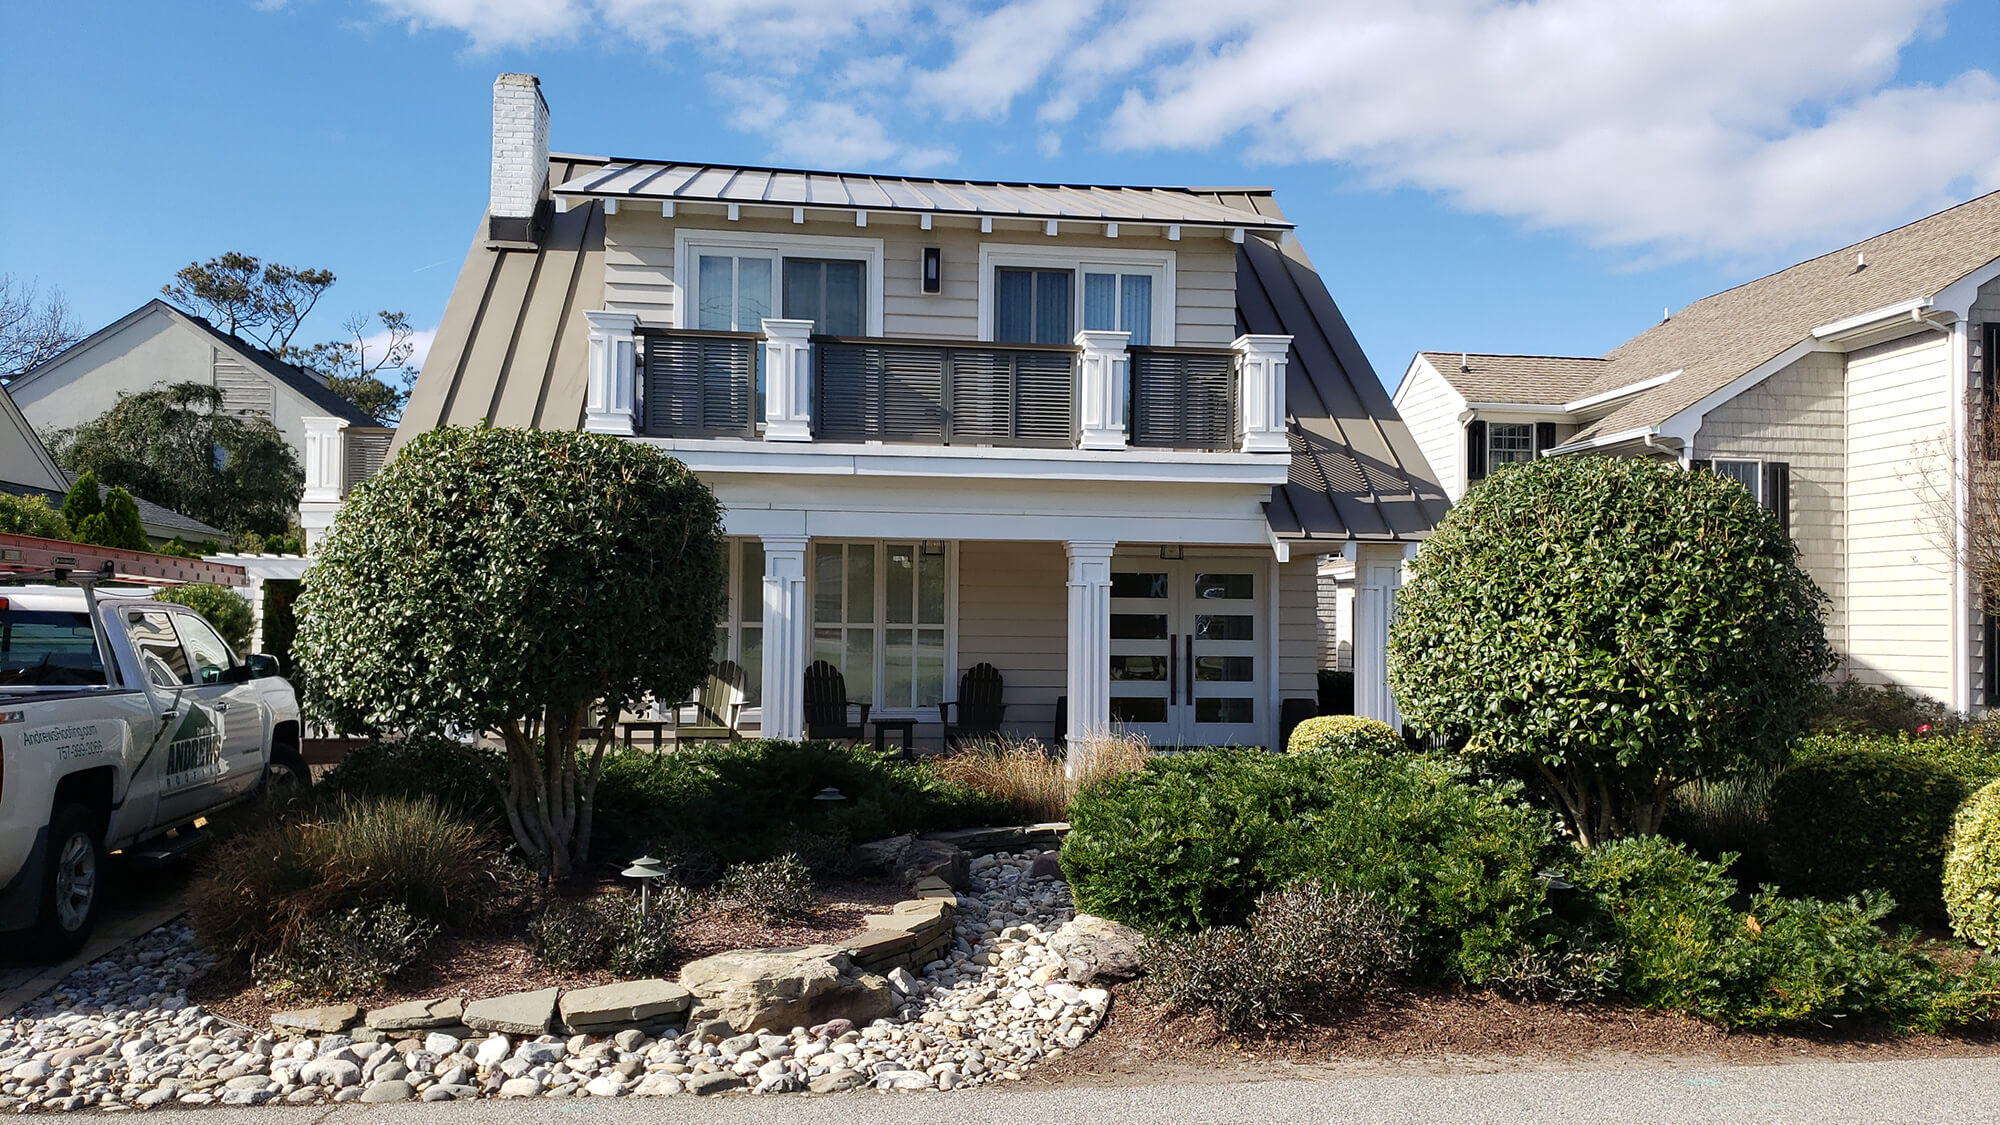
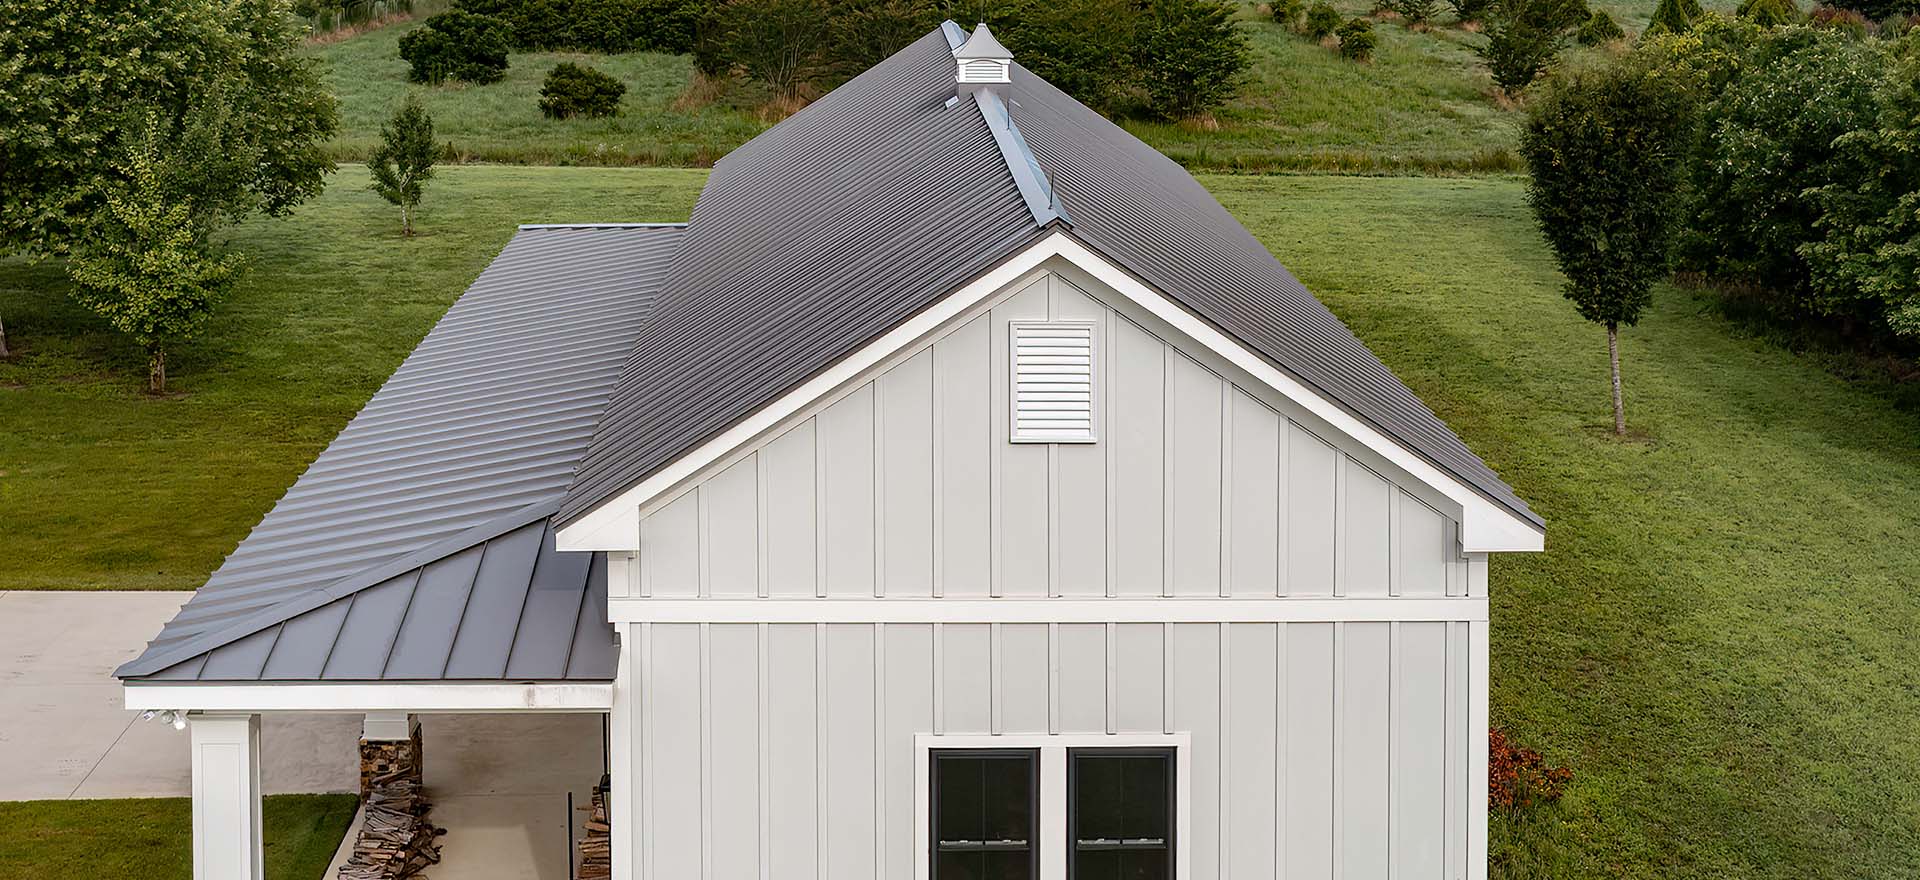
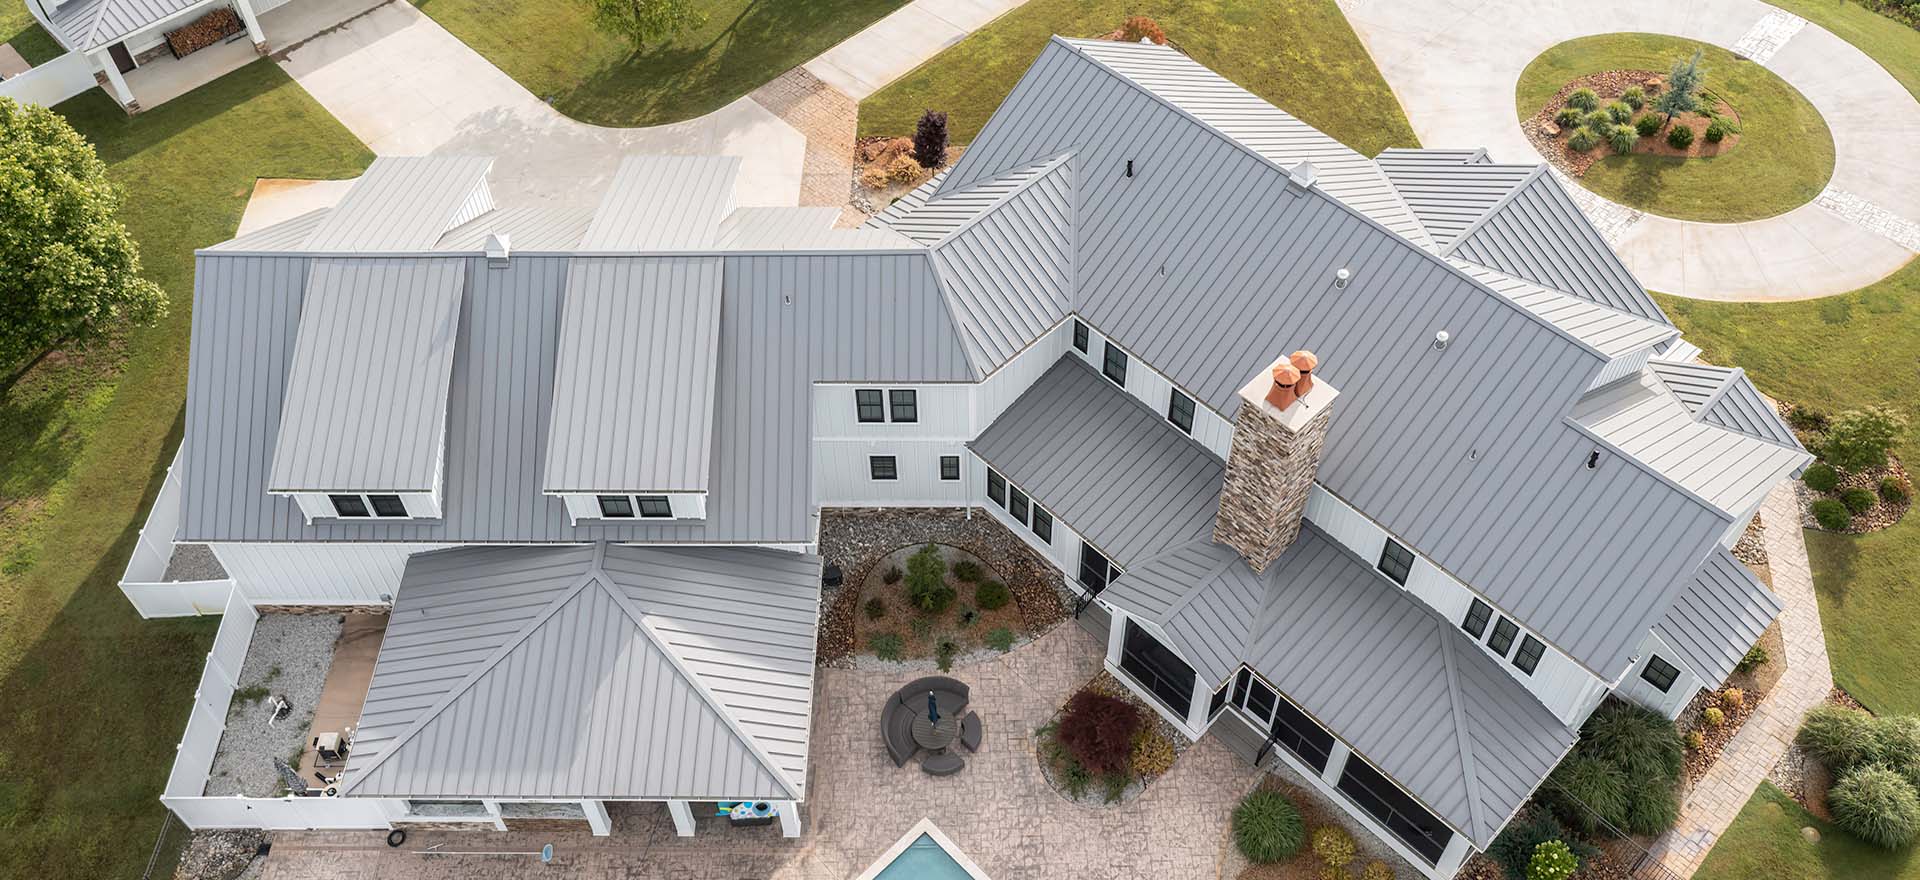
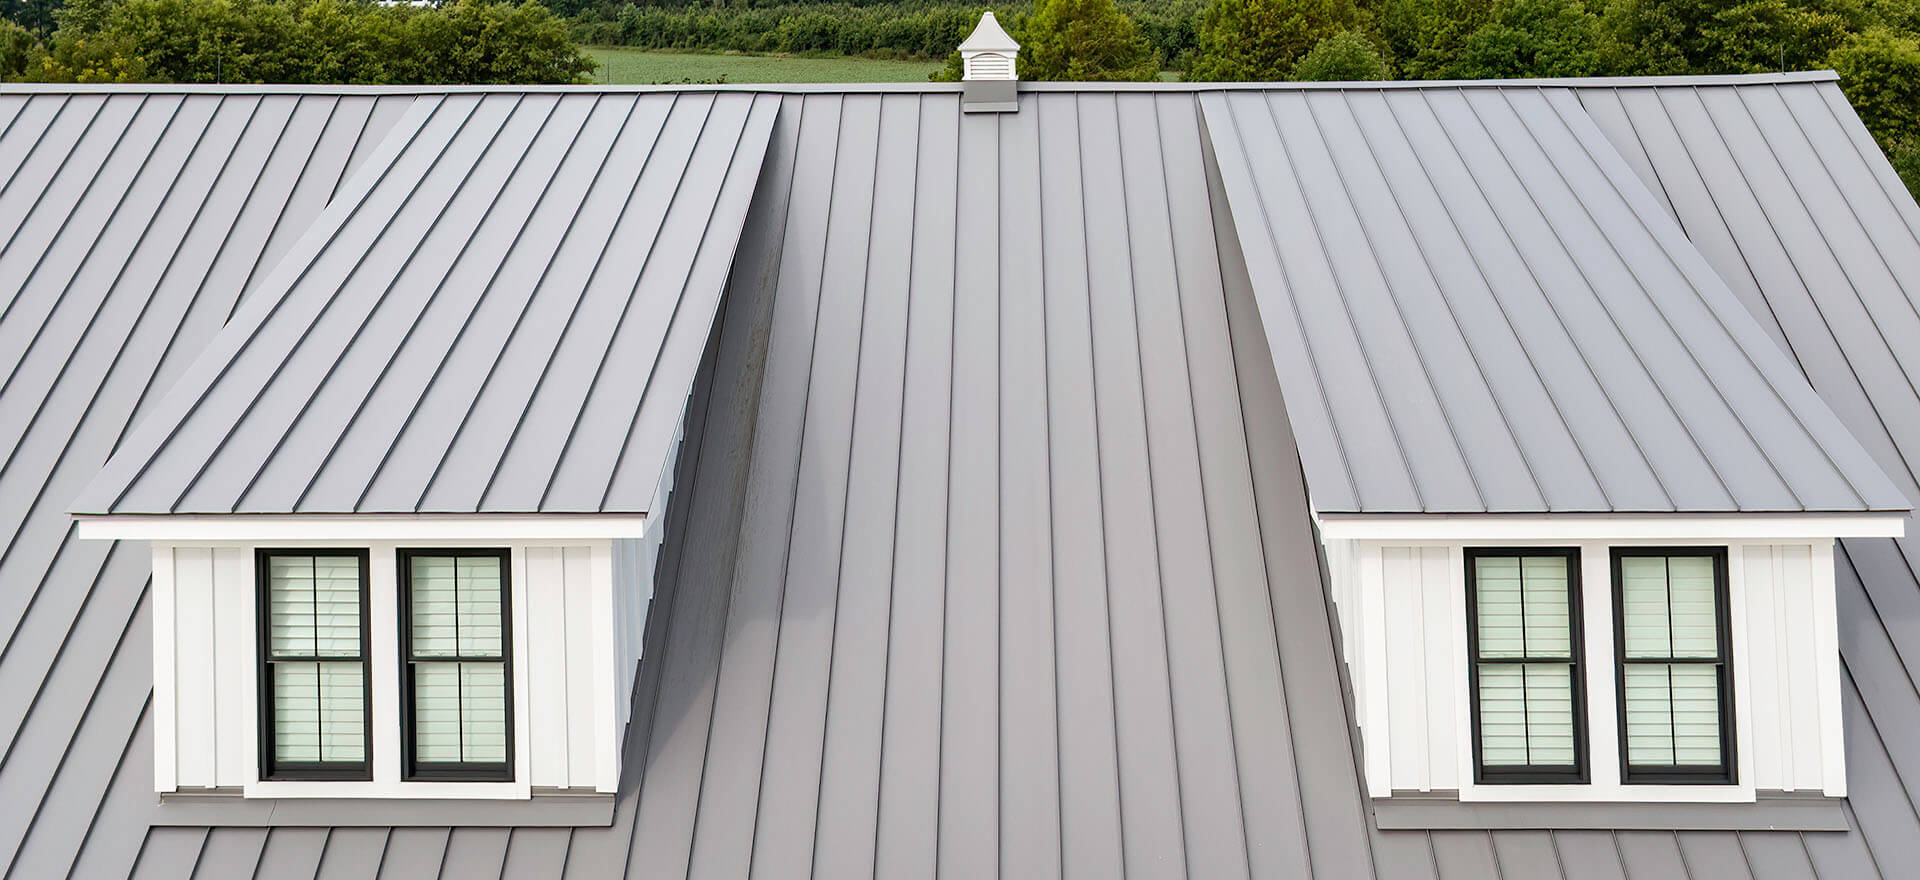
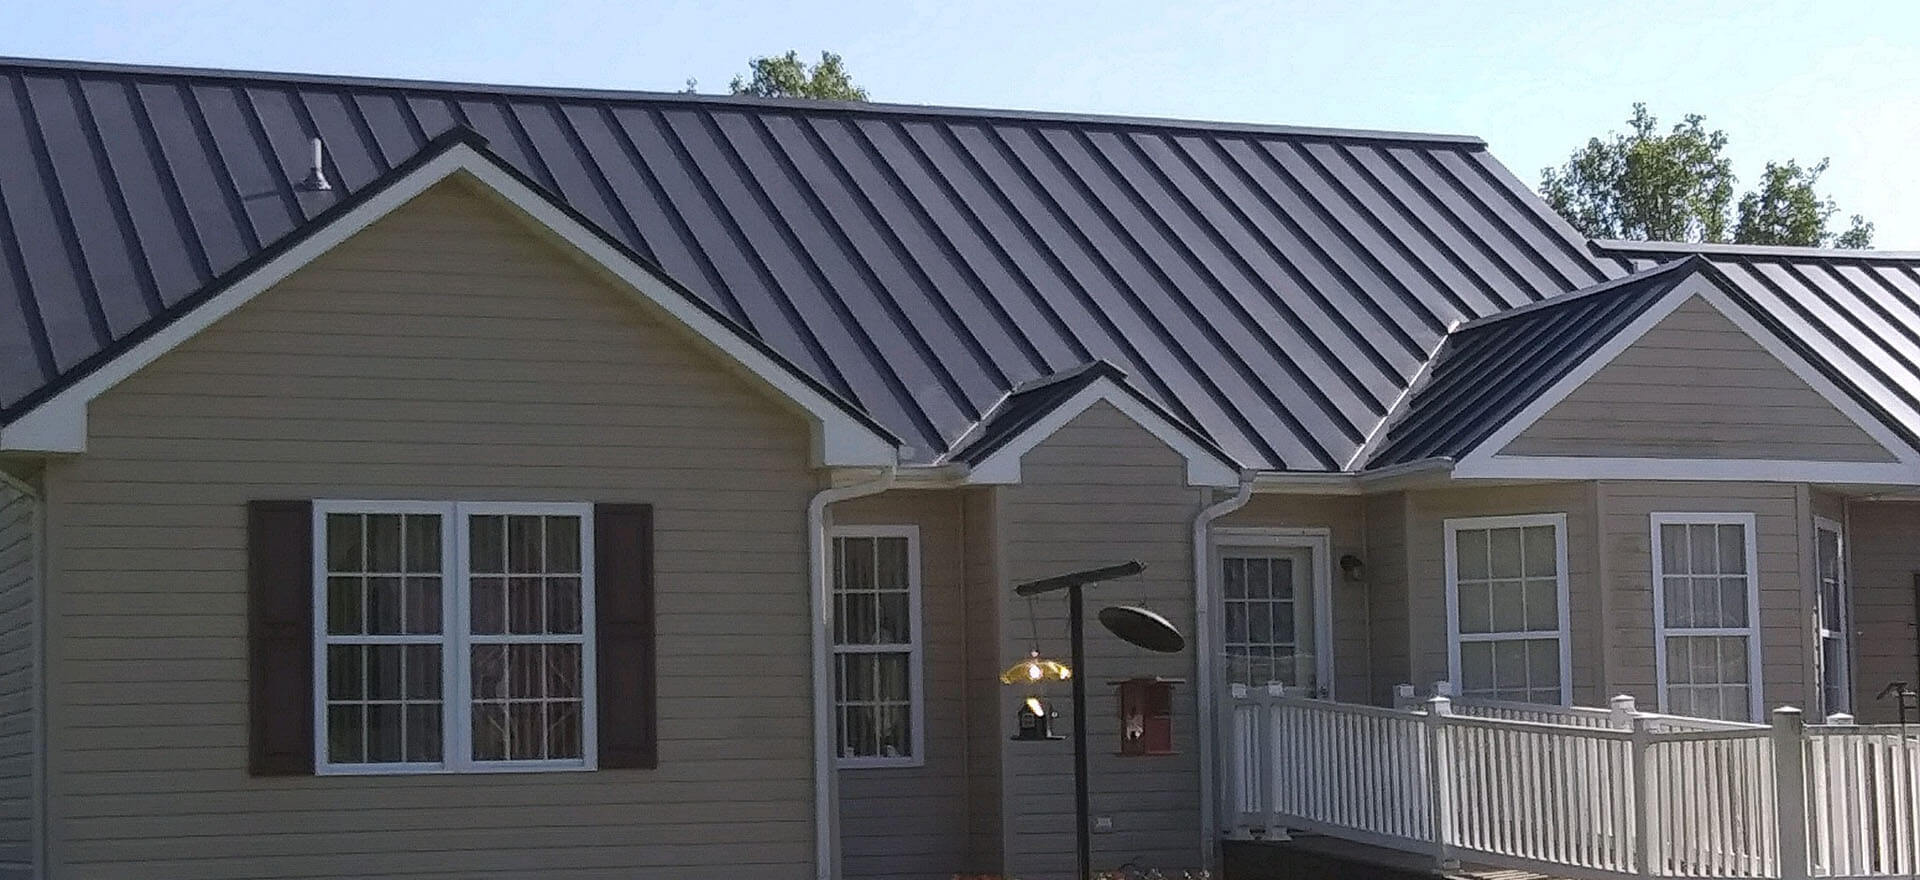
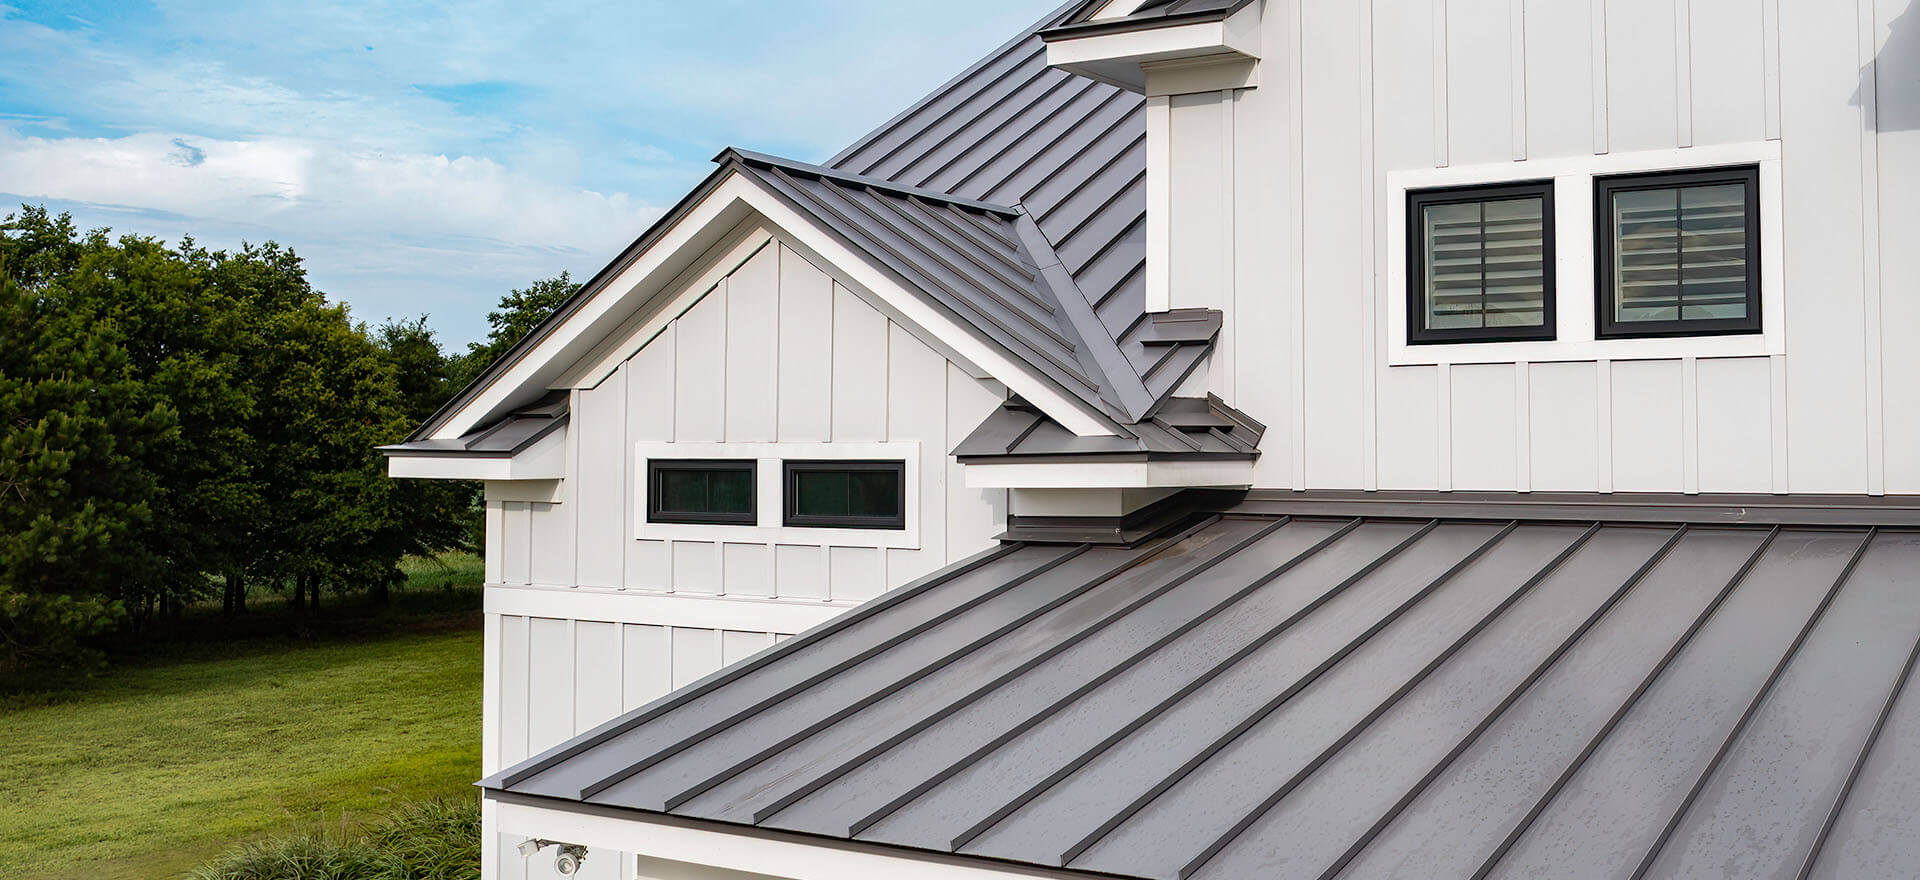
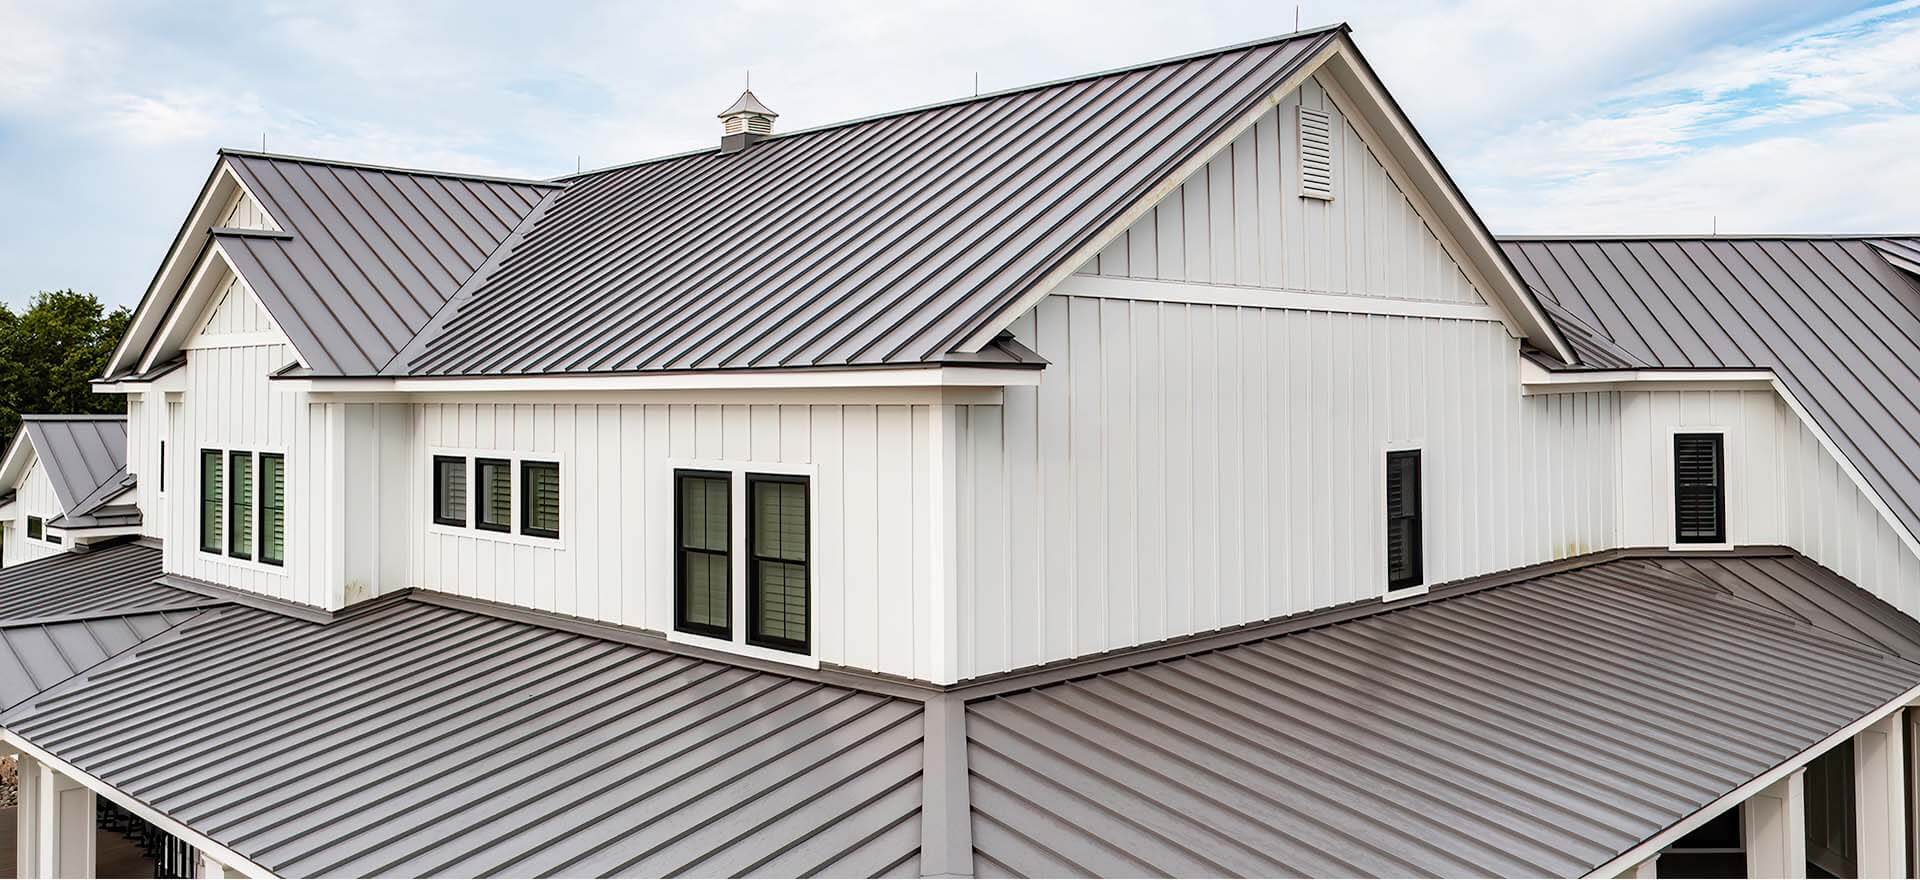
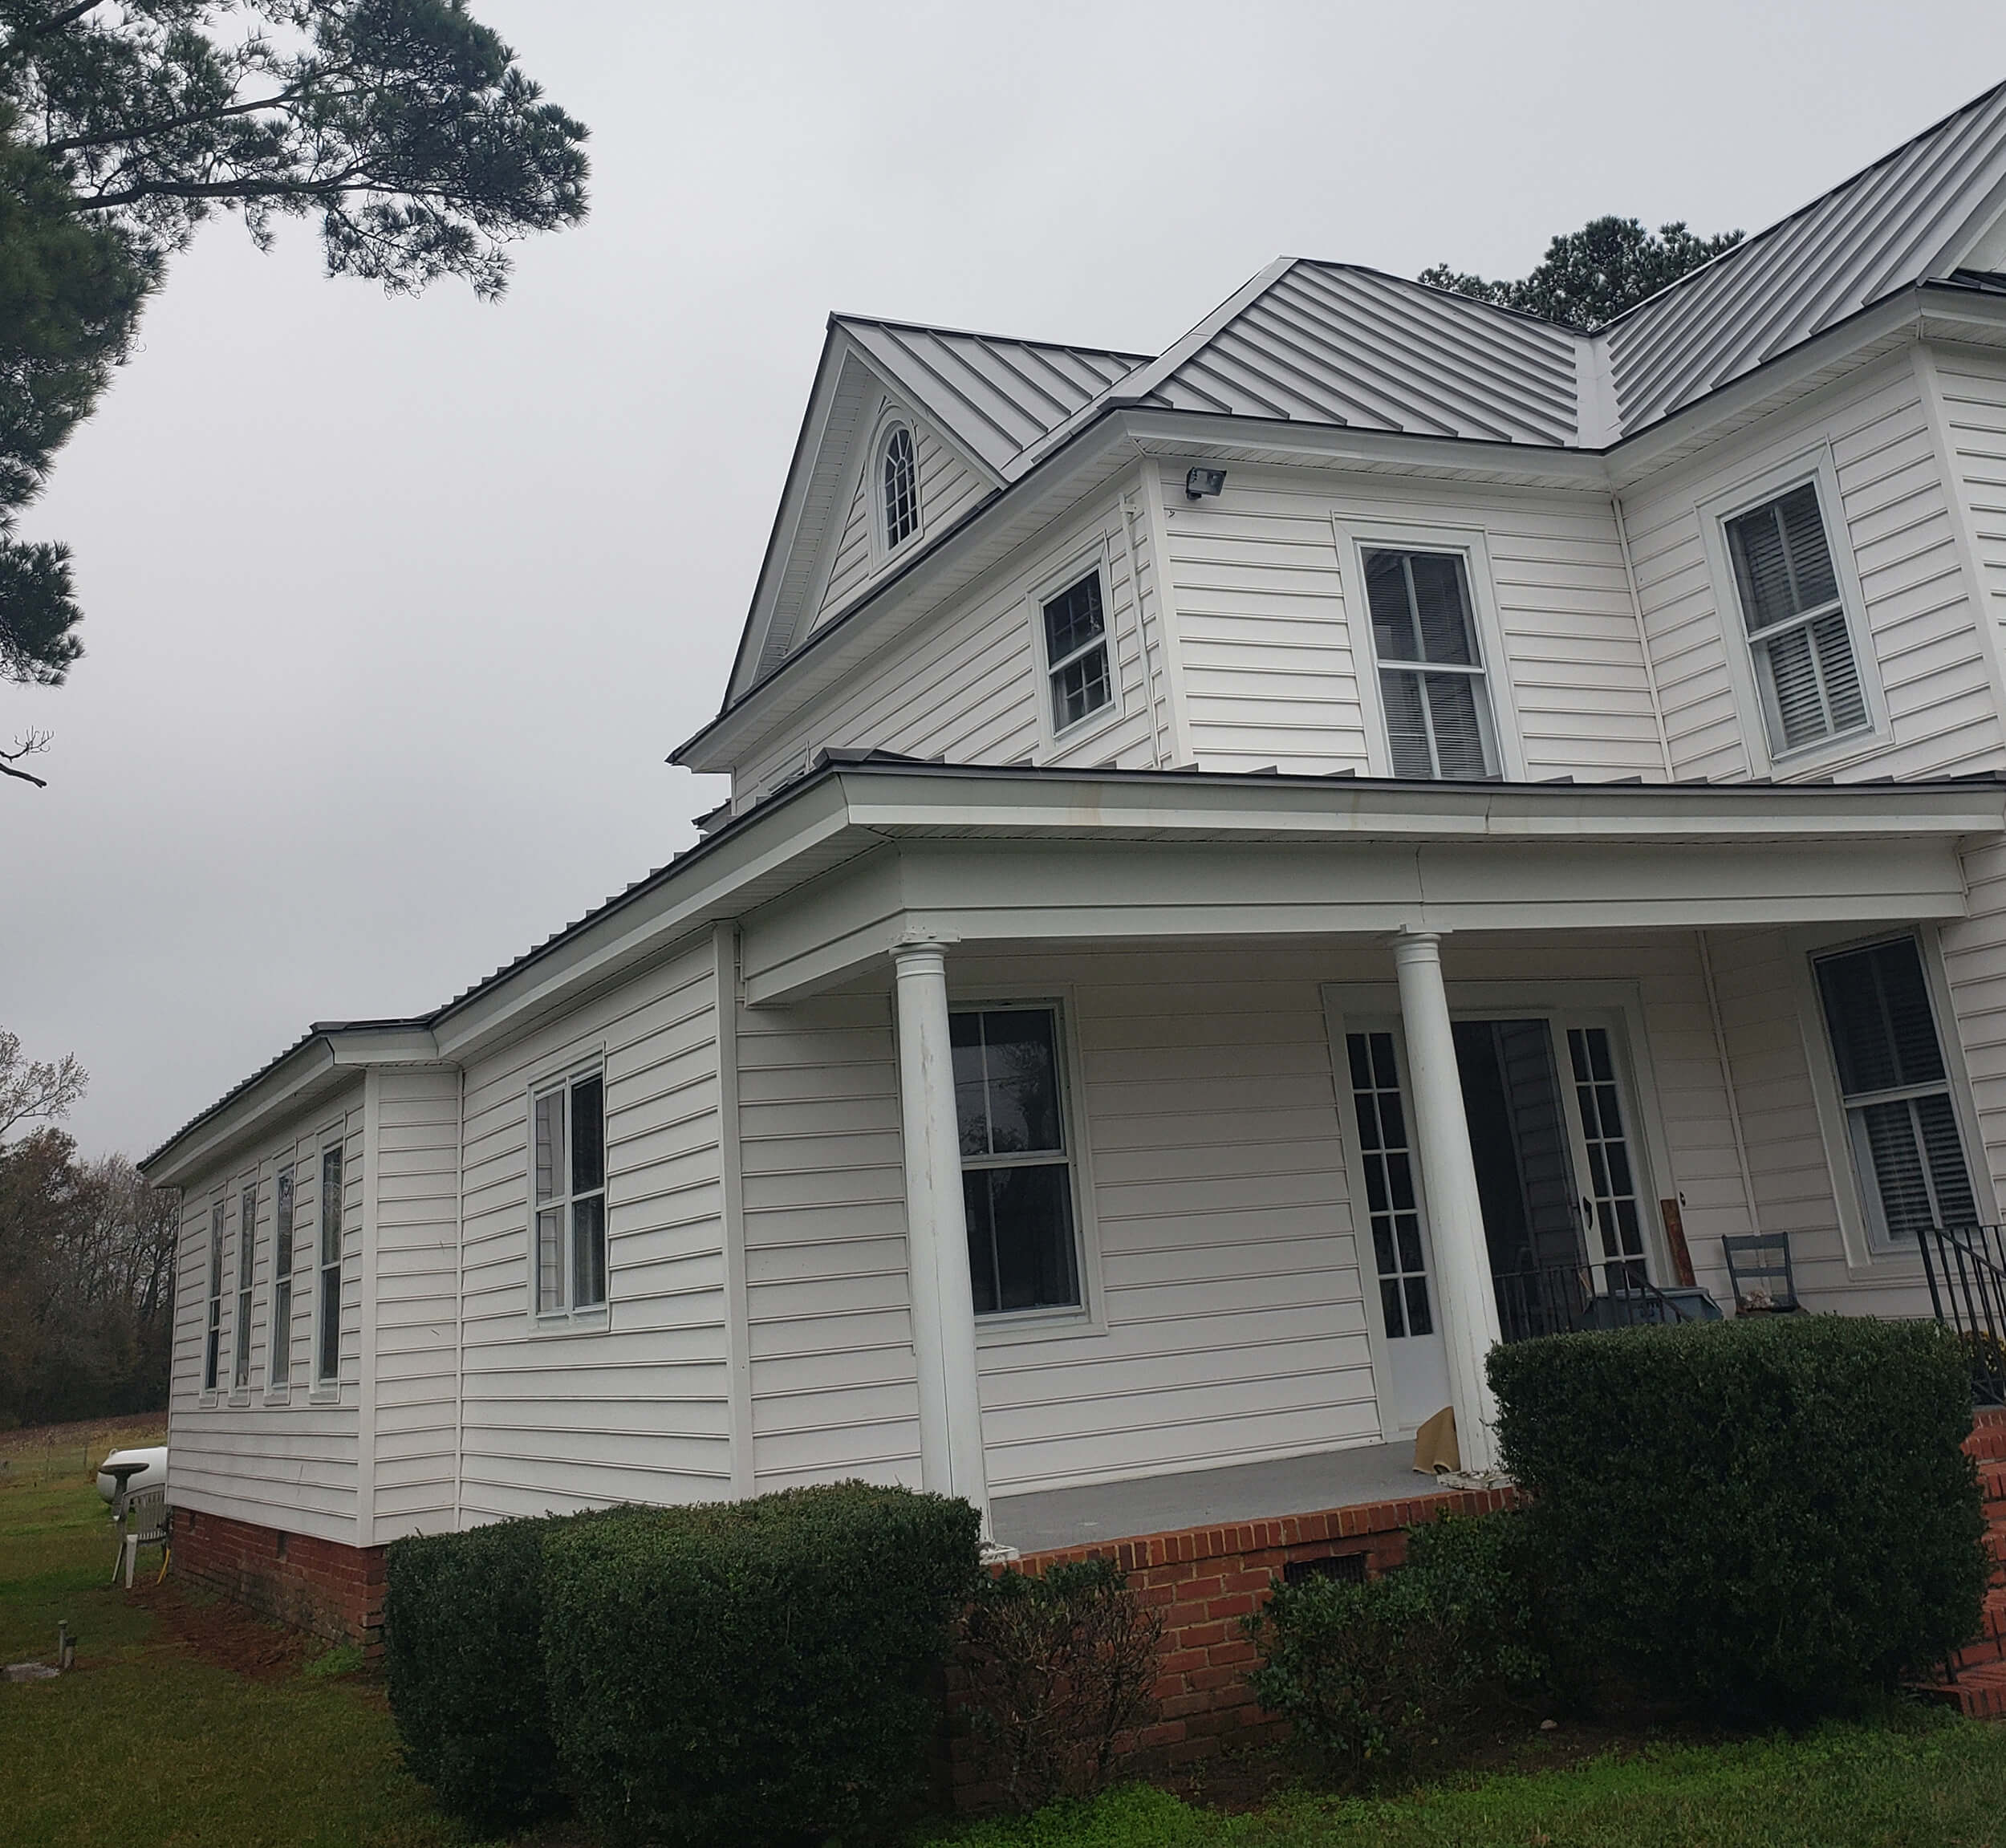
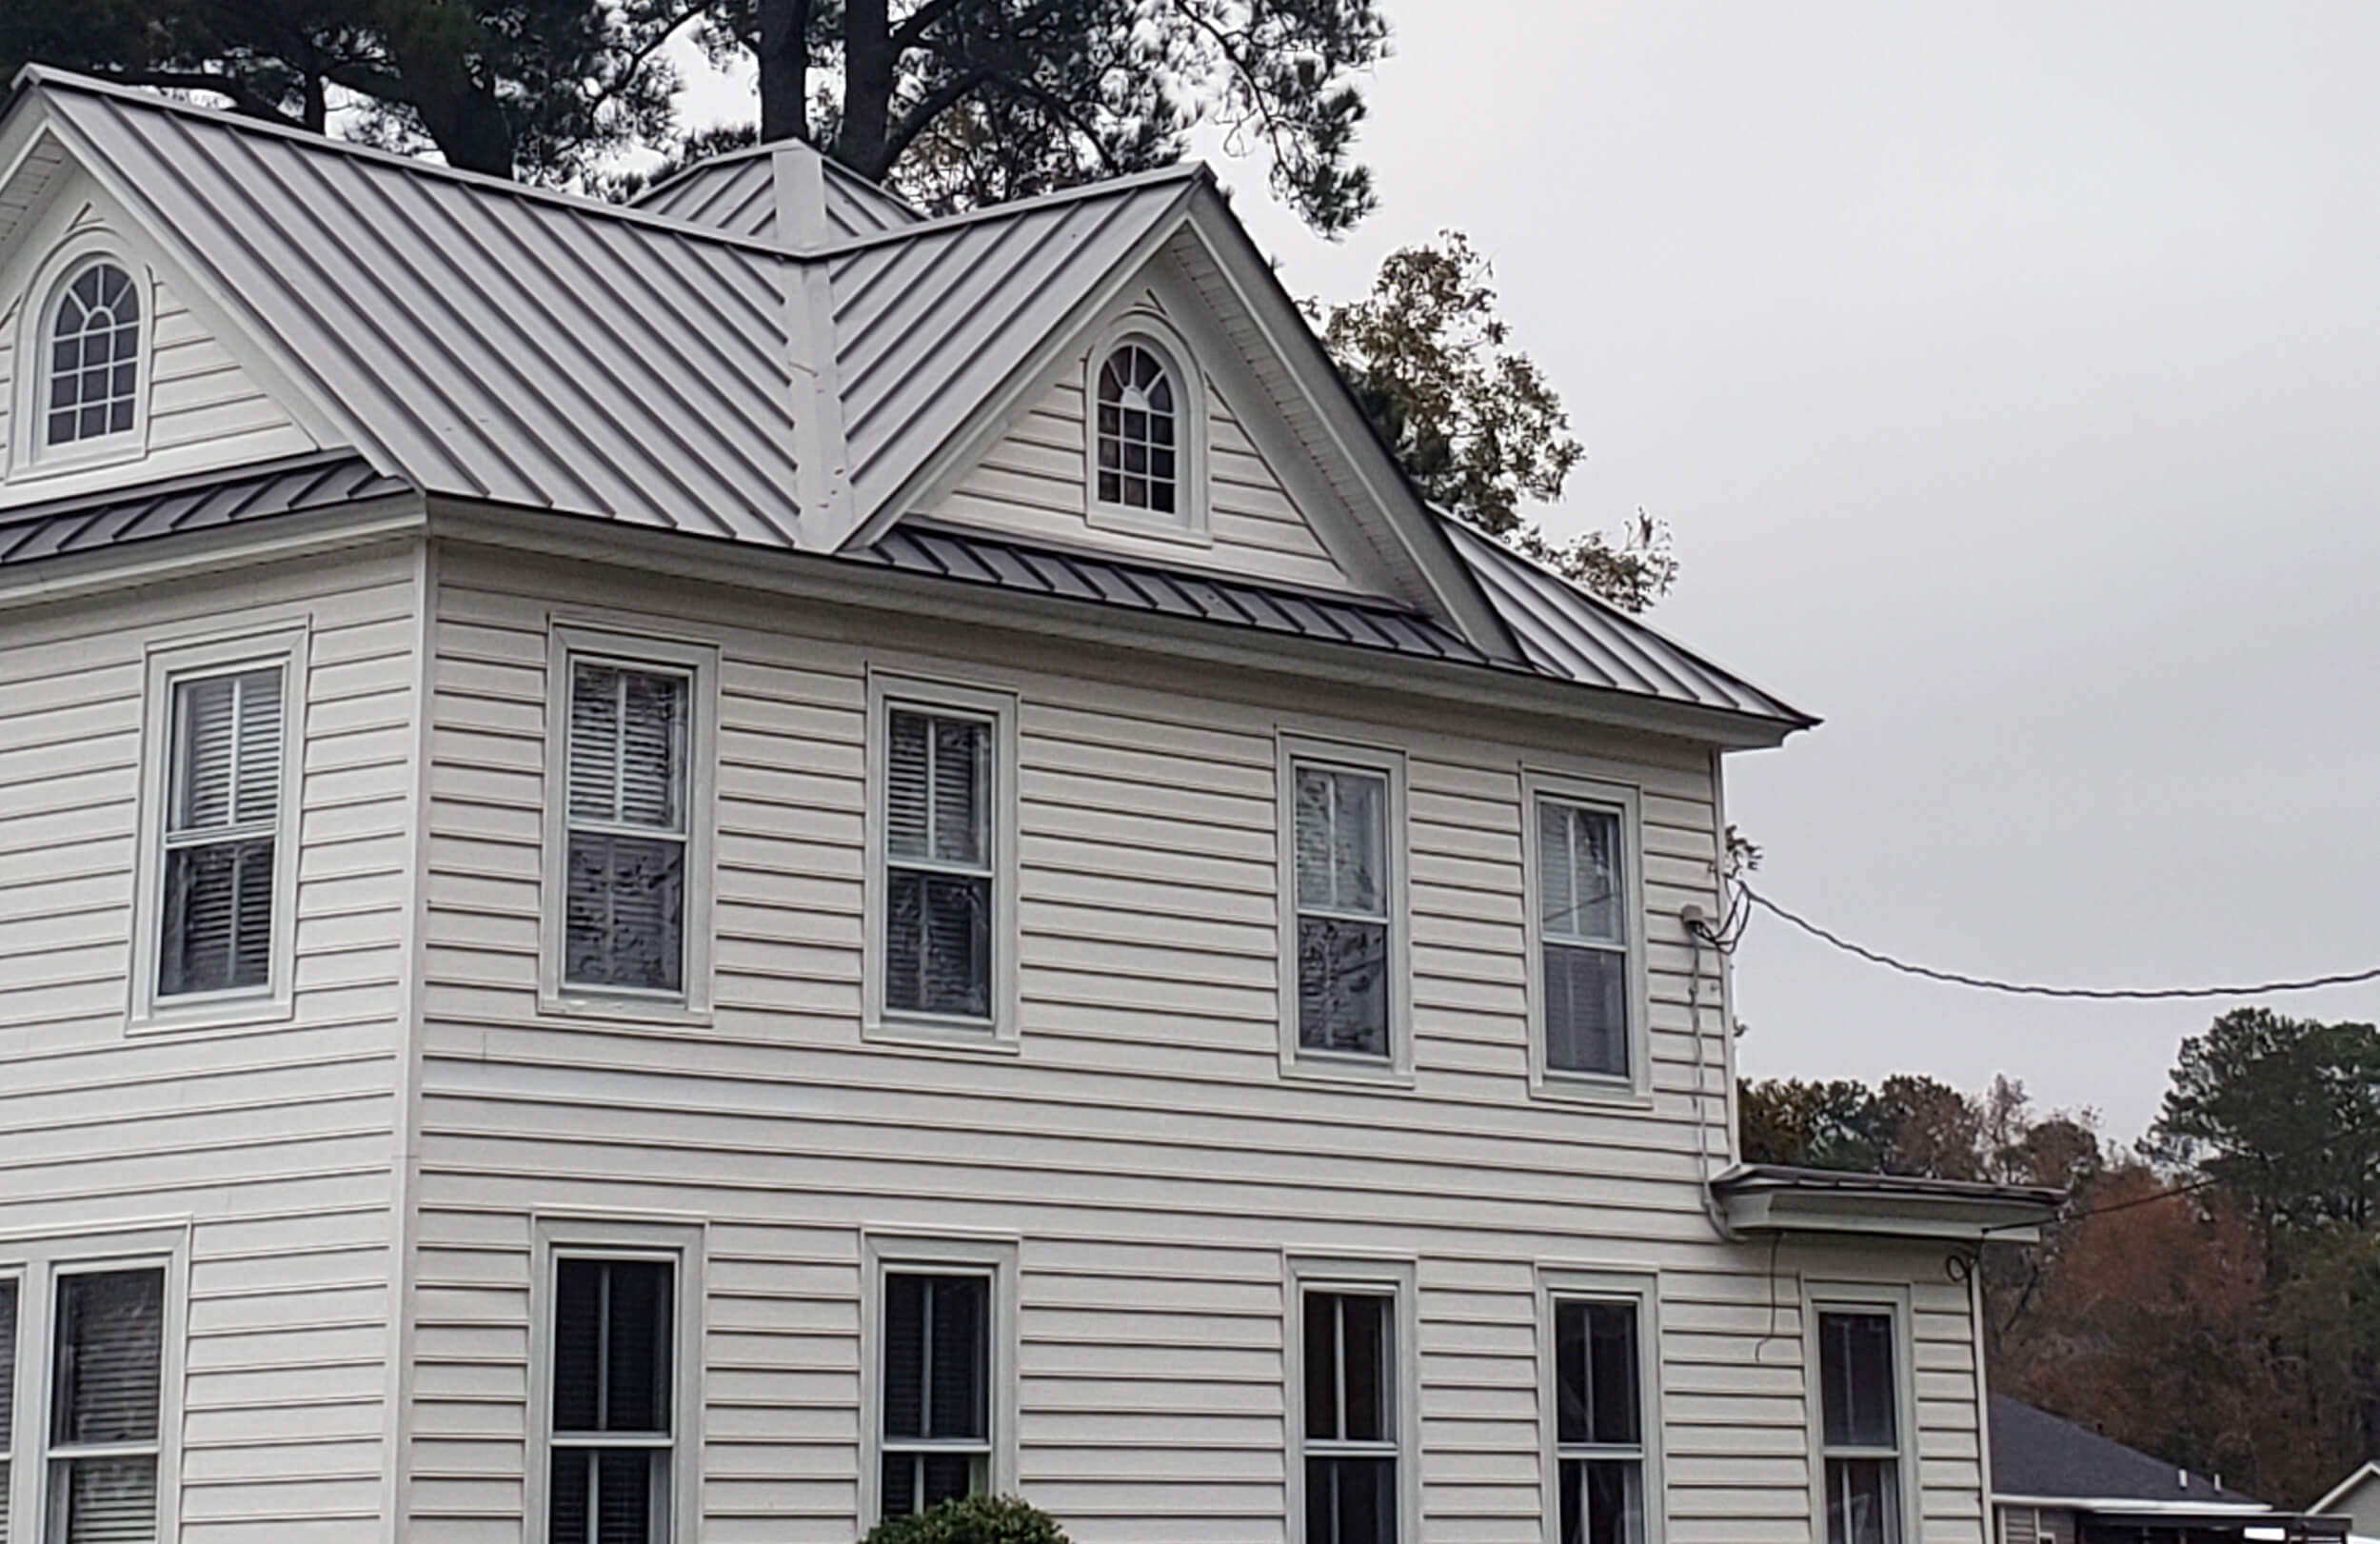
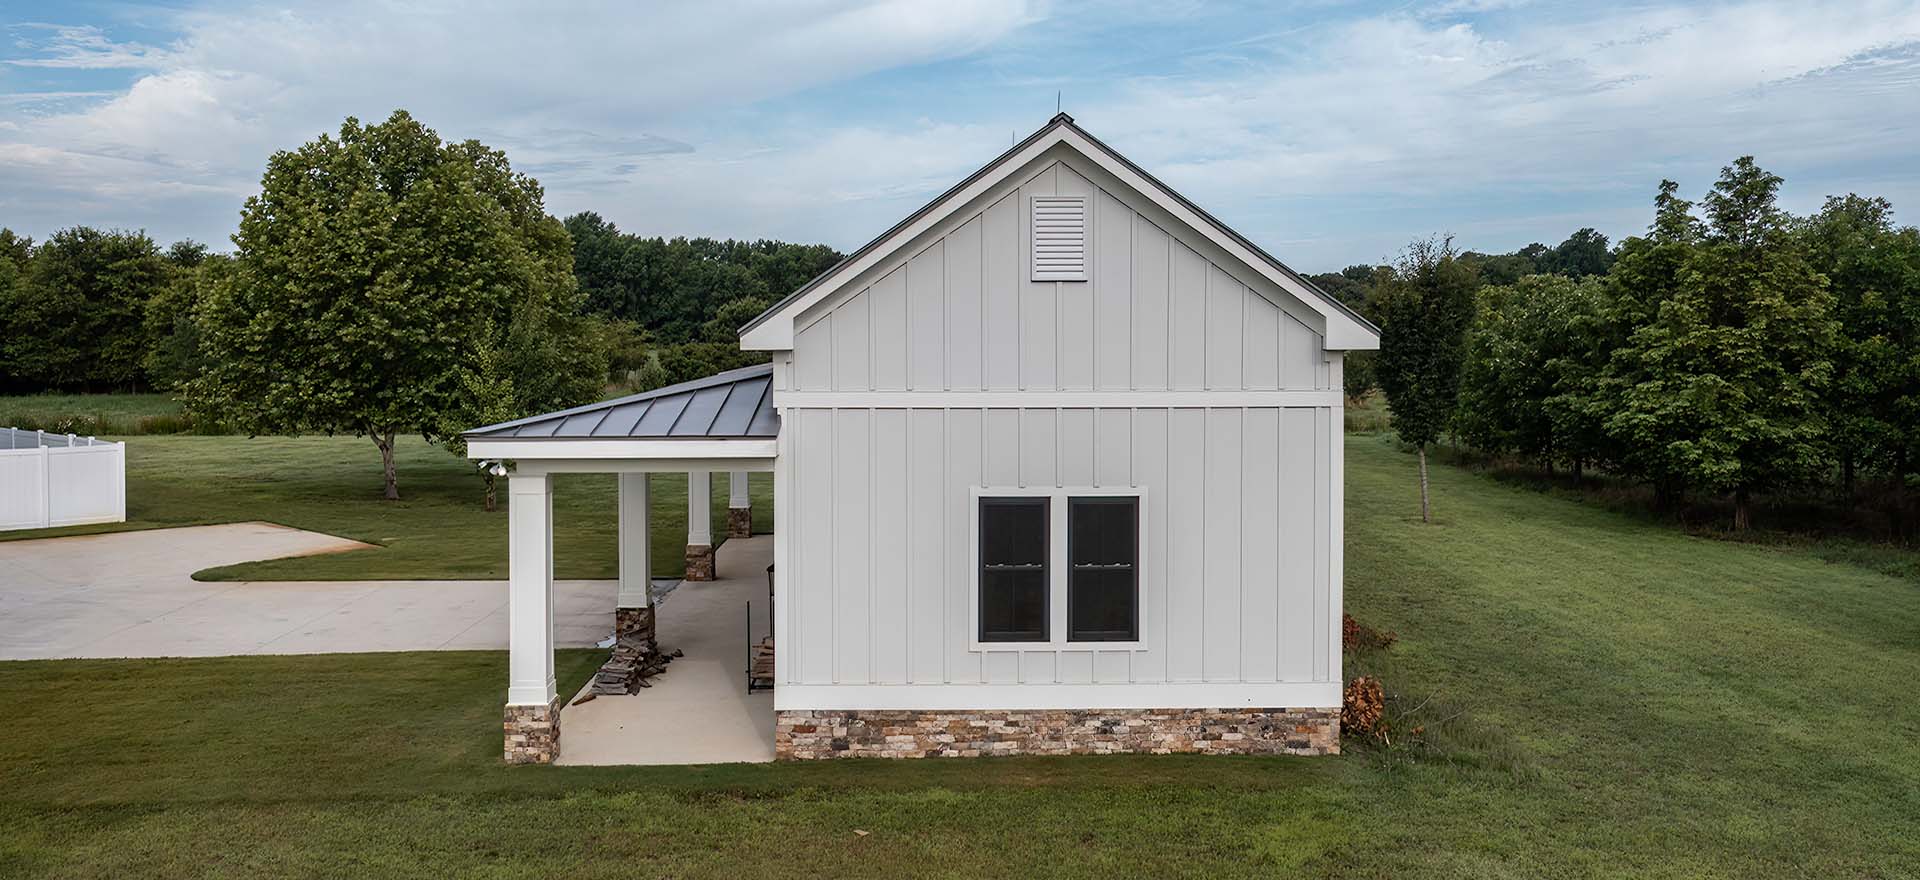
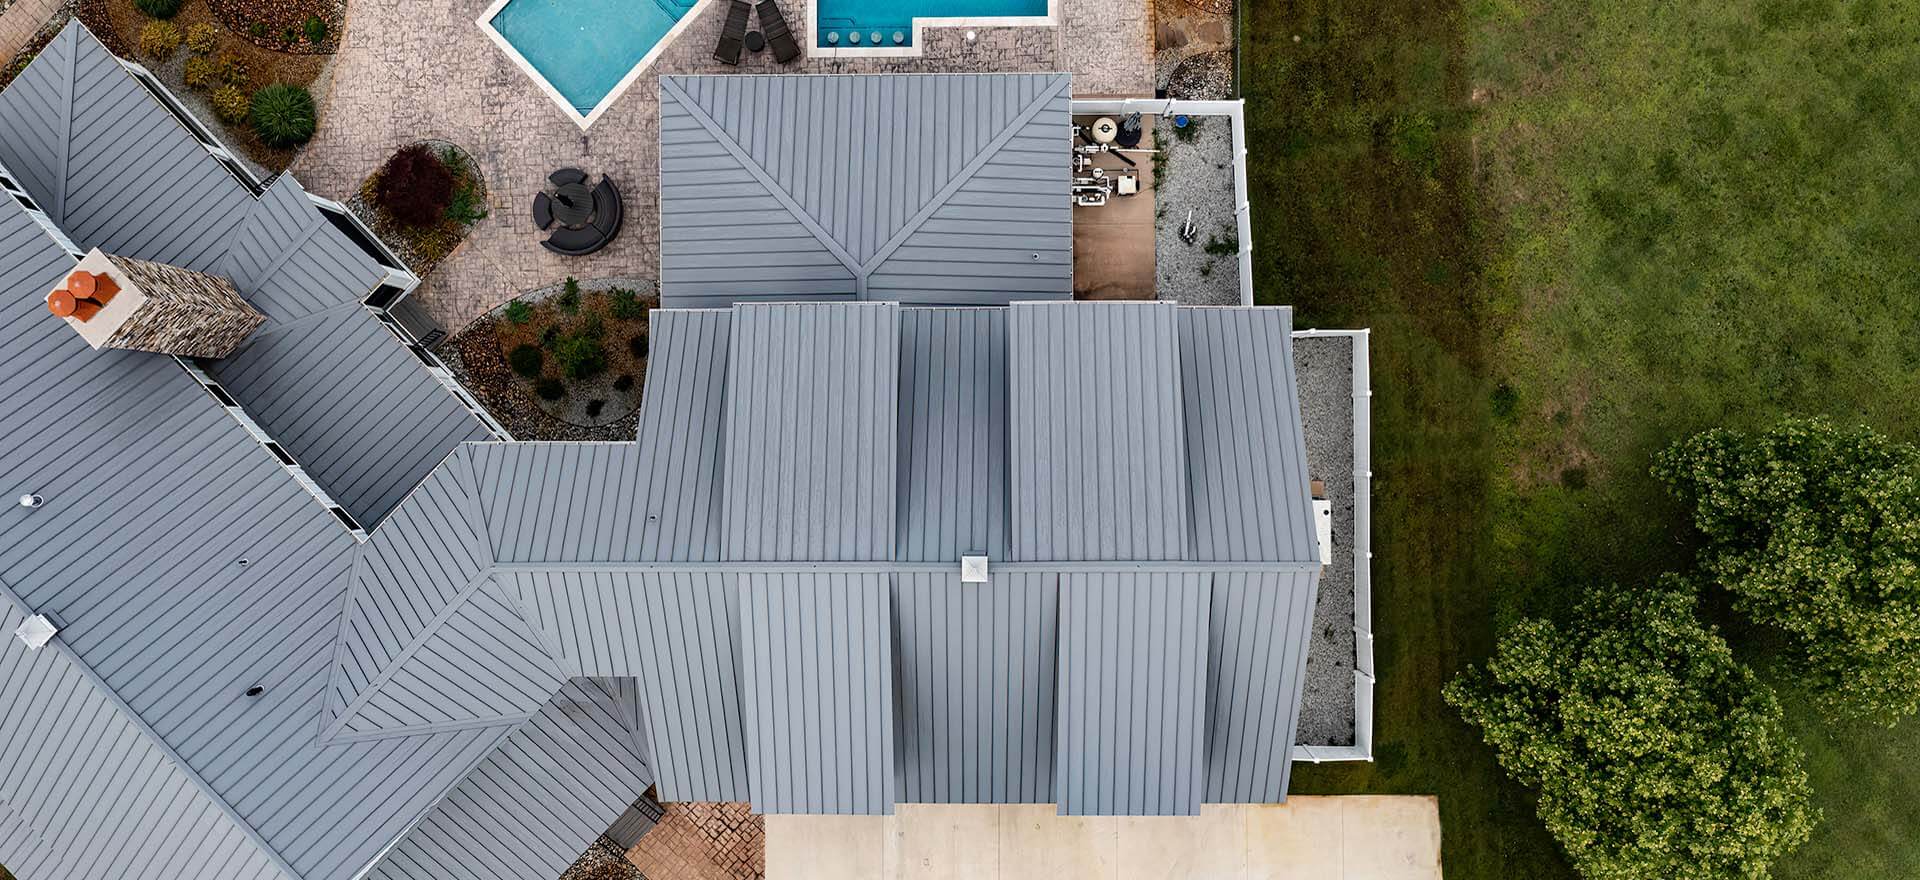
This one’s simple: on a properly insulated, fully decked roof, rain on metal sounds about the same as rain on any other roofing material. The perception that metal roofs are loud usually traces back to old barns or farmhouses with a single layer of exposed metal and no insulation underneath which is a completely different assembly than what goes on a modern home. Add fibrous insulation and a solid deck, and the sound difference is negligible. Standing seam systems, which use concealed clips rather than exposed fasteners, add another layer of quiet by reducing vibration transfer into the structure.
Where Metal Roofs Actually Go Wrong
If condensation or noise complaints show up after installation, it’s rarely the material’s fault. It’s almost always a corner that got cut somewhere along the way: a skipped strip of vapor barrier tape, insulation that got compressed or gapped over a framing member, or a ventilation detail that got value-engineered out during construction. These are small decisions made in the field, and they’re exactly where roof performance is won or lost.
The Takeaway
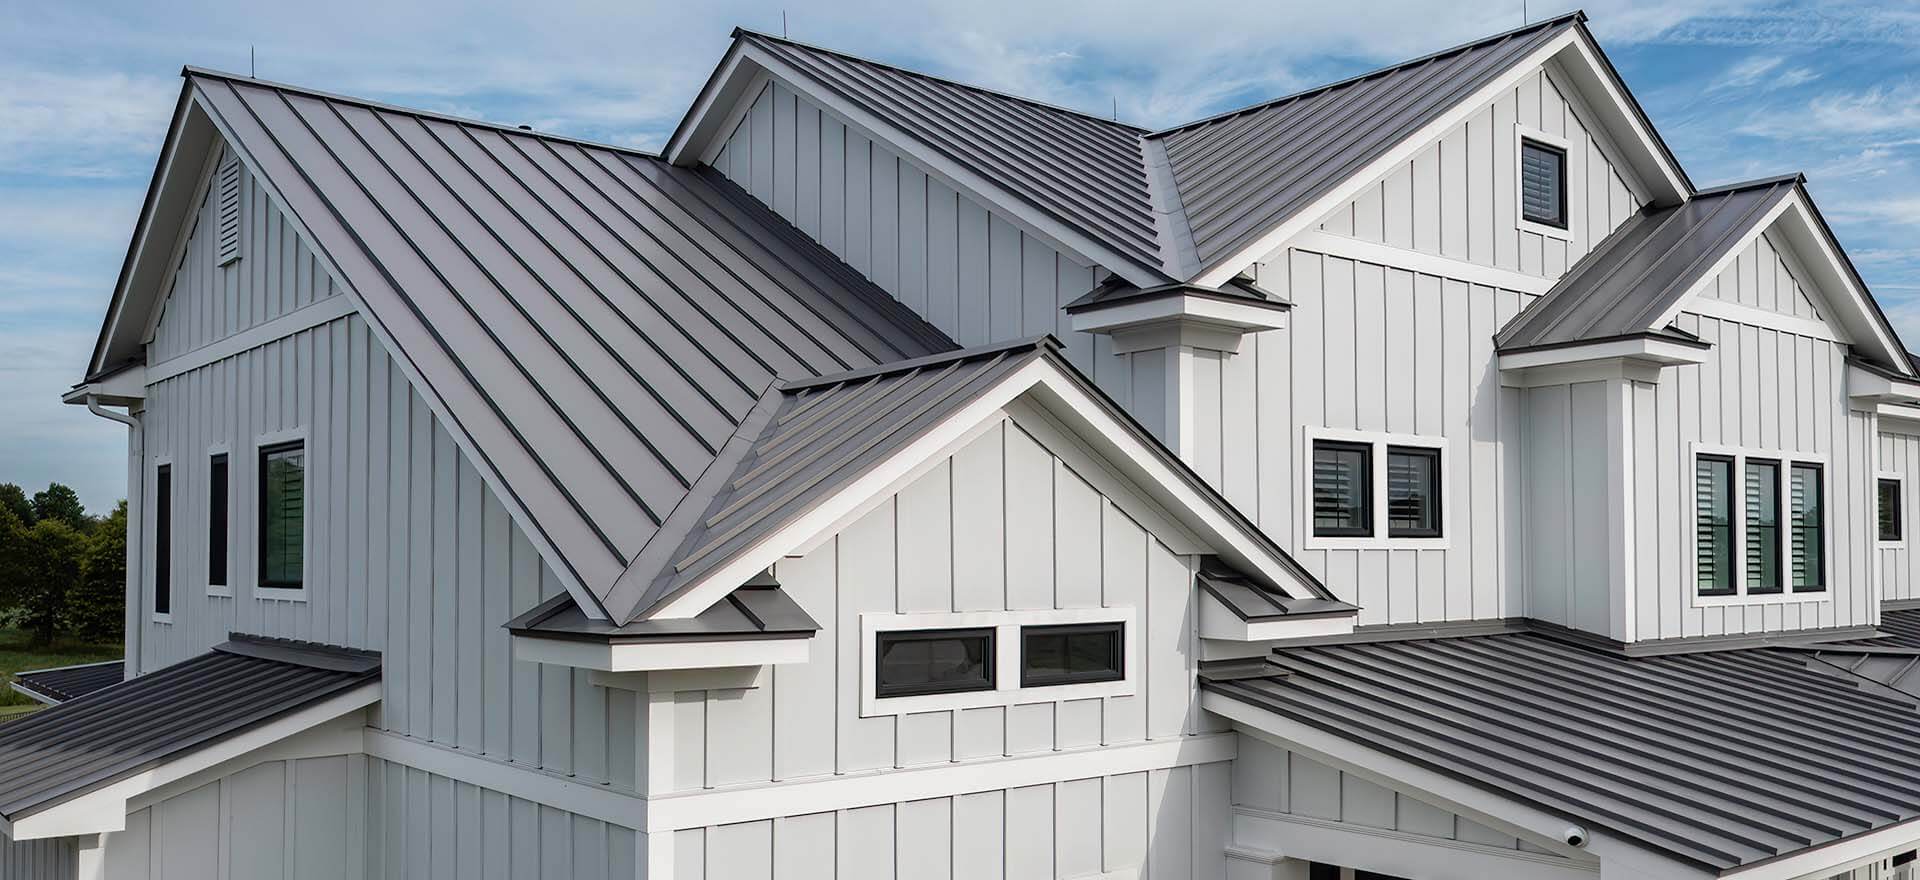
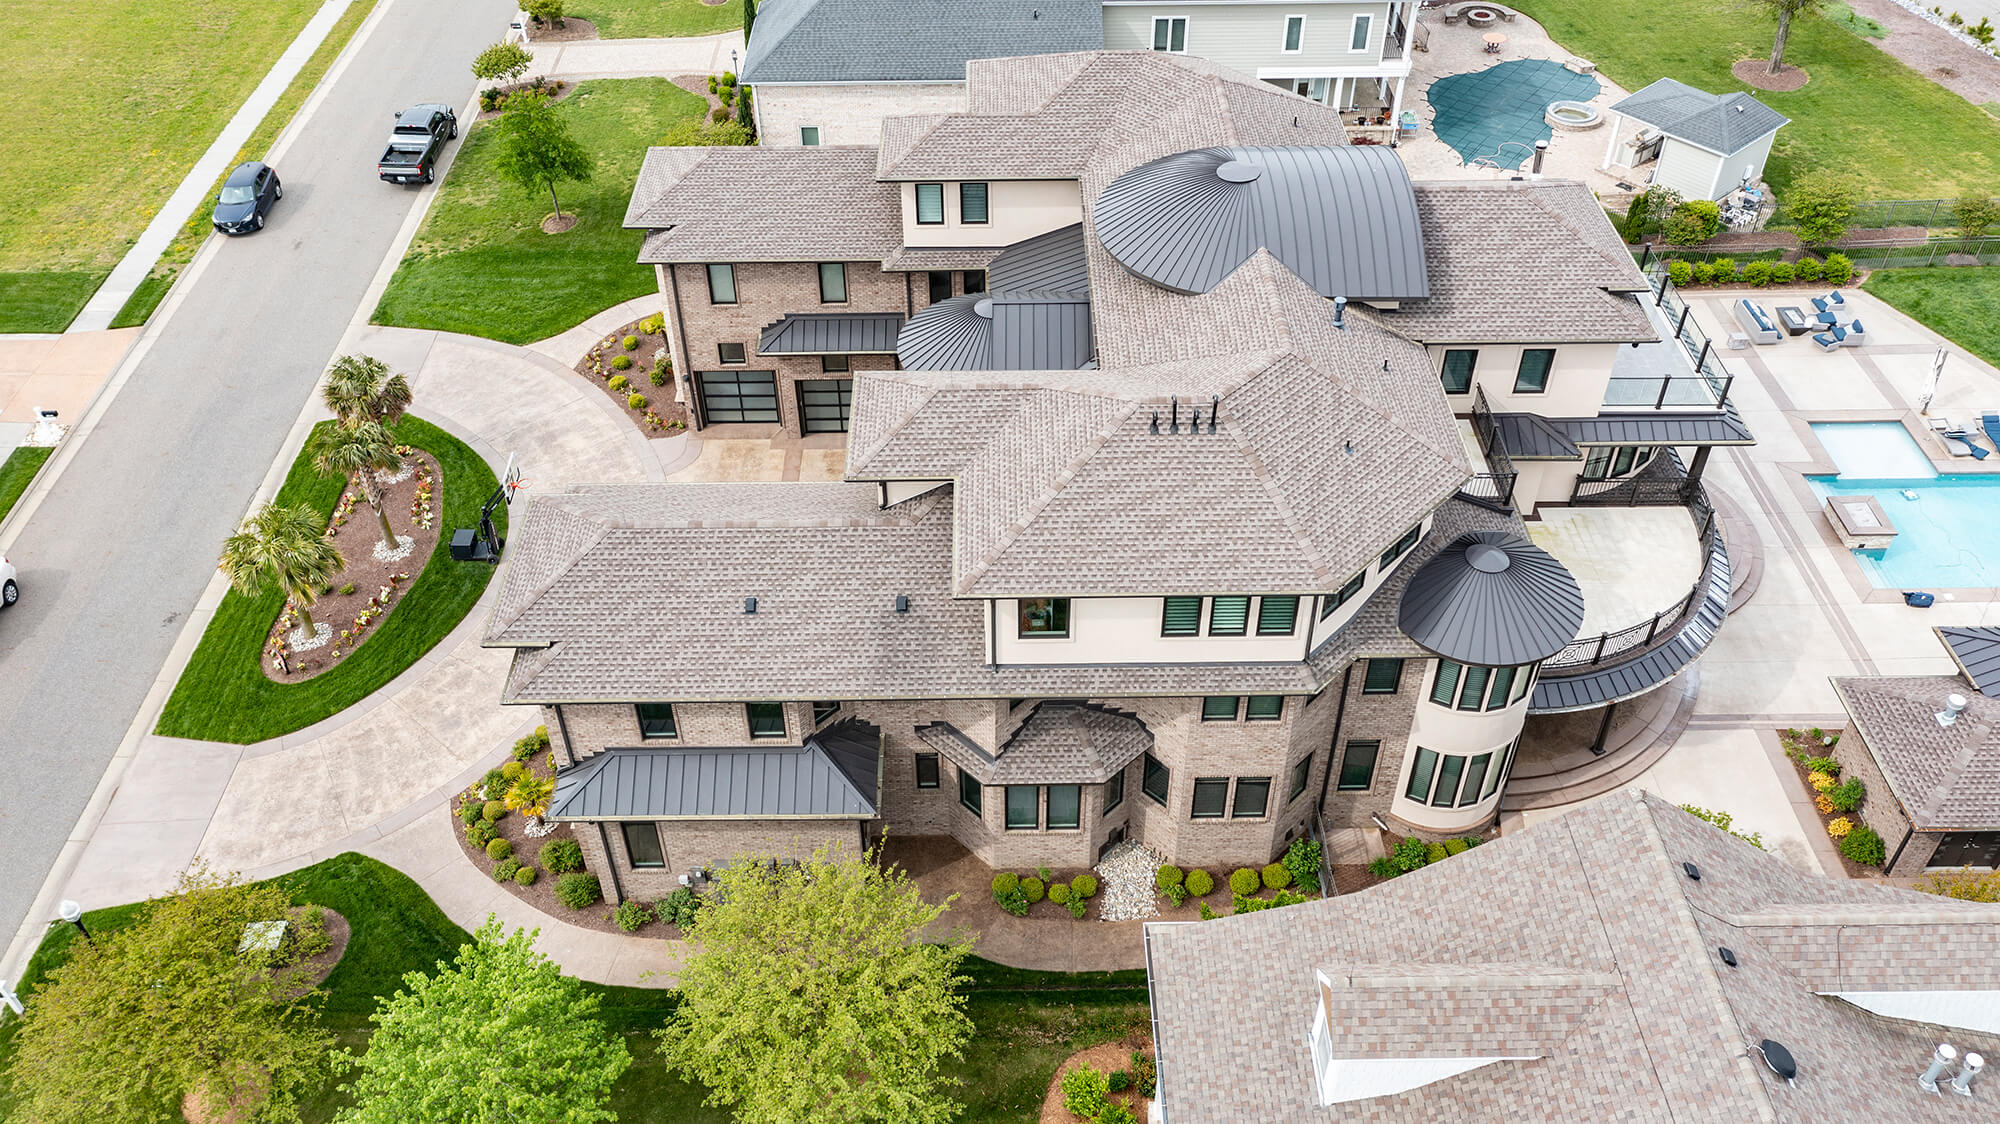
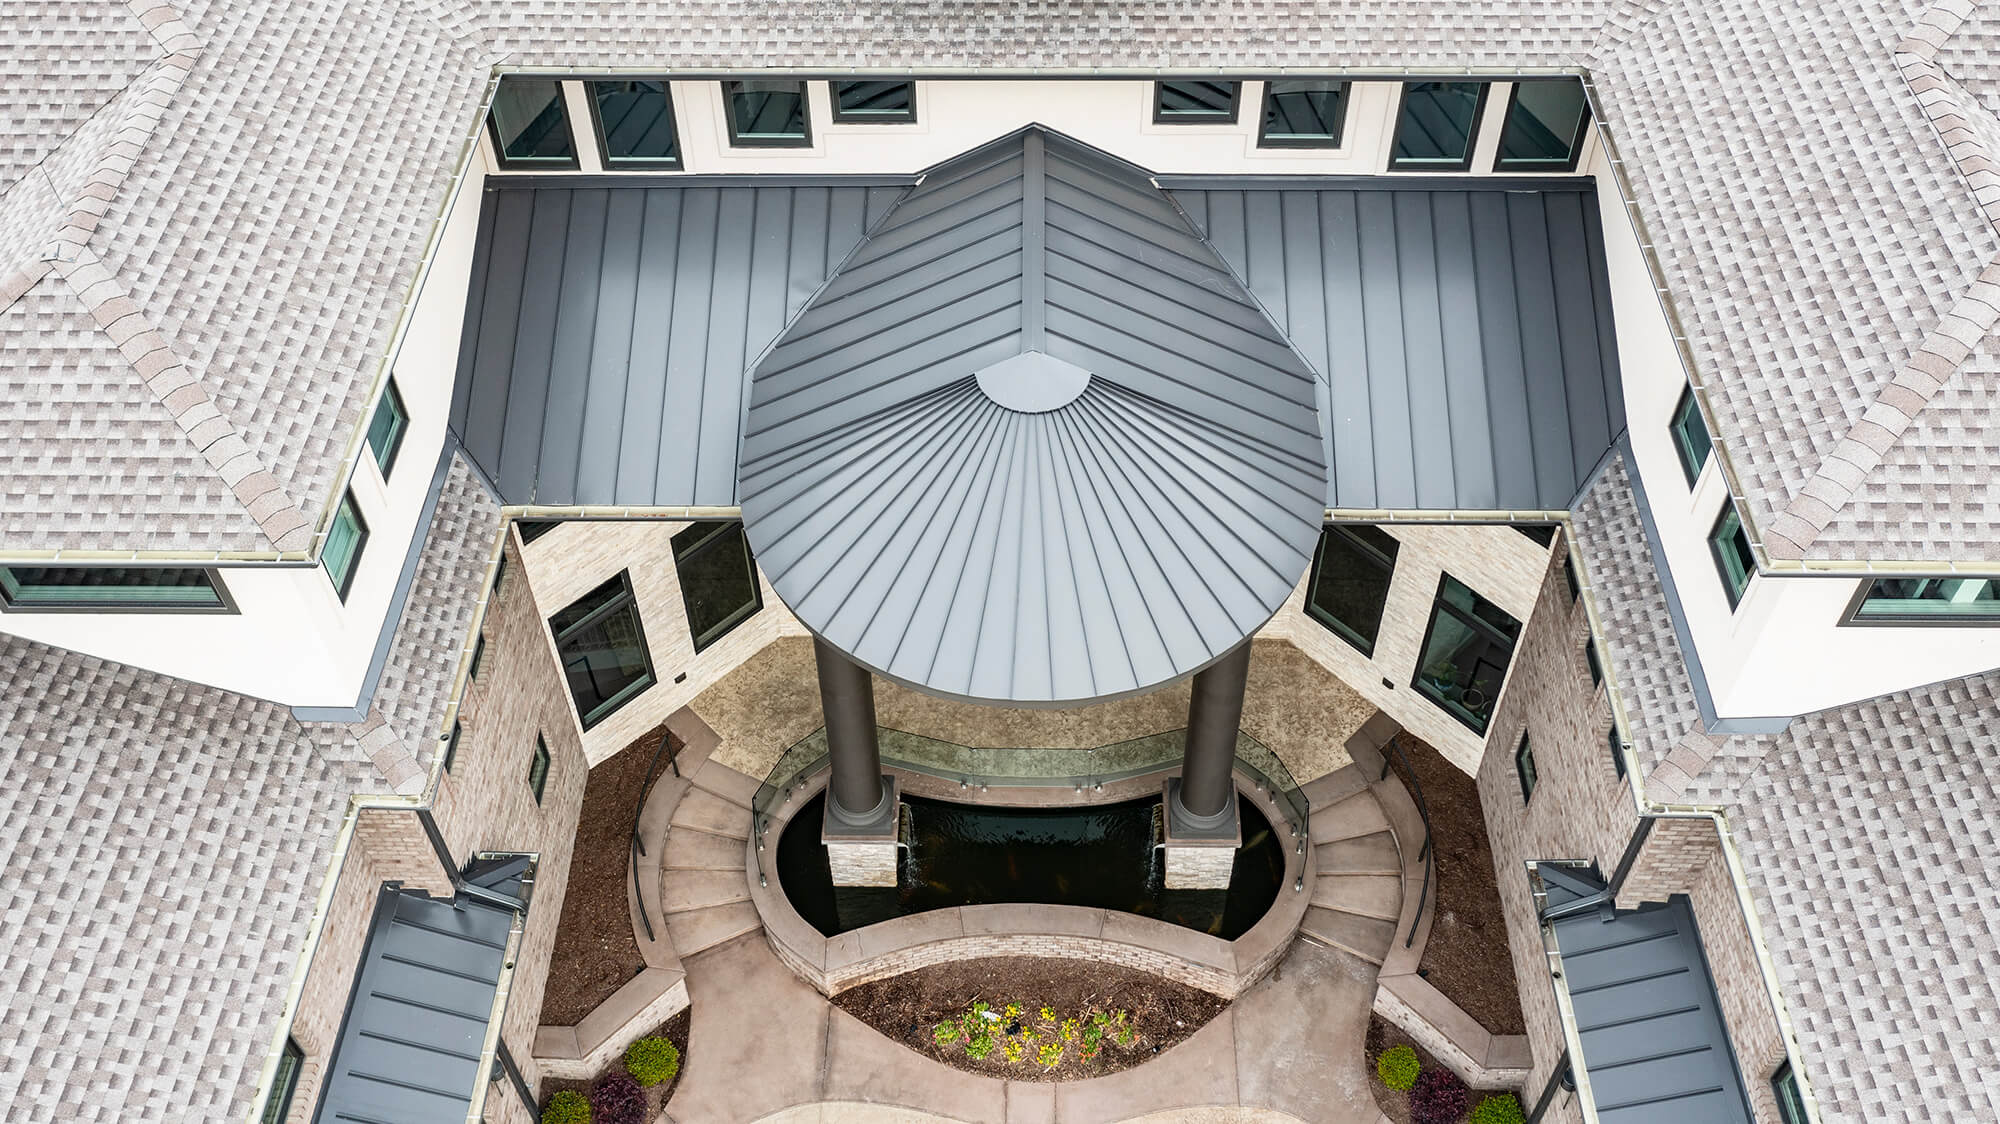
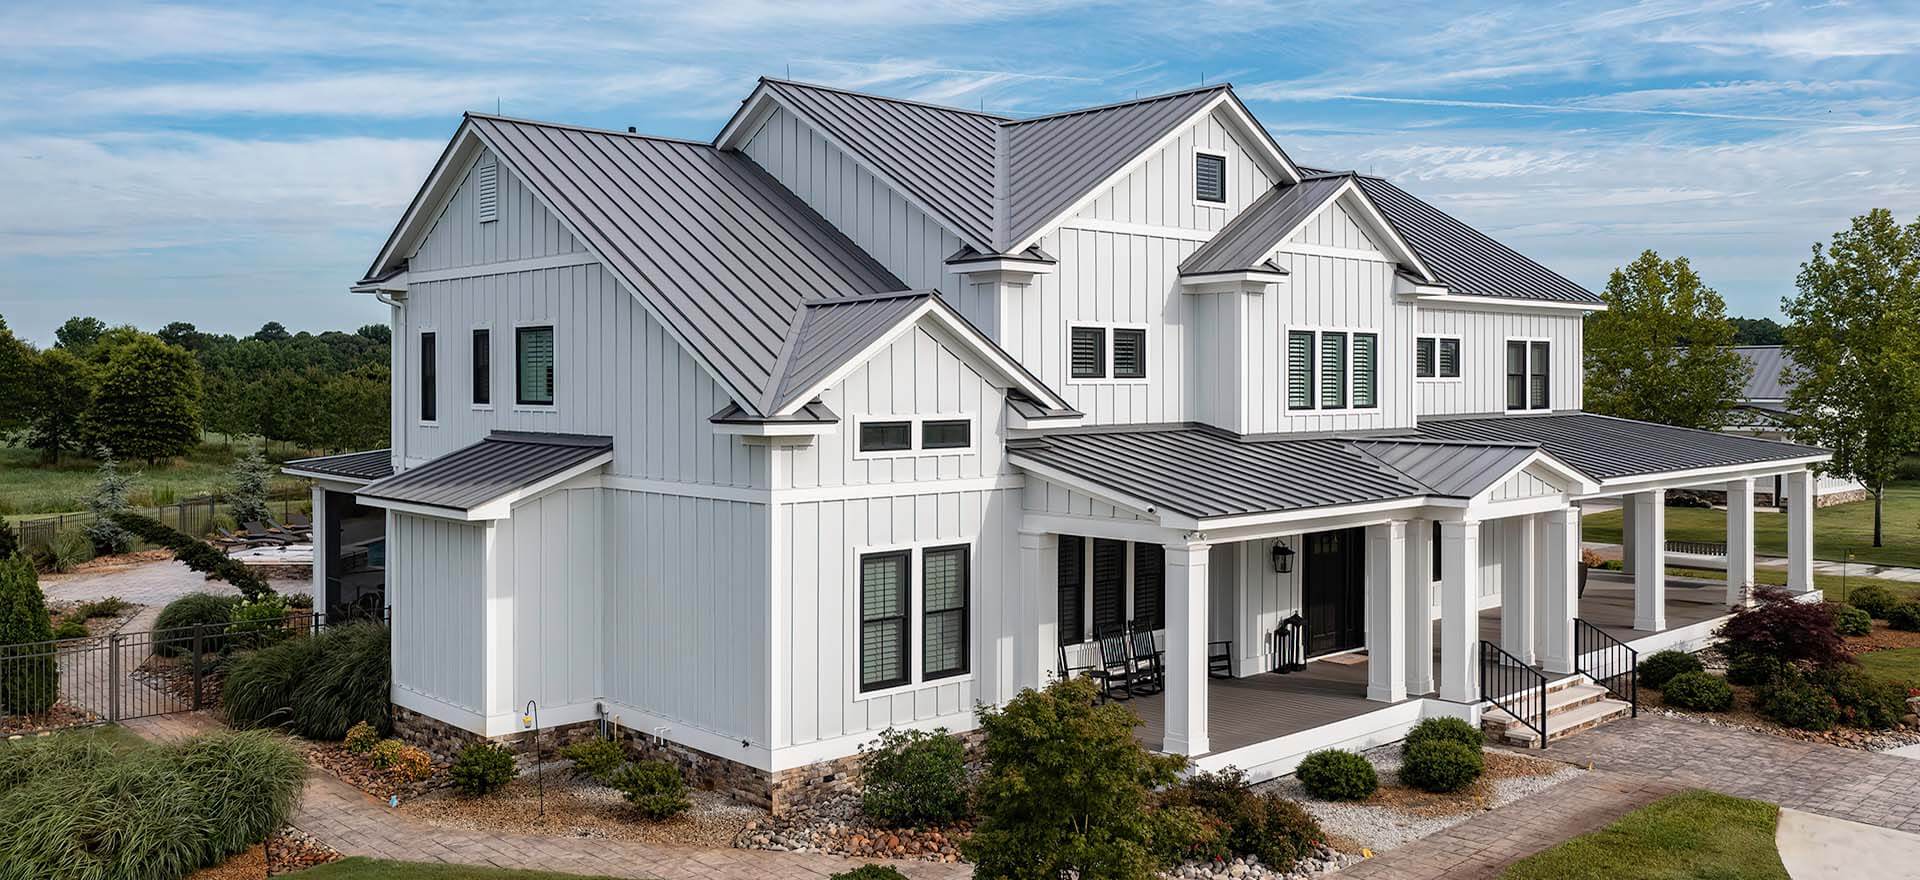
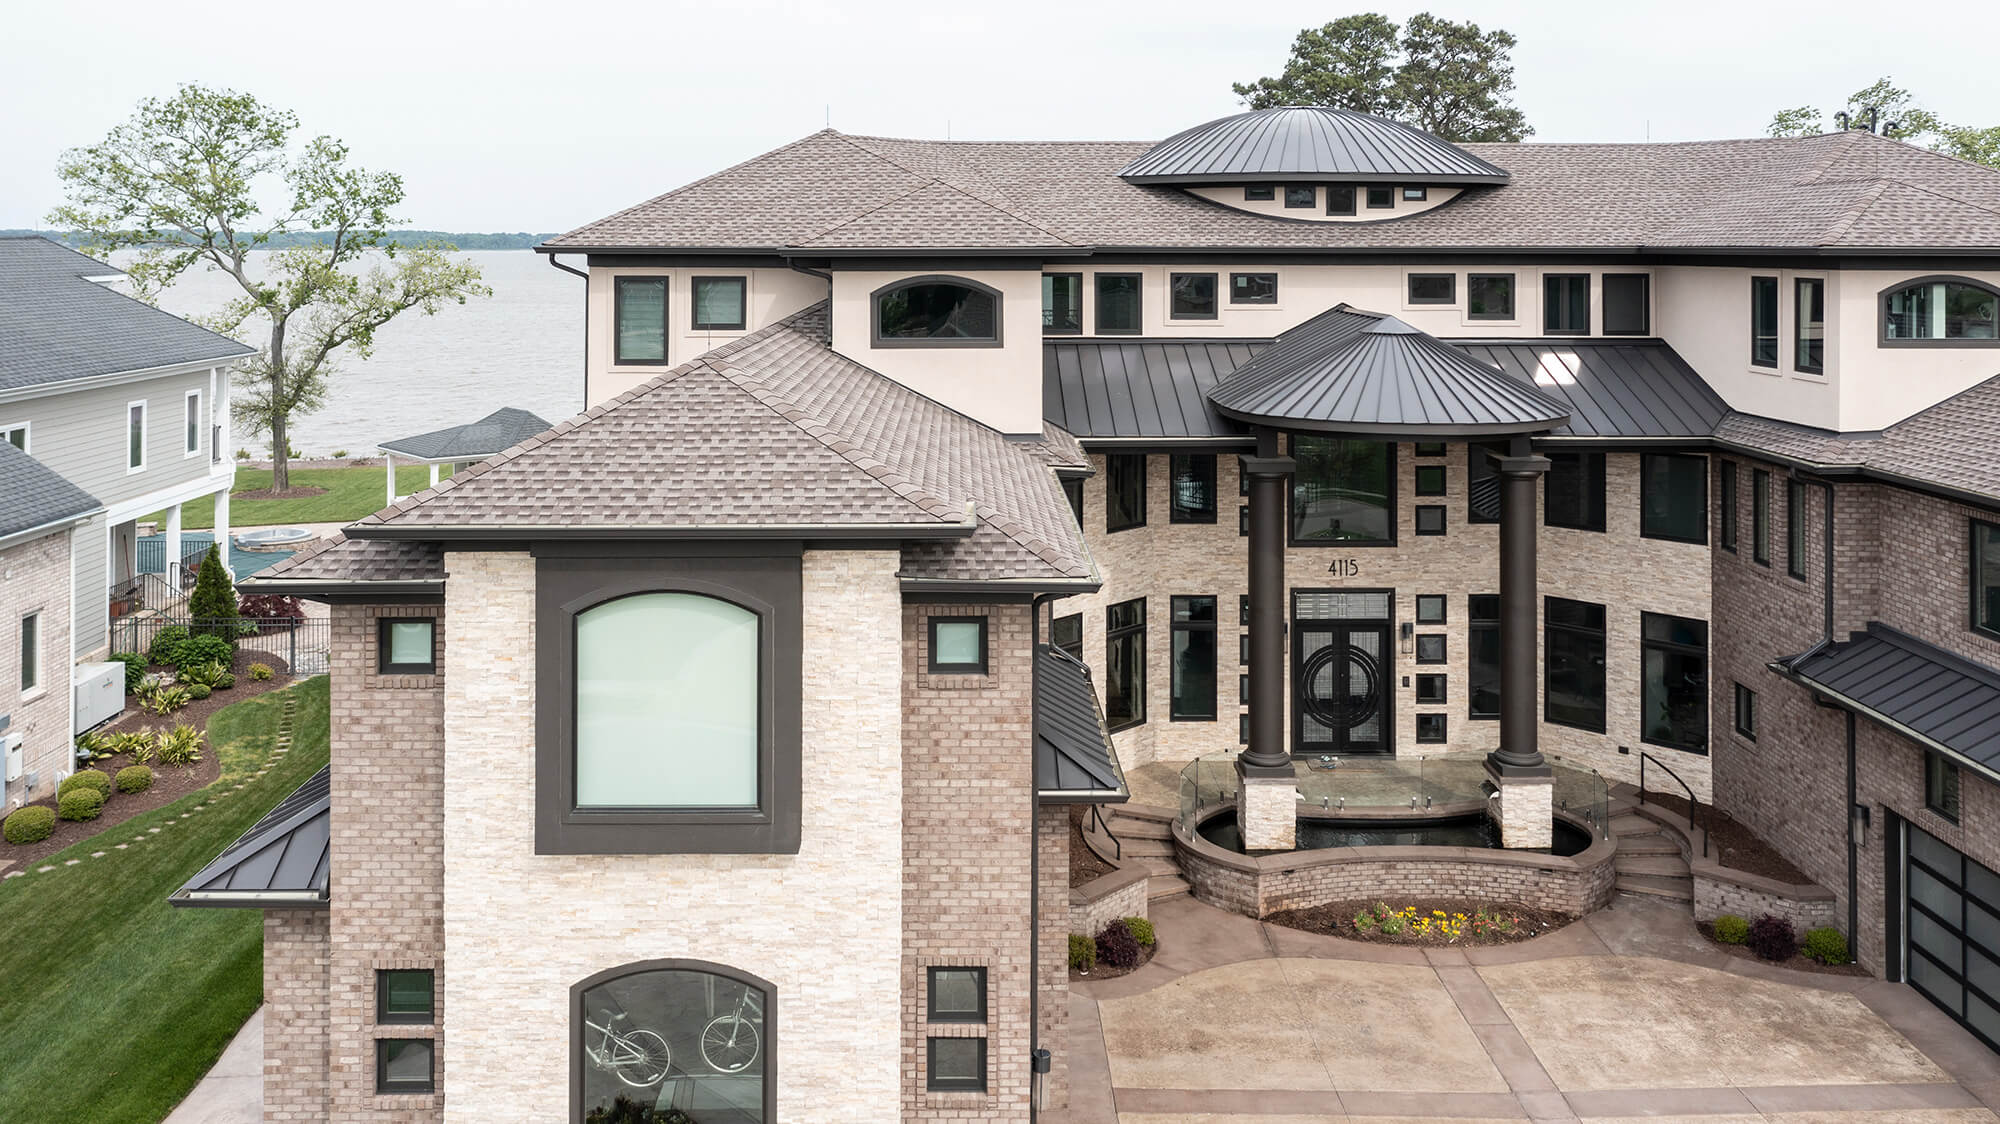
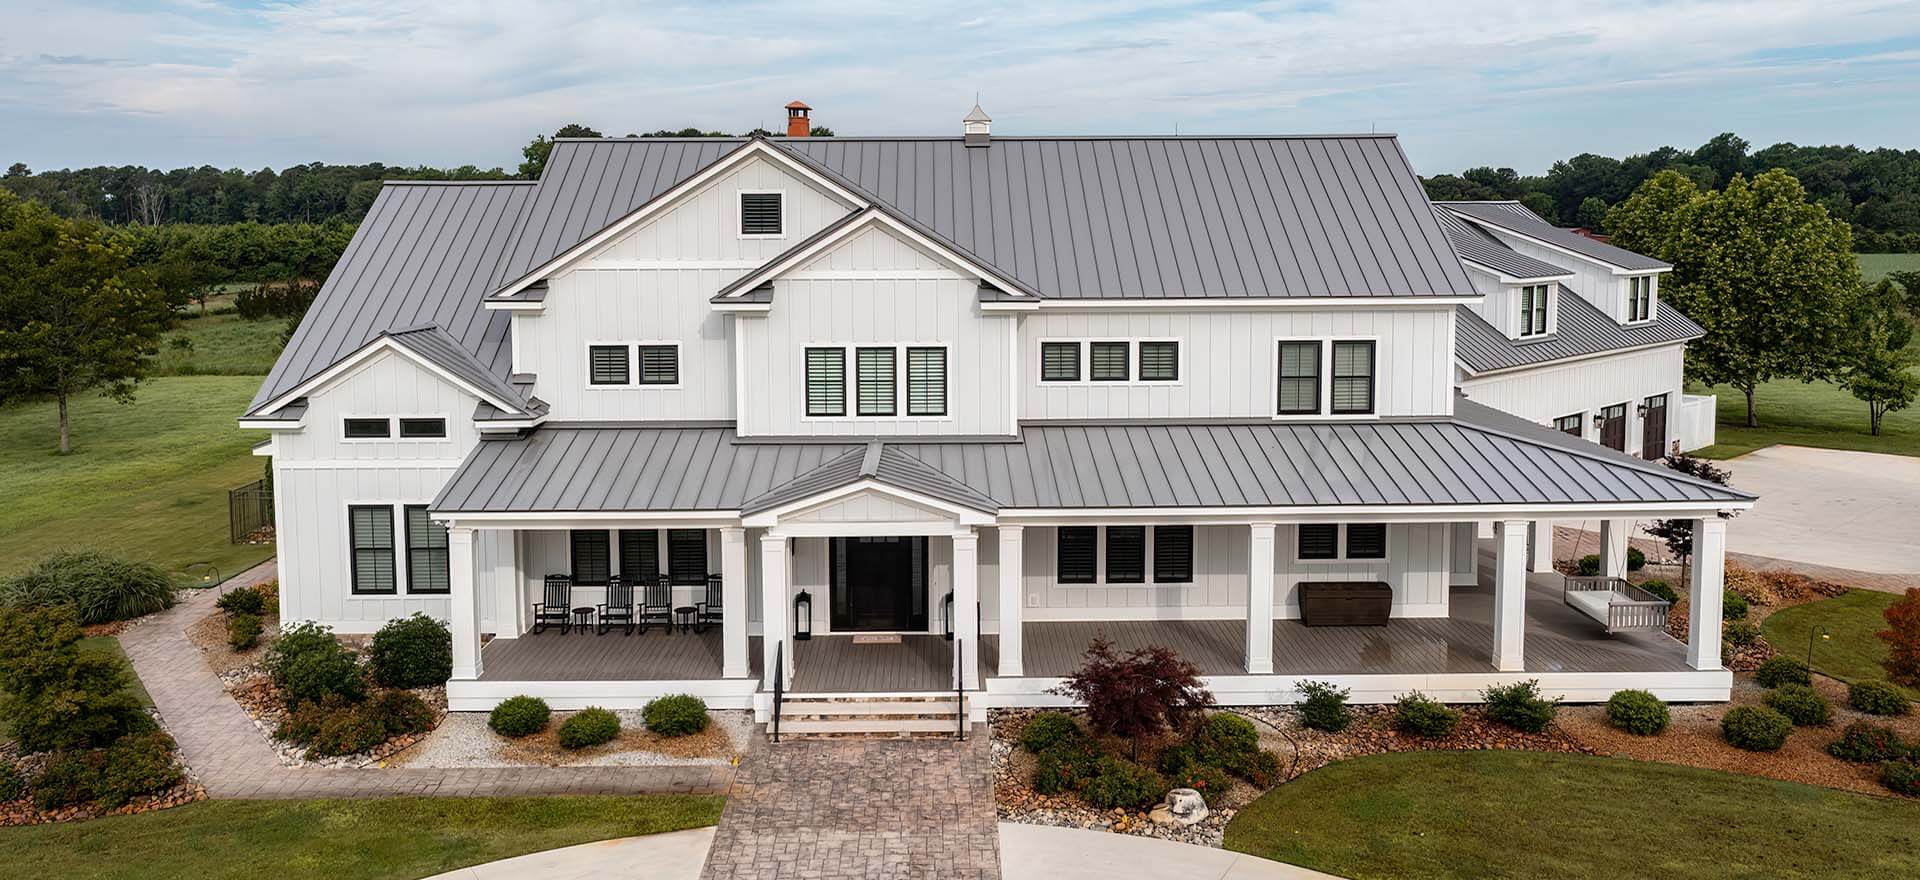
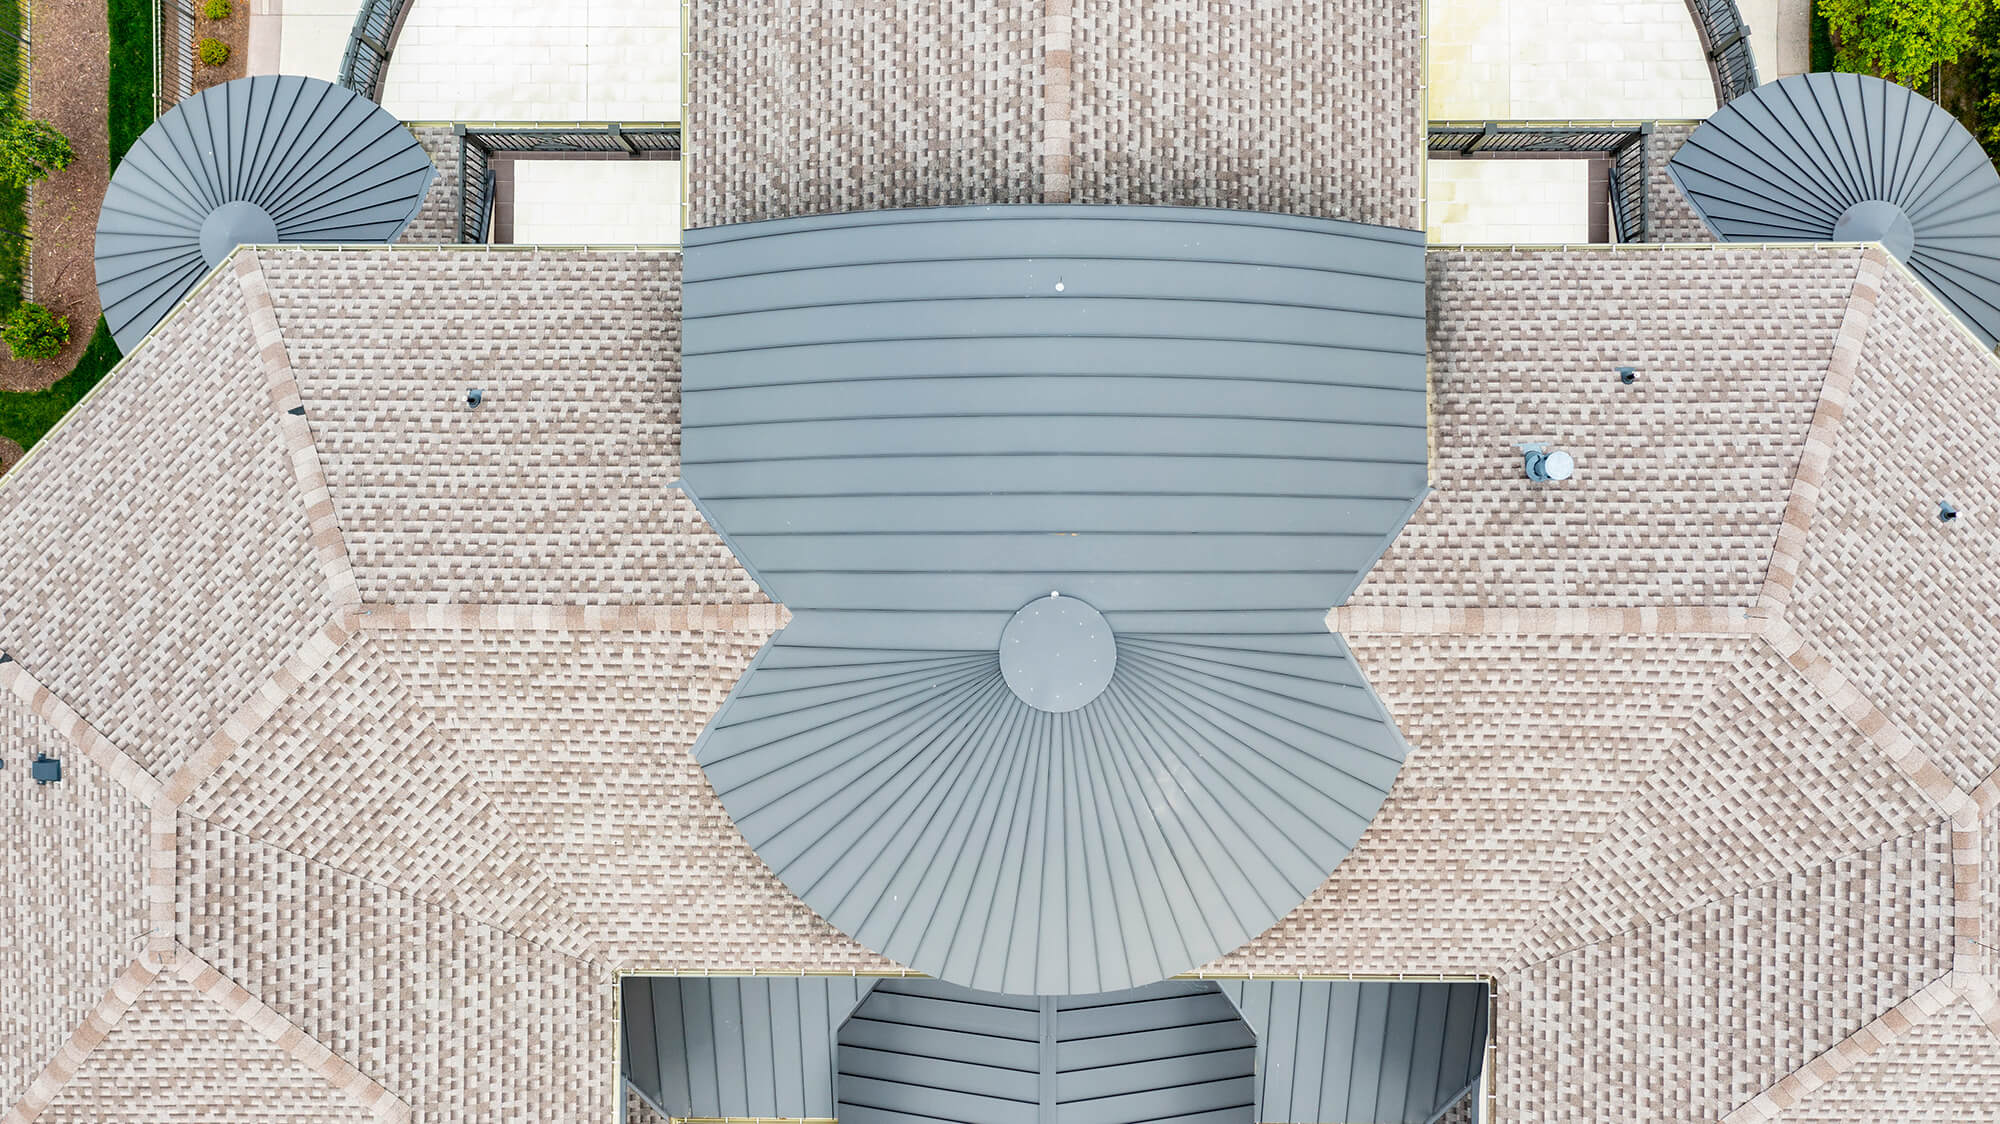
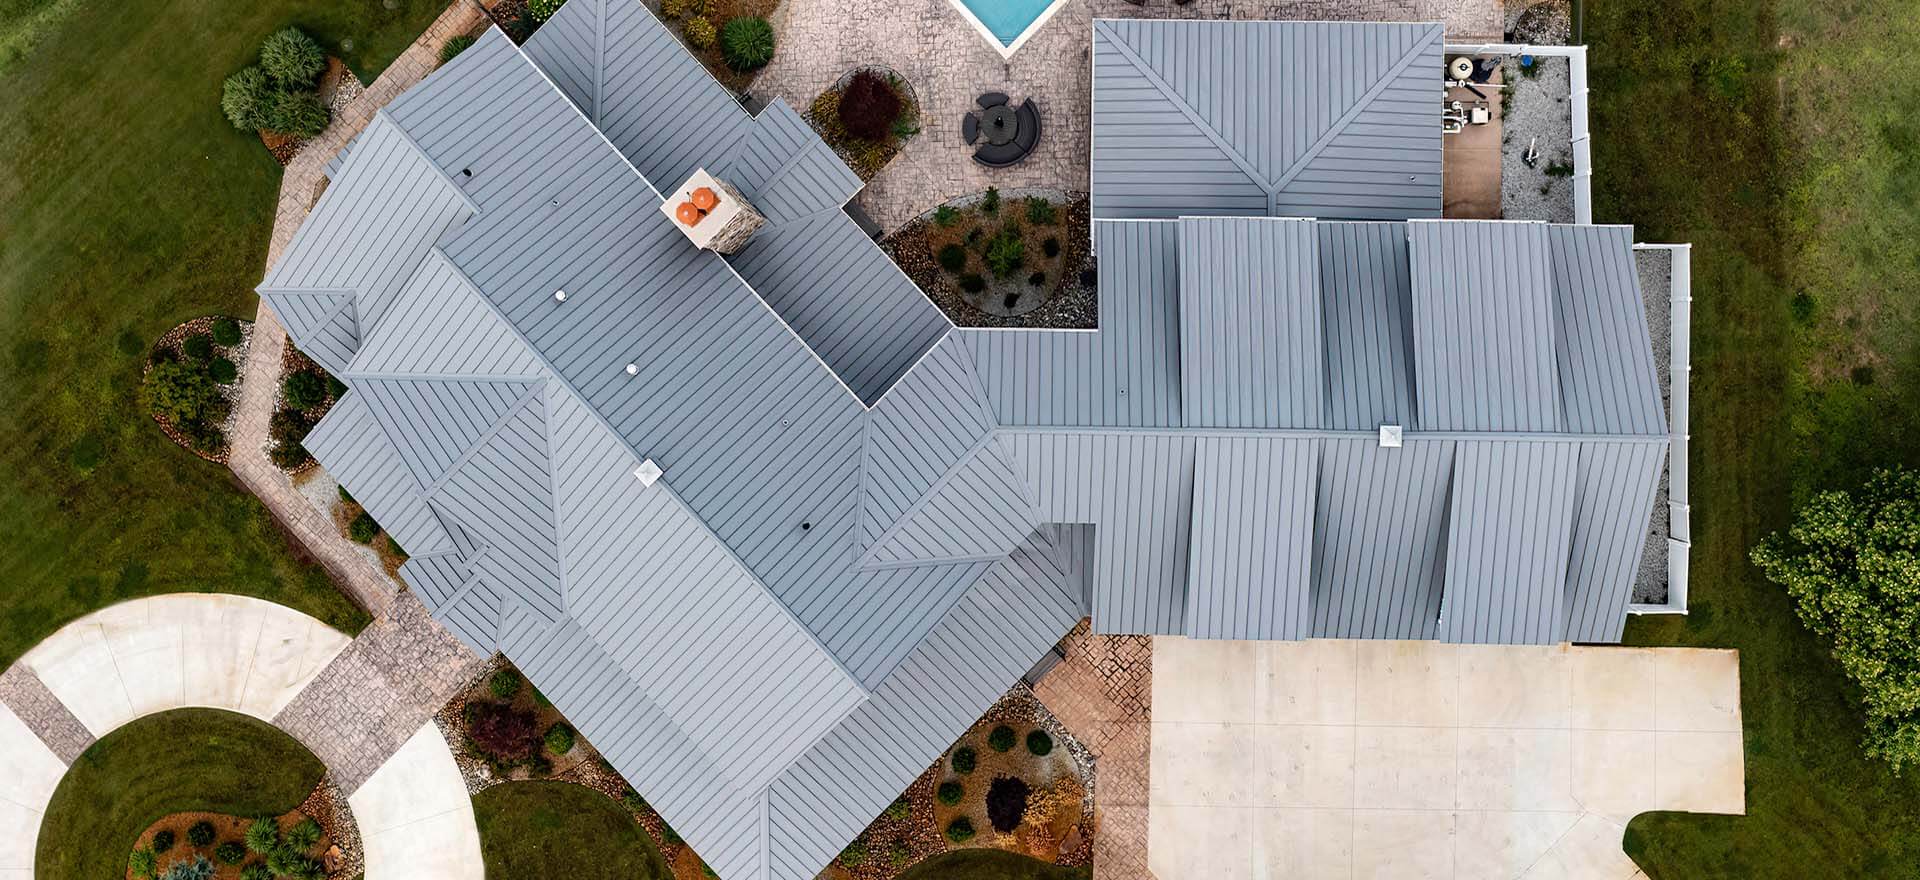
A metal roof isn’t inherently loud or prone to sweating any more than any other roofing material. What matters is the full system around it: how it’s insulated, how it’s ventilated, and how carefully it’s installed. That’s true whether you’re comparing standing seam panels, architectural shingles, or anything in between.
If you’re weighing a metal roof for your home or commercial building in Hampton Roads, Andrews Roofing can walk you through the insulation and ventilation details that actually determine how your roof performs, not just what it’s made of. Contact us today to talk through your options.