
Leaks & Service Repairs

757-399-3066 ext 3 (Leaks & Service Repairs)

Reroof Estimates & Inspections

757-399-3066 ext 1 (Reroof Estimates & Inspections)

Category: Roof Leak

How Skylights Impact Your Roof Health

Skylights sometimes have a bad reputation for being a common source of leaks.

While it’s not always fair to point the finger at skylights right away, the reputation isn’t random. A skylight is a hole cut into the one part of your building designed to keep water out, and anything that interrupts a roof surface needs to be installed and maintained carefully. When it is, a skylight can last for decades. When it isn’t, it becomes an easy source of water penetration that can cause loads of damage above and below it.

Remember: Skylights Are Roof Penetrations

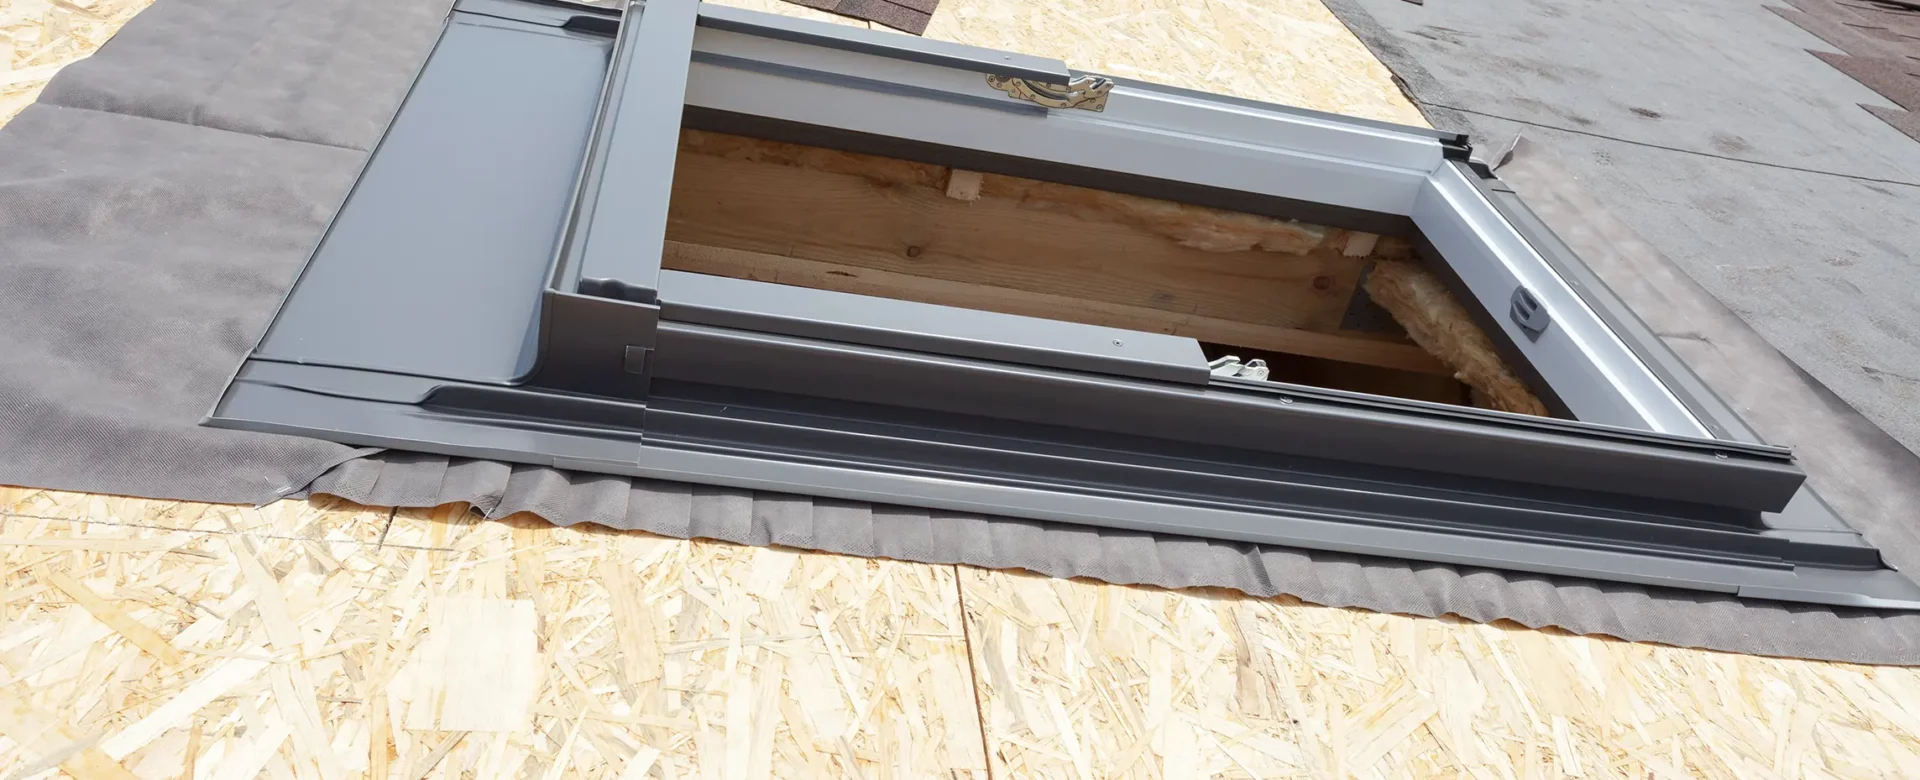
The most useful way to think about a skylight is the way a roofer does: it is a penetration, in the same family as a vent, a chimney, or a pipe. Every penetration is a spot where the roofing material has to be cut, and the watertight seal depends on flashing and proper installation rather than on the roof surface itself.

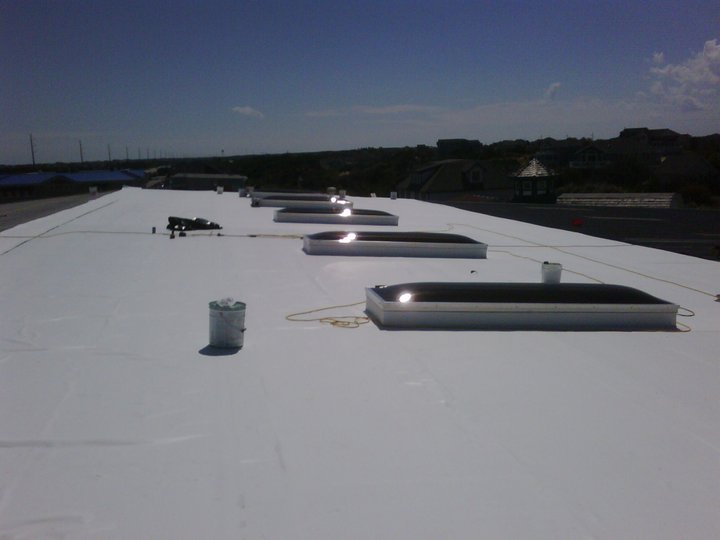
Skylights are used in commercial and residential roofs alike, although in vastly different capacities. A home might have one or two over a kitchen or hallway. A warehouse might have dozens, sometimes 75 or more, to bring in daylight and cut down on lighting costs. Some are there for function, some for looks, and many do both.

Skylights come in a few different styles:

  • Flush (deck-mounted) units sit close to the roof surface and are common on homes.
  • Curb-mounted units sit on a raised frame built up from the roof deck. These are common on low-slope and commercial roofs, where raising the unit helps keep water from pooling around it.
  • Custom-built skylights are made to fit unusual shapes or sizes. Because they are one-off designs, the flashing is often custom as well.

Beyond the mounting style, there are fixed and opening models, multi-panel units, tinted glass, built-in blinds between the panes, and remote-controlled operation. Manufacturers like Velux offer many of these as stock products, along with flashing kits designed to match specific roofing materials.

How Skylights Can Affect Roof Health

A roof is a system. Shingles, membrane, or metal panels shed water across the surface, and the flashing details handle the places where that flow gets interrupted. A skylight is simply one of these interruptions, and each one needs to be installed well and maintained to ensure the system works correctly.

There are three big things to keep an eye out for if your building has skylights:

  1. They collect water and debris. On the uphill side of a skylight, water has to divert around the unit. Leaves, pine needles, and debris can build up there, keeping moisture and eventually algae or mold against the flashing, which is a familiar problem in tree-heavy neighborhoods across Virginia Beach, Chesapeake, and Suffolk.
  2. They move differently than the roof. Glass, frames, and flashing expand and contract with temperature swings at different rates than the surrounding roofing. Over years, that movement can loosen seals. This is why maintenance is key.
  3. They age on a different schedule. A skylight may be installed along with a roof, or years later. Its seals, gaskets, and flashing may reach the end of their useful life earlier or later than the roofing around it.

Common Skylight Problems
Failed flashing. This is probably the most common issue we see. Flashing can lift, crack, corrode, or separate from the roof surface. If a sealant was used as a shortcut or fix, rather than true flashing, it can dry out and fail quickly.

Broken or cracked glass or glazing. Storm debris, falling limbs, and hail can damage the glass. In a coastal region with regular nor’easters, tropical systems, and regular severe weather, this is a realistic concern. A cracked pane lets water in directly, and it can also compromise the unit’s seal.

Seal failure between panes. In double-pane units, a failed seal can show up as fogging or moisture trapped between the layers. This may be a signal that the unit is aging and ready to be replaced.

Condensation. Humidity is a fact of life in Hampton Roads. Condensation on the inside of a skylight can look like a leak, even when it’s just condensation. But repeated moisture on the frame and surrounding drywall deserves a closer look, because it can also hide a slow leak or indicate some type of insulation or airflow solution is needed.

Mismatched or reused flashing. A flashing kit that doesn’t fit the unit or the roofing material can leave gaps that water will always find. Reusing an old kit during a roof replacement can work in some cases, but only when it is still in good condition and compatible with the new roofing.

Maintaining Your Skylights

You don’t need to climb on the roof to catch most skylight problems early. A few checks from the inside and the ground go a long way:

  • Water stains, discoloration, or bubbling paint on the ceiling or the light well around the skylight
  • Drips during or after heavy rain, especially wind-driven rain
  • Moisture or fogging between glass panes
  • Cracks, chips, or gaps in the glass or the frame
  • Visible debris piling up around the skylight from the ground, a window above, or a safe vantage point
  • Flashing that looks lifted, bent, or rusted
  • Dark staining or mildew on nearby ceiling or wall surfaces

It also helps to have the skylights looked at after a major storm and during any routine roof inspection. Skylights are easy to forget about, and small flashing issues are a much easier repair than the interior damage that follows a long-term or major leak.

Repairs around a skylight usually come up in one of four situations: the glass has broken, the flashing has failed, a skylight is being cut in and added to an existing roof, or the skylight is part of a larger roof replacement.

Reroofing Around Skylights

A roof replacement is the best opportunity to get skylights right, since the roofing around them is already coming off. A careful crew will take these steps:

Evaluate the skylight first. Before any new roofing goes down, the crew checks the unit itself: the glazing, the frame, the seals, and the curb if there is one. If the skylight is near the end of its life, a roof replacement is the cost-effective time to swap it, since the access and labor will overlap.

Decide whether to reuse or replace the flashing kit. Depending on the unit and its condition, the existing flashing kit may be reusable. In other cases, a new kit or custom solution is the better choice. Either way, the decision should be based on condition and compatibility with the new roofing material, and not on convenience.

Follow the manufacturer’s specifications. Skylights are installed per the manufacturer’s instructions, and that matters for both performance and warranty. For example, Velux publishes specific flashing requirements for different roof types, and following them keeps the installation sound and warranty intact.

Integrate the flashing with the new roof. Flashing is layered with the roofing to efficiently move water away from penetrations. On low-slope commercial roofs, curbs are flashed into the membrane with details designed for that material.

Check the curb or framing. On curb-mounted units, a solid, properly built curb is part of what keeps the installation watertight. Damaged or deteriorated curbs get repaired before the new roofing is tied in.

Adding a New Skylight

Installing a skylight on an existing roof means cutting an opening in the deck, framing it properly, setting the unit, and flashing it into the surrounding roofing. It is a more involved job than it seems from the inside, which is why placement and planning matter. Roof pitch, rafter or truss layout, and the type of roofing material all affect what style and flashing approach will work. A contractor may take the lead on a project like this, but a roofing specialist will likely need to be involved at some point as well.

Andrews Roofing Can Help

Skylights bring in loads of natural light, and with the right installation and a little attention, they can do it for a long time without causing problems. When installed and maintained well, they can be a major design highlight or energy efficient winner.

But, if you have a skylight that is leaking or showing signs of age, or if you plan to replace your roof that has existing skylights, the team at Andrews Roofing is experienced and well versed in products, installation and what works best for our Coastal Virginia climate. Contact Andrews Roofing today to get started.
read more

Never Underestimate a Nor’easter

Fortunately, last month’s nor’easter came and went through Hampton Roads without too much drama. No evacuation orders, no named storm, or boarded-up windows, just some tidal flooding in the usual spots and some downed branches here and there. That may have made it easy to shrug off, but you shouldn’t.

Over the last several years, nor’easters have caused more storm damage across Virginia Beach, Chesapeake, Norfolk, Portsmouth, and Suffolk than hurricanes have. We have gone a good while without a major hurricane making a direct hit, so it’s tempting to let our guards down and assume there isn’t property damage or things to keep an eye out for. But the way a nor’easter impacts our homes is different, and the damage can show up quietly, weeks later. Here’s what to keep an eye out for and how to plan ahead for this more and more common weather pattern.

Direct Rain vs. Wind-Driven Rain

Roof design relies on gravity to do its thing. Shingles overlap so that water running downhill passes over each seam and keeps going until it reaches the gutter. All the major pieces of a roofing system make the assumption that this is how water will typically work.

Wind-driven rain doesn’t care about gravity – it cares about force and inertia. When wind is forcing rain sideways, or even upward along a wall or roof surface, water can get forced under shingle edges, behind flashing, and into gaps that would otherwise never see moisture, even in other soaking rains.

A Nor’easter Specific Issue

A hurricane is intense and brief. A nor’easter is a long, steady grind, which has a different impact on your roof. A nor’easter can sit over the coast for a day or two. That means that wind-driven rain gets hours and hours to find your roof’s weak spot. Then, after a day or days of constant moisture, materials stay wet. The effects can still be devastating, but without any big give away. After a hurricane, people check their roofs. After a nor’easter, they usually do not. Slow leaks go unnoticed until the damage has had time to spread.

Unexpected Leak Spots

The spots where this damage shows up may be unexpected. Here are some places that we see wind-driven rain cause trouble that are different from regular roof leaks.

  • Soffits and eaves. Wind can push rain up into soffit vents and under the lower edge of the roof, where it soaks insulation and framing.
  • Porch and overhang edges. An overhang blocks rain falling straight down. Wind-driven rain simply goes around it.
  • Chimney and dormer flashing. These are complicated transitions with a lot of seams, and sustained winds will test every one of them.
  • Roof vents and gable vents. Vents have to let air in and out, which gives wind-driven rain a path in as well.
  • Window and siding intersections near the roofline. Sometimes the roof is fine and the water is getting in where the siding or trim meets it.
  • Gutters that overflow or back up. In heavy wind and rain, undersized or clogged gutters spill water against the fascia and behind the gutter line.

Why the Leak May Show Up Far from the Source

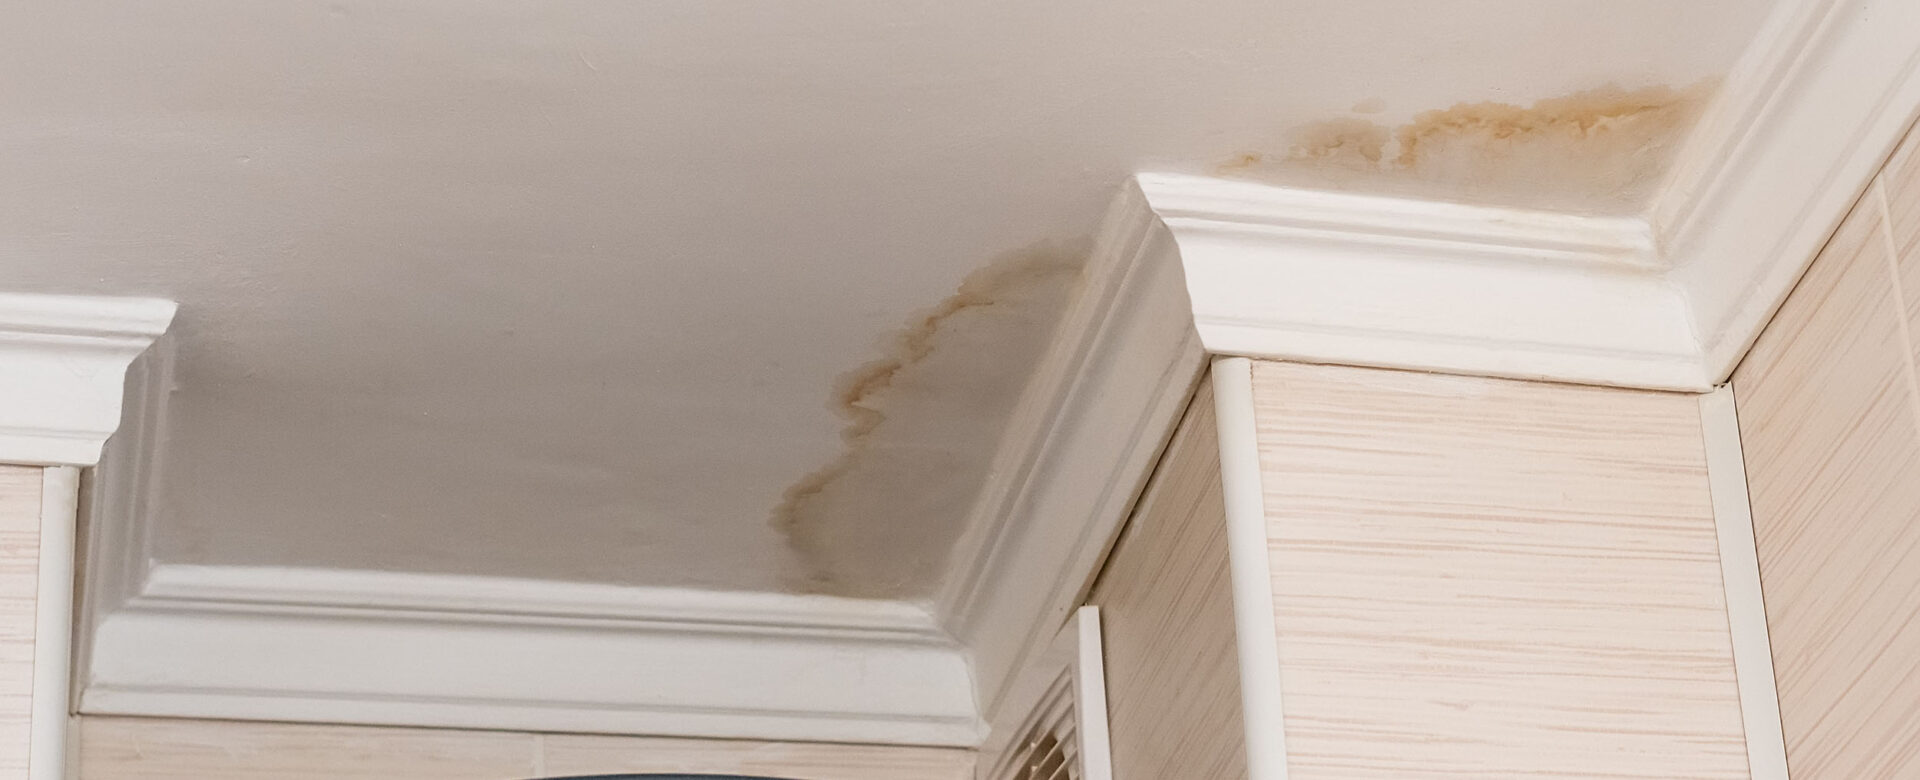
One reason these leaks are so frustrating is that the stain that finally appears on your ceiling days or weeks later may not be directly under or even near the spot where the water got in. When water enters at a flashing seam or vent, it can run along the roof decking, down a rafter, and even across insulation before finally dripping through the ceiling feet away. That’s why painting over the stain and calling it a day rarely works. The real entry point is somewhere else, and until someone follows the water trail and finds the source, the water can keep coming in every time the winds line up from the same direction.

Signs to Watch for After a Storm

Take a few minutes after any significant nor’easter to look for:

  • Ceiling or wall stains, even faint ones
  • A musty smell in a room or closet
  • Damp or compressed insulation in the attic
  • Bubbling or peeling paint near the roofline or on upper walls
  • Leaks that only show up when the wind blows from a certain direction

That last one is a classic sign of wind-driven rain. If a room stays dry for months and then leaks during one particular kind of storm, then it’s probably about wind direction.

What You Can Do

Tackle only the simple and safe things on your own. Grab a flashlight and check your attic for damp spots, stains on the underside of the roof deck, or wet insulation. From the ground, look over the roofline and gutters for anything that seems out of place. Take dated photos of anything you find, since that documentation helps if you end up filing a claim. Coverage for wind-driven rain varies by policy, so it is worth checking with your insurance agent about how yours handles it.

If you find something, or if you have had a leak that no one has been able to track down, a roofing inspection by a licensed contractor can trace water back to its true entry point. For homes in our area, the fixes that make the biggest difference with wind-driven rain are usually well-sealed flashing details, a secondary water barrier under the roofing material, correct ventilation, and gutters sized for the volume of water they will actually be expected to handle.

Don’t Wait for the Hurricane

Since Hampton Roads sits right where the Chesapeake Bay meets the Atlantic, nor’easters are an inevitable part of life here. The good news is that wind-driven rain leaks are very fixable, usually do not require major roof repairs or replacements, and can be relatively inexpensive when caught early. If last month’s storm left you wondering about your roof, or you would like a second set of eyes before the next one, Andrews Roofing is happy to take a look. Contact us today for a professional roofing inspection.

read more

Seven Reasons that Leak May Not Be Your Roof’s Fault

When you spot a water stain on the ceiling, your first thought is probably that your roof has a leak which is a reasonable assumption and often correct.

But a surprising number of leaks in Hampton Roads homes and businesses trace back to something other than a failed shingle, membrane, or flashing system.

Practically, however, you should still call a professional roofer first. Diagnosing a leak takes training and experience, and a reputable company will tell you exactly what they find, even when the answer is “it’s not us” or “we can’t help you.” Understanding some of the other common leak sources can help you go into that conversation informed, and it can save you time if the fix ends up requiring a different kind of specialist. Here are seven reasons why your roof might not be the problem.

Gutters and Drainage

Water can enter your house in more ways than one, and it’s not always because of a hole or puncture. Overflowing gutters at the eaves are one of the most common non-roof leak sources. When gutters clog with leaves and debris, or when they’re installed incorrectly, water backs up and spills over the edge instead of flowing through the downspouts. That water then runs down your siding, seeps behind fascia boards, or pools against your foundation. Inside the house, it can show up as a stain on your exterior walls or ceiling corners, which makes it easy to mistake for a roofing problem.

The fix is often as simple as a thorough gutter cleaning and a check of the gutter’s pitch, hangers and downspouts. A roofing company can usually handle this directly, since gutters and roofs work as a system.

Debris Buildup on the Roof Surface

Shingle roofs are designed to shed water quickly, but that’s only if there’s a clear path. Piled-up leaves, pine needles, and other debris in valleys or along the roofline can dam up water and force it to sit rather than drain. Standing water on a shingle roof, even for a short time, increases the odds it finds a way underneath the shingles through a seam or a nail hole that would otherwise never be an issue.

This issue comes down to maintenance, rather than repair. Regular debris removal, especially after the fall when the leaves have dropped, or after a big storm, keeps water moving the way it’s supposed to.

Rooftop AC Units

Commercial buildings and some homes with rooftop-mounted HVAC equipment have a built-in leak source in their heating and cooling system’s condensate lines and drain pans. AC units generate a lot of condensation, which is why it has a built in system for expelling that water. However, if a condensate line is clogged or a drain pan has rusted through, water can pool right on the roof surface or drip directly into the building.

This is a case where a roofing company usually can’t fix the issue alone, and an HVAC company will need to be called in. What a roofer can do is inspect and repair the roofing membrane or flashing around the unit in the event that it’s been damaged from the water exposure. Best results usually come from the two trades coordinating rather than working in isolation.

Inadequate Attic Ventilation

Not all “leaks” come from the outside! Sometimes it’s moisture that never left. Attics with poor ventilation trap warm, humid air, especially here in Hampton Roads where summer humidity is no joke. That trapped moisture condenses on the underside of the roof deck and drips down, mimicking the signs of a leak, even when the roofing system is in perfect working order.

A roofing company can evaluate whether your attic has enough intake and exhaust ventilation and recommend upgrades like ridge vents, soffit vents, or additional attic fans. This repair or upgrade will usually fall under a roofing company’s purview, since they’re well trained in ventilation and how to improve it.

Chimneys, Pipes, and Penetrations

Anywhere something pokes through your roof is a potential entry point for water, and in this case a roofing company should be able to handle the fix. Flashing around chimneys, plumbing vent pipes, and other penetrations can come loose, or even rust out and wear down over time, creating one of the most common actual roof-related leak points. Often homeowners assume leaks that pop up around their fireplace and chimney are caused by cracked masonry or a bad cap, but often the culprit is actually the flashing where the chimney meets the roof deck. A mason may need to get involved if the chimney structure itself has cracks or deteriorating mortar joints. But the flashing repair is standard roofing work.

Siding, Window Seals, and Dormers

Water doesn’t care if the opening is in the roof, window or wall. Failed or damaged caulking around window seals, gaps in siding, or bad dormer flashing can all let water in above the ceiling line, which makes it look exactly like a roof leak from inside the house. Dormers are especially tricky because they combine roof, wall, and window elements in one small area, giving water multiple potential entry points. Depending on what’s found, you may need to call in a siding or window company. A good roofer will tell you clearly where the roofing system ends and where another trade’s scope begins.

Believe It or Not: Bullet Holes

It may sound unbelievable, but it happens more often than you’d think, particularly on commercial flat roofs. If a membrane roof experiences a small, isolated leak, it is occasionally (but more than once in our experience!) because of a bullet lodged in the membrane from a stray round fired somewhere in the surrounding area. The good news is these are usually simple, inexpensive fixes once identified. While an unusual leak diagnosis, it’s not impossible. Fortunately, a roofing company with experience in commercial roofing materials should be able to patch it up in no time.

Leave the Diagnosis to the Professionals

If you’ve got a leak, call a professional roofing company first. A reputable contractor will inspect thoroughly and tell you honestly what they find, whether that’s a roofing repair, a referral to another trade, or a case where both need to work together. Don’t be surprised if the answer isn’t what you expected. Sometimes “it’s not your roof” is good news, since gutters, ventilation, and window seals are often quicker and less expensive fixes than a roofing repair would be. But no matter what you think the cause is, stay safely on the ground and let the professionals figure it out.

If you’re dealing with a leak anywhere in Hampton Roads, contact Andrews Roofing today. We’ll get to the bottom of it, even if the answer isn’t us.

read more

What to Do When a Tree Hits Your House

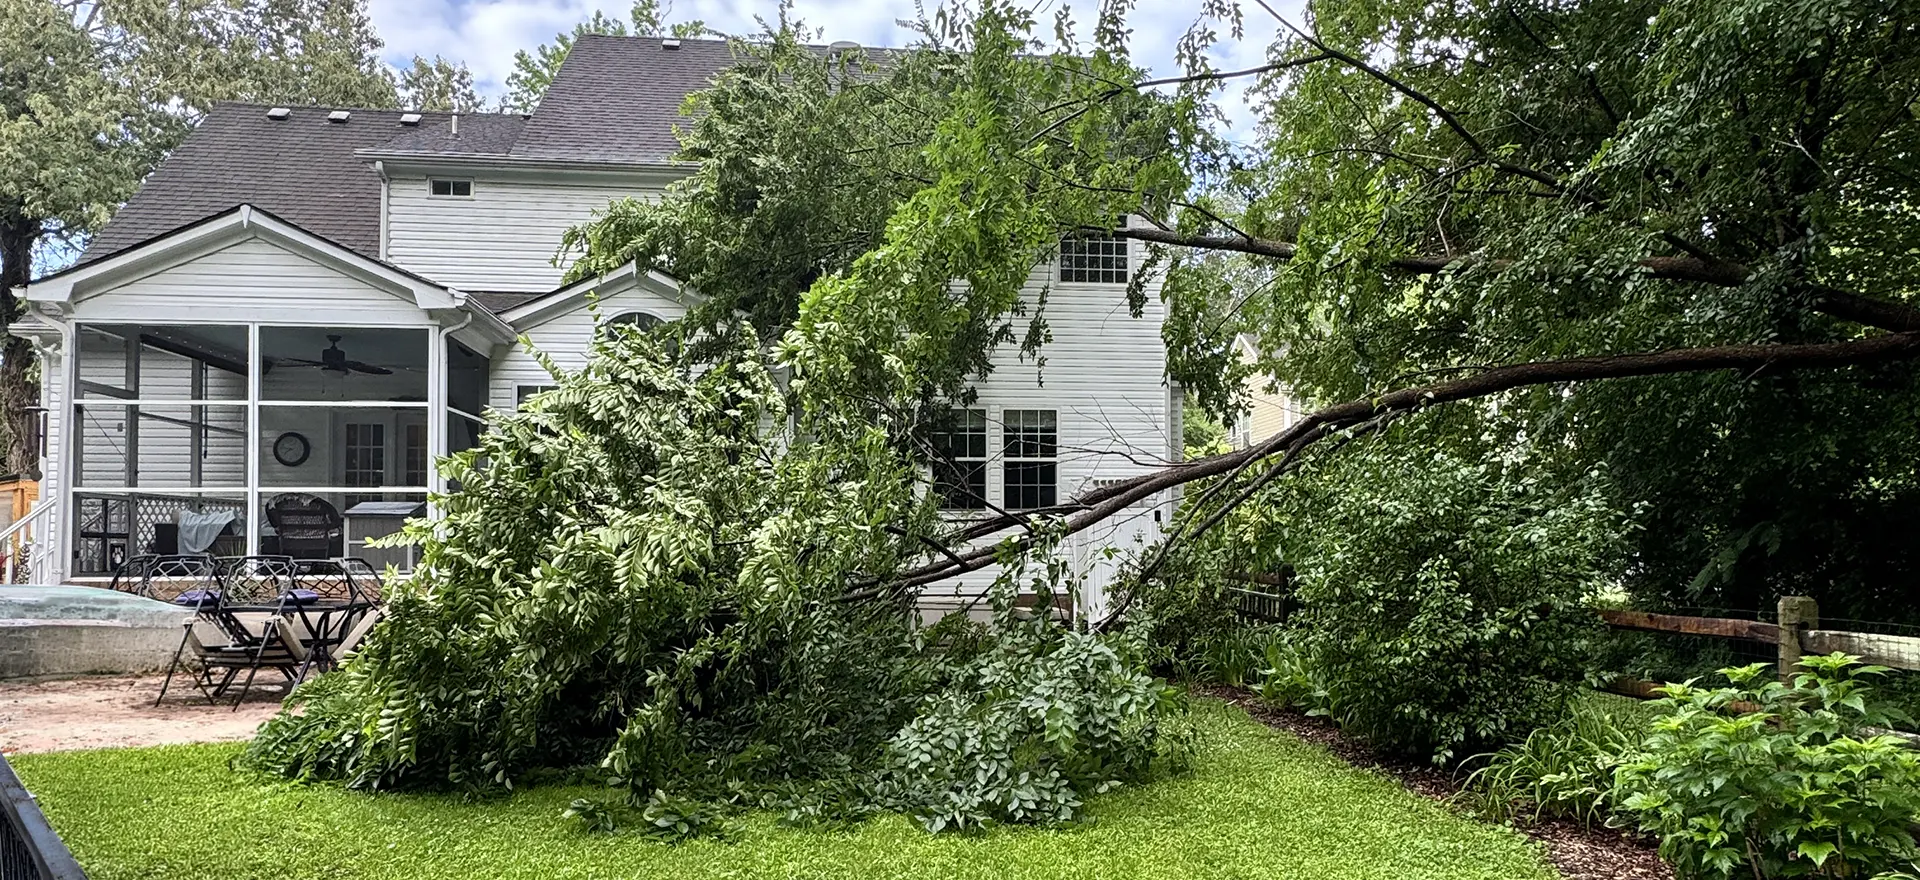
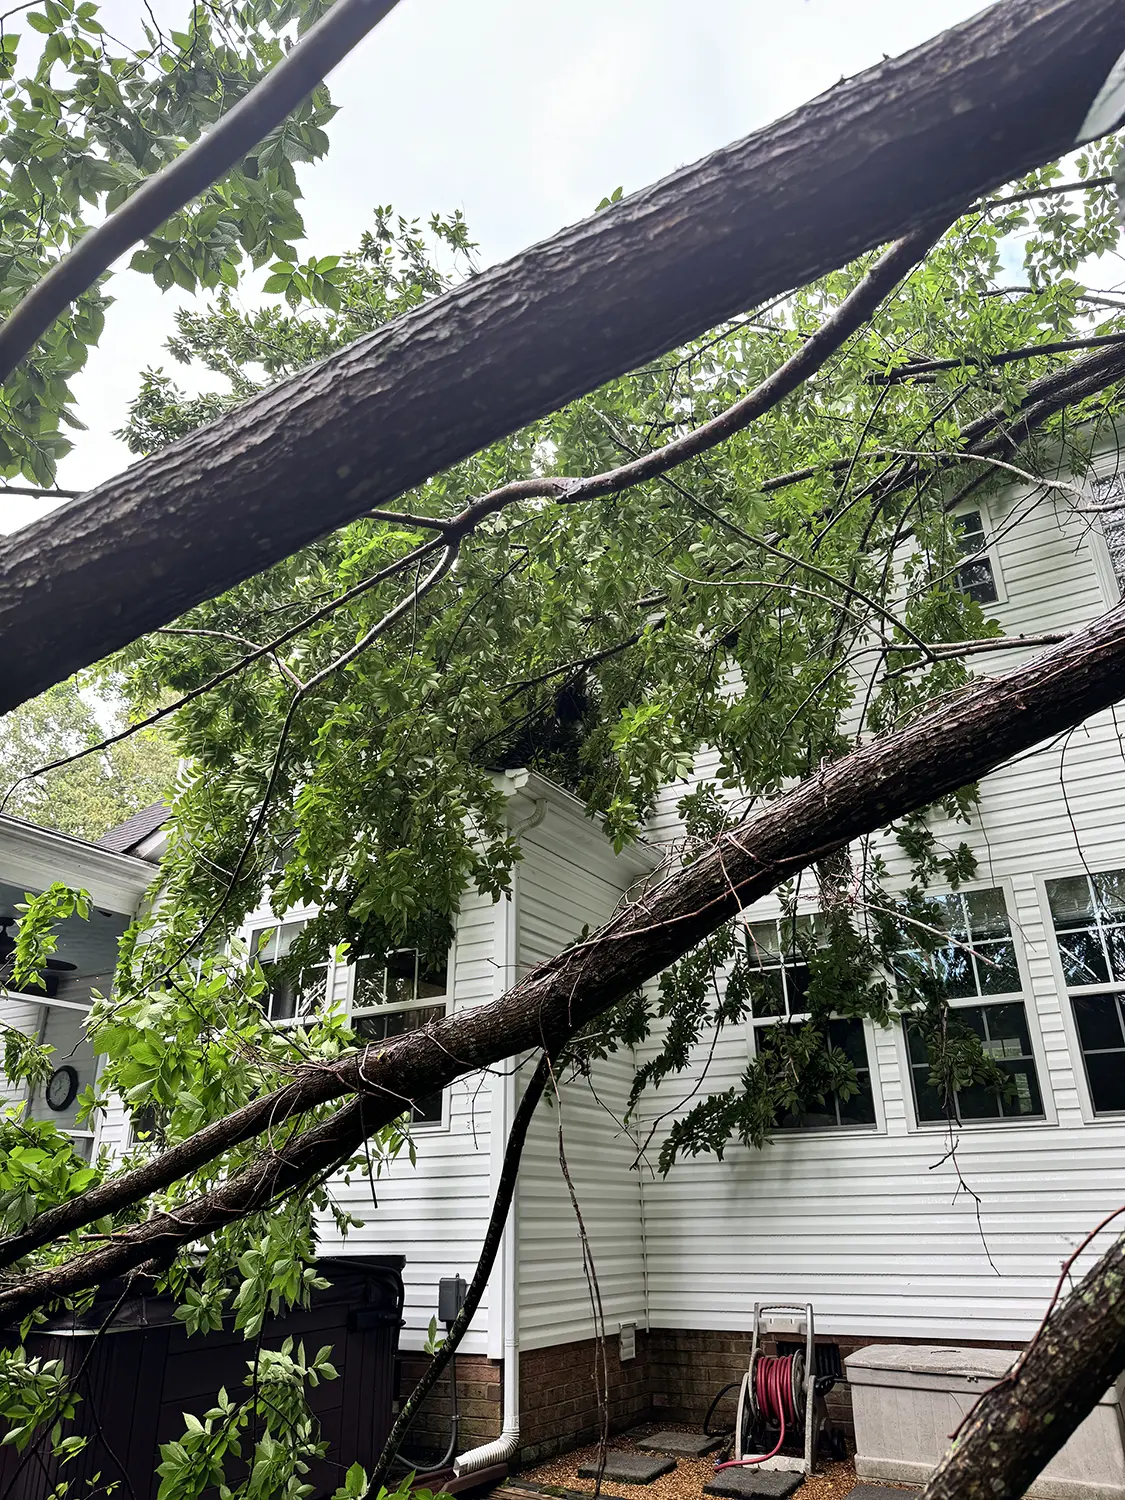
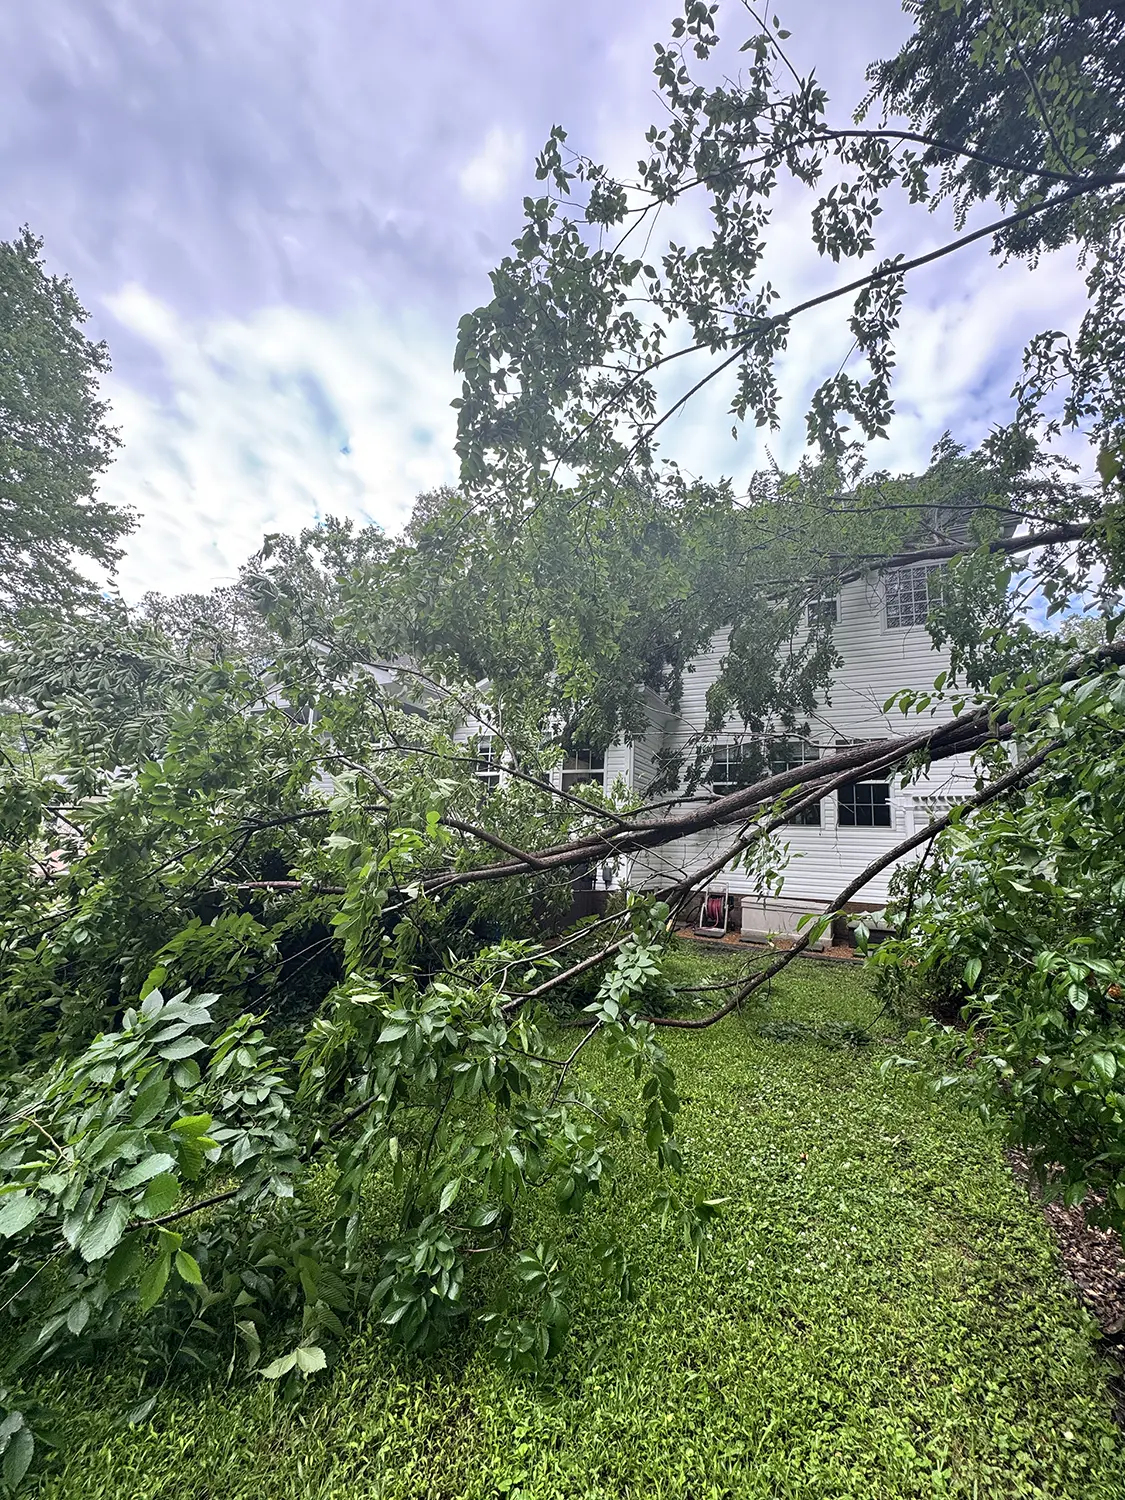
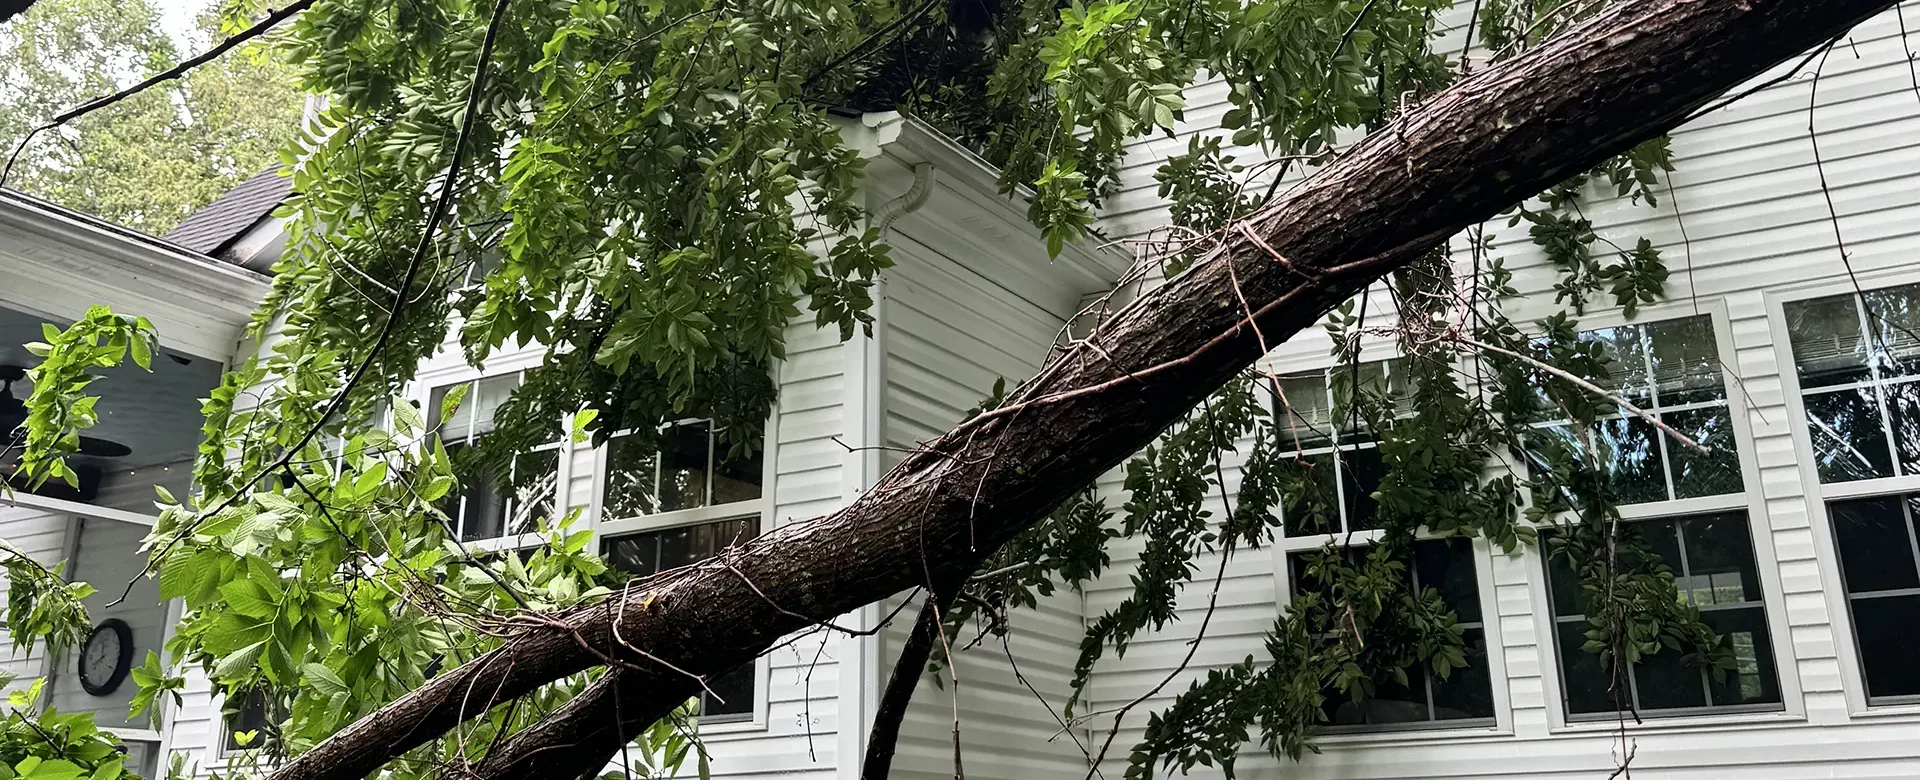
We hope it never happens, but in Hampton Roads, where wooded lots are as plentiful as the pop-up storms, tropical system and nor’easters we experience, it’s never out of the question. There may come a day when you’re awoken in the middle of night to the unmistakable “thud” of a tree landing on your roof. As jarring as that moment can be, the real anxiety is usually in the follow up. Who do you call first? What can you do yourself and what should you wait for an expert for? Who pays for the damage? While we always hope for the best, let’s walk through how to be prepared for the worst.

Step 1: Inspect for Immediate/Emergency Damage

Depending on the size of the tree or the force with which it hit your home, some damage may be immediately obvious. If the tree has penetrated your roof, windows or siding, it will be hard to miss. But in most cases, this doesn’t actually happen. A tree lands on your roof and the damage is typically only exterior and often is underneath the tree in a way that may not be visible without equipment or risky roof access. Immediately following the incident, do a basic safety check first. Look for downed power lines, gas leaks, structural sagging – all things that mean you should vacate the house and call emergency services.

If you don’t see signs of imminent danger, access your attic to check for any penetration or daylight coming through. This may be hard to do if the incident happens at night, so double check when it’s daylight. Next, look for water intrusion – even if there isn’t a visible hole. You may see seeping water coming through the roof deck from the inside where shingles have been lifted or come off.

Whatever you find, document everything! Take photos and videos from multiple angles where it’s safe to do so. This will matter enormously for any insurance claims that need to be made. Unless it is absolutely critical in order to exit the home or for immediate safety, avoid moving debris or cutting the tree yourself, especially if it’s resting up against the house. Shifting the weight of a tree can actually cause further structural damage, and one large limb or piece being moved off the house can drag across and remove shingles, gutters, siding, etc.

Most insurance companies will actually require you to take “reasonable steps” to prevent any further damage, but this does not mean getting on your roof or putting yourself in danger. Tarping your roof is a job for a professional. Your “reasonable steps” should be calling a tree removal company and roofing company as soon as possible.

Step 2: Reach Out to Insurance

As soon as you’ve documented the damage, reach out to your insurance company, even if you’re not sure yet that you’ll need to make a claim. You can ask them specifics about what they consider “reasonable steps” to mitigate any damage, but again – no one should be asking you to put yourself in danger. Instead, ask them if they have preferred vendors for doing this kind of temporary repair work.

Clarify with your agent or representative what exactly is covered in your policy. If your home is not actually damaged by the tree, the cost of removal may or may not be covered. Schedule an insurance adjuster to come inspect your property as soon as possible. Have your documentation ready to share – some insurance companies will have you email or upload photos to their app or website. In the meantime, keep every receipt for any work you have done for immediate repairs, tarping or even hotel costs if you’ve had to vacate your home.

Phase 3: Call in the Professionals

Your insurance company may have preferred contractors and vendors they work with for this type of job, but most policies do not require you to use those vendors. Whether the reference comes from them or elsewhere, you should call a licensed, insured tree removal company ASAP. Until the tree is removed it will be impossible to know the extent of the damage done to the house. As best as you can, coordinate the timing between the tree removal and a roofing inspection by a licensed roofing contractor as closely as possible.

Even if you don’t see signs of a leak, bring in a professional roof inspector. Hidden damage like cracked shingles, missing shingles or compromised flashing are very common and not always visible from the ground. Get a detailed, written estimate from the roofing contractor to supply your insurance adjuster. If possible, work with tree removal and roofing companies who are experienced with insurance claims and who have a process in place for how those jobs are estimated and billed.

Once the inspection is complete and repairs are scheduled, make sure the area stays properly secured until the fix is complete. Especially since storms tend to come in waves in our area, it’s important to try and avoid any additional damage that could complicate a claim or put any of the fault on you.

Step 4: Finalize the Claim

Hopefully the damage is covered by your insurance and the vendors you’ve worked with understand the claims process. In many cases, contractors will bill your insurance company directly. But in other cases, you’ll pay out of pocket, submit your receipts to your claims agent and then your insurance company will cut you a check for what is covered, minus your deductible. This can be stressful, as it’s not always clear that all expenses will be covered, but the best thing you can do is document everything fully, and submit everything you have in an organized, clear way.

Contact a Local Expert

If you’re dealing with a felled tree on your house, Andrews Roofing can help. We have decades of experience with Hampton Roads homeowners and insurance companies, and we have processes in place to help you easily file claims for the work done to your home. We are licensed, insured and experienced. Contact us today for a roof inspection, professionally written estimate and quickly scheduled repair to help you get through this stressful time.

read more

Protecting Your Roof While Power Washing

This is the time of year that many Hampton Roads homeowners get outside and start tidying up their yard and home’s exterior as outdoor living season takes off.

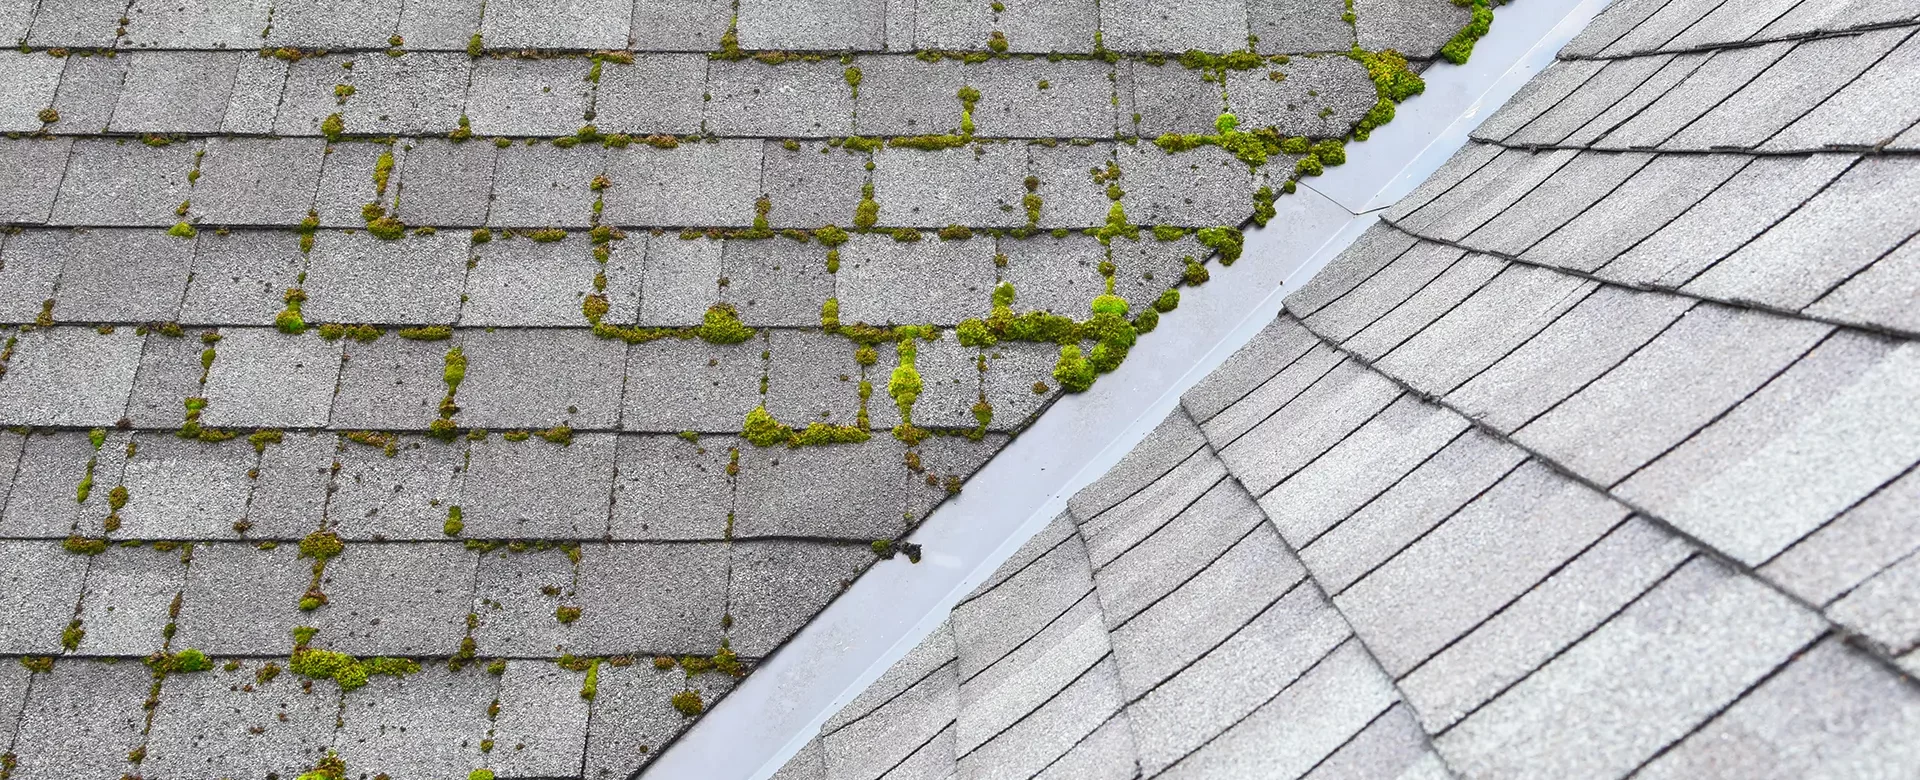
For some, this includes power washing off mold, mildew and other dirt that has accumulated on vinyl siding, wood fascia, gutters and even brick. While this is a good task to stay on top of to keep your house looking good and to protect your home’s building materials from decay, there are also risks, especially the higher up you go.

It’s tempting to take the power washing all the way to the top – especially when you see algae and mold buildup on your roof. If it works on the siding and driveway, why not the roof, right? But the damage you can cause to yourself and your home with this well-intentioned chore could be disastrous.

What Happens When You Power Wash Shingles

It’s never a good idea to power wash your roof. First and foremost, it’s incredibly dangerous to you. Walking on a slick, steep slope roof with a powerful tool in hand is a recipe for injury. But it’s also likely to do more harm than good to your roof as well. Here’s how:

  • Granule loss: the protective granules embedded in asphalt shingles are what shield them from UV rays and weather. The high pressure of the pressure washer strips them away, which can make them age faster.
  • Shingle breakage and cracking: older or already-weathered shingles are brittle; the added pressure can crack, split, or blow them away entirely.
  • Voided manufacturer warranty: many shingle manufacturers explicitly exclude damage from pressure washing, so don’t take any chances of losing a valuable warranty.
  • Water penetration to roof decking: a power washer has the ability to raise shingles up when the spray is pointed at the right angle. When that happens, water can penetrate to the underlayment and even to the roof decking, leading to rot, mold and eventually structural damage.

Power Washing Fascia, Gutters and Soffits

It’s also tempting to power wash the fascia, gutters and soffit on the outside of your house, as they can tend to get mildewed, especially in highly shaded areas or on the north side of your home. There are some ways to do this safely but keep these points in mind.

  • Upward spray under shingles: angling the wand upward forces water past the shingle’s overlap. As mentioned above, this can penetrate to the roof deck, causing much bigger and long-term damage.
  • Shingle lifting and loosening: the force can break the seal strip between shingles, leaving them vulnerable to strong wind lift afterward.
  • Gutter loosening: the force of a power washer may loosen or even detach gutters from the fascia or your home, or downspouts from their connection points. When gutters are not in place, they don’t move water away from your home correctly, which can lead to water damage along your foundation.
  • Soffit penetration: water driven into soffits can reach attic insulation, causing moisture buildup and mold growth inside the home.

What Should You Do Instead?

You want your home to look beautiful and protect it from long-term staining and damage, but there are right ways and wrong ways to do that. Here are a few ideas that are safer but still effective.

  • Soft washing: consider a low-pressure application of a biocide or cleaning solution designed specifically for roofs. These often attach to regular water hoses and can kill algae and mildew without physical force.
  • Professional gutter cleaning: Hire a local professional to manually clean your gutters with professional tools and leave the ladder climbing to them.
  • Annual professional roof inspection: catch buildup and early damage before it becomes a bigger problem. Call your local roofing professional if you have any concerns about roof aging, damage or maintenance. They will know what to look for and also how to identify and deal with it safely.
  • Algae-resistant shingles: there are some roofing materials now that have built-in algae resistance. Talk to your roofing contractor about these options if you’re considering a roof replacement. This is a particularly good choice for homeowners in the Hampton Roads region, which sees wet, humid weather year-round.

Take the Pressure Off Yourself

Your roof is your home’s first line of defense against the elements. Don’t let a DIY weekend compromise it, costing you money or even your safety. At Andrews Roofing we know all the telltale signs of roof damage – whether it was caused by you, the weather, age or previous owners. Contact us today if you have any concerns about your roof’s condition; we’d be happy to help point you in the right direction, while taking the pressure off you.

read more

DIY Roof Repairs: What Could Go Wrong

“What could go wrong” when trying to repair your own roof isn’t a question – it’s an inevitability.

We know many homeowners take pride in tackling repairs and home improvement projects themselves. Leaky faucet – easy enough. Swapping out a light fixture? A little more complicated, but doable for the advanced weekend warrior. But when it comes to your roof, the DIY mindset can quickly turn from “I’ve got this” to “I’ve made a very expensive mistake.”

It’s not uncommon for our office to get calls that start with, “Well, we tried to fix it ourselves…” Roof repairs are one of the most commonly underestimated home maintenance tasks and also one of the most dangerous. Here’s a look at the roof repairs we see homeowners often attempt on their own, and what can (and frequently does) go wrong.

Common DIY Roof Repairs Gone Wrong

1. Replacing a Few Missing or Damaged Shingles

No big deal, right? On the surface, this seems straightforward: remove the damaged shingle, nail a new one in place, seal it, and move on.

What goes wrong:

  • Improper nail placement can puncture the underlayment, creating new leak points
  • Incorrect shingle alignment disrupts water flow
  • Using the wrong type or color of shingle compromises performance and appearance
  • Sealant is applied incorrectly or not at all

In Southeast Virginia, where heavy rain and high winds are common, even small installation mistakes can allow wind-driven rain to penetrate the roof system, causing more damage than what likely would have happened if you’d left the shingle alone.

2. “Patching” a Roof Leak with Sealant or Tar

Caulk and roofing tar feel like quick, easy, and affordable fixes for a leak, and they’re often the first thing homeowners reach for. But this “quick fix” can cause long-term problems.

What goes wrong:

  • Leaks are rarely where water enters the home; they travel along decking and framing, so sealing an area where the leak has penetrated is probably not solving the problem
  • Sealants dry out, crack, or wash away over time
  • Patching the visible issue masks the underlying problem

In humid coastal climates, trapped moisture can lead to rot, mold, and decking failure long before the leak becomes obvious again, which means you’ve created a secondary problem that is now going to require structural repair.

3. Cleaning or Adjusting Flashing

Loose flashing around chimneys, skylights, and roof penetrations is a common DIY target. You can easily see the problem and the solution feels straightforward. But this fix actually takes much more skill than you would imagine.

What goes wrong:

  • Flashing is bent or reinstalled incorrectly
  • Existing waterproofing layers are damaged
  • Fasteners are driven into the wrong locations

Flashing failures are one of the leading causes of roof leaks—and one of the easiest ways for DIY work to create long-term water intrusion. Not to mention this type of work is particularly dangerous for someone not accustomed to working on roofs.

4. Gutter “Fixes” That Affect the Roof

Homeowners often clean, reattach, or adjust gutters without realizing how closely they interact with the roofing system.

What goes wrong:

  • Improper pitch causes water to back up onto the roof edge
  • Fascia boards are damaged during reattachment
  • Hidden water damage and rot go unnoticed

In areas like Hampton Roads, where sudden downpours are common, poor drainage can overwhelm roof edges and accelerate deterioration.

What DIY Roof Repairs Can Really Cost You

1. More Damage Than You Started With

One misstep—literally or figuratively—can turn a minor issue into structural damage. Water intrusion doesn’t announce itself right away, and by the time it does, repairs are often far more extensive (and expensive) than the original problem.

2. Voided Warranties

Many roofing manufacturers require that repairs and modifications be performed by licensed professionals. DIY work – even when well-intentioned and effective – can void material warranties, leaving homeowners unprotected when future issues arise.

3. Insurance Complications

If a DIY repair fails and causes interior damage, insurance companies may deny claims due to improper workmanship or unlicensed repairs. This is especially risky following storms or high-wind events common in Southeast Virginia.

4. Serious Safety Risks

This is the part that cannot be overstated.

  • Roofs are steep, slick, and unforgiving
  • Asphalt shingles become dangerously slippery in heat, humidity, or after rain, especially when covered with mold or mildew
  • Falls from even one story can result in severe injury

Every year, homeowners are seriously injured attempting roof work because they don’t have the proper knowledge, safety equipment or understanding of structural weak points of their own home. Don’t damage your home AND yourself with risky DIY repairs.

When in Doubt, Call a Professional

Professional roofers understand the composition of a roofing system, how water behaves under different weather conditions, how the regional climate impacts materials and installation, and how to work safely in their environment.

A professional roofing inspection can often catch issues homeowners didn’t even realize were connected to the issue they’ve identified, saving them from much more costly repairs down the road. So, if you’re noticing missing shingles, leaks, sagging areas, or storm damage, or even if you’re unsure what you’re seeing but you know something is wrong, calling a licensed roofing professional is the safest, smartest first step.

DIY projects have their place, but your roof isn’t one of them. Contact Andrews Roofing today.

read more