If you’ve been considering reroofing your home, you’ve probably been researching and pricing out different options.
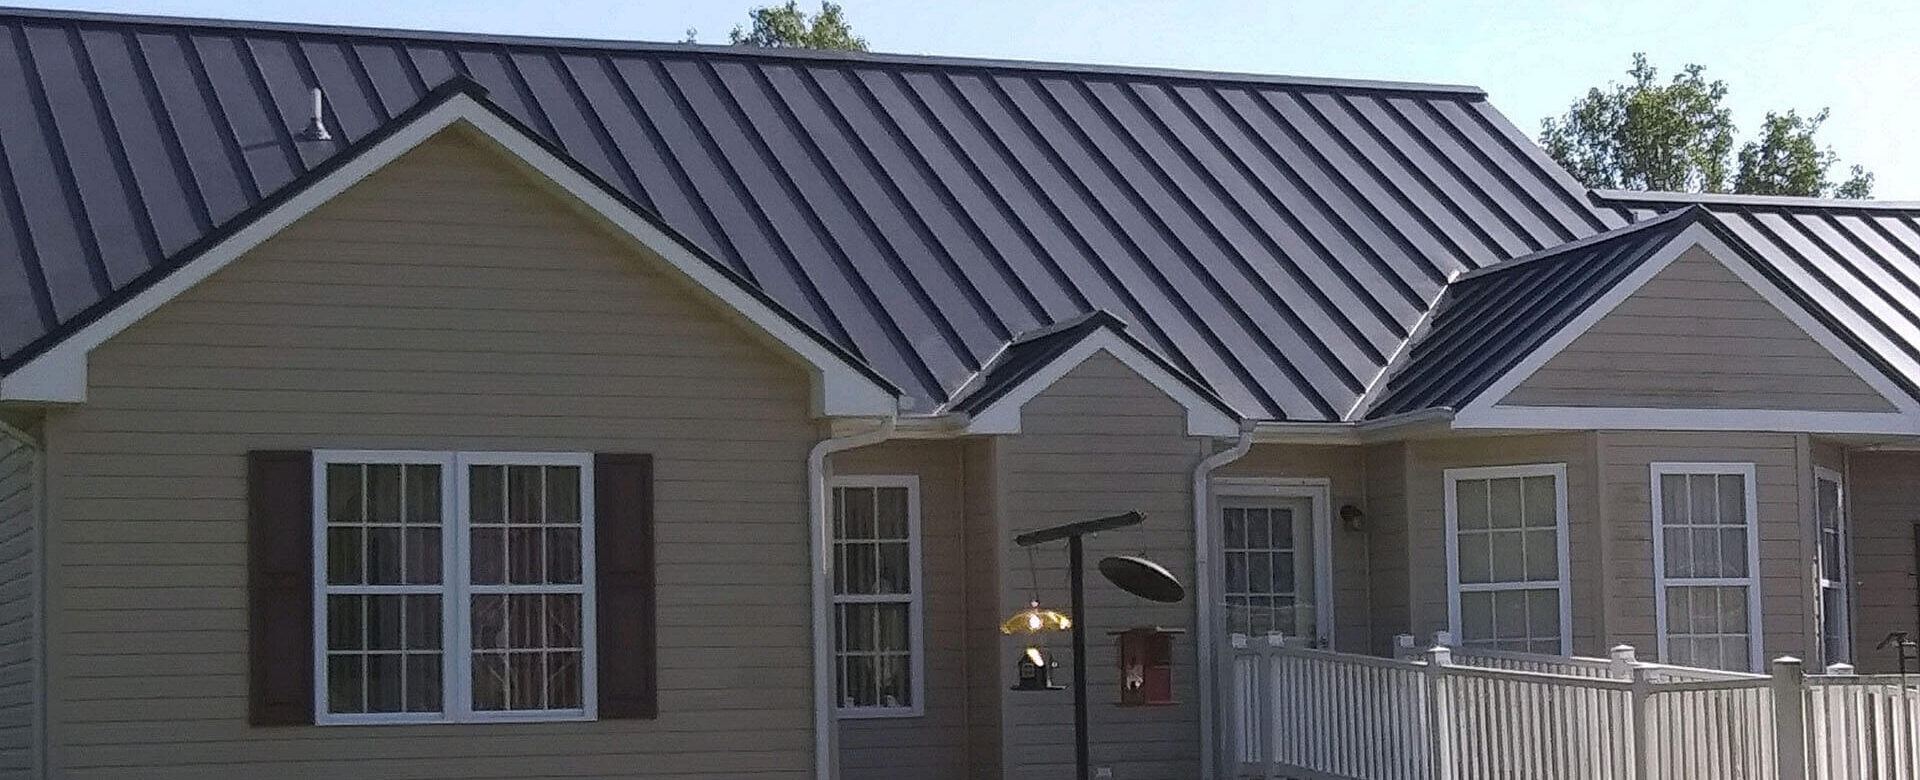
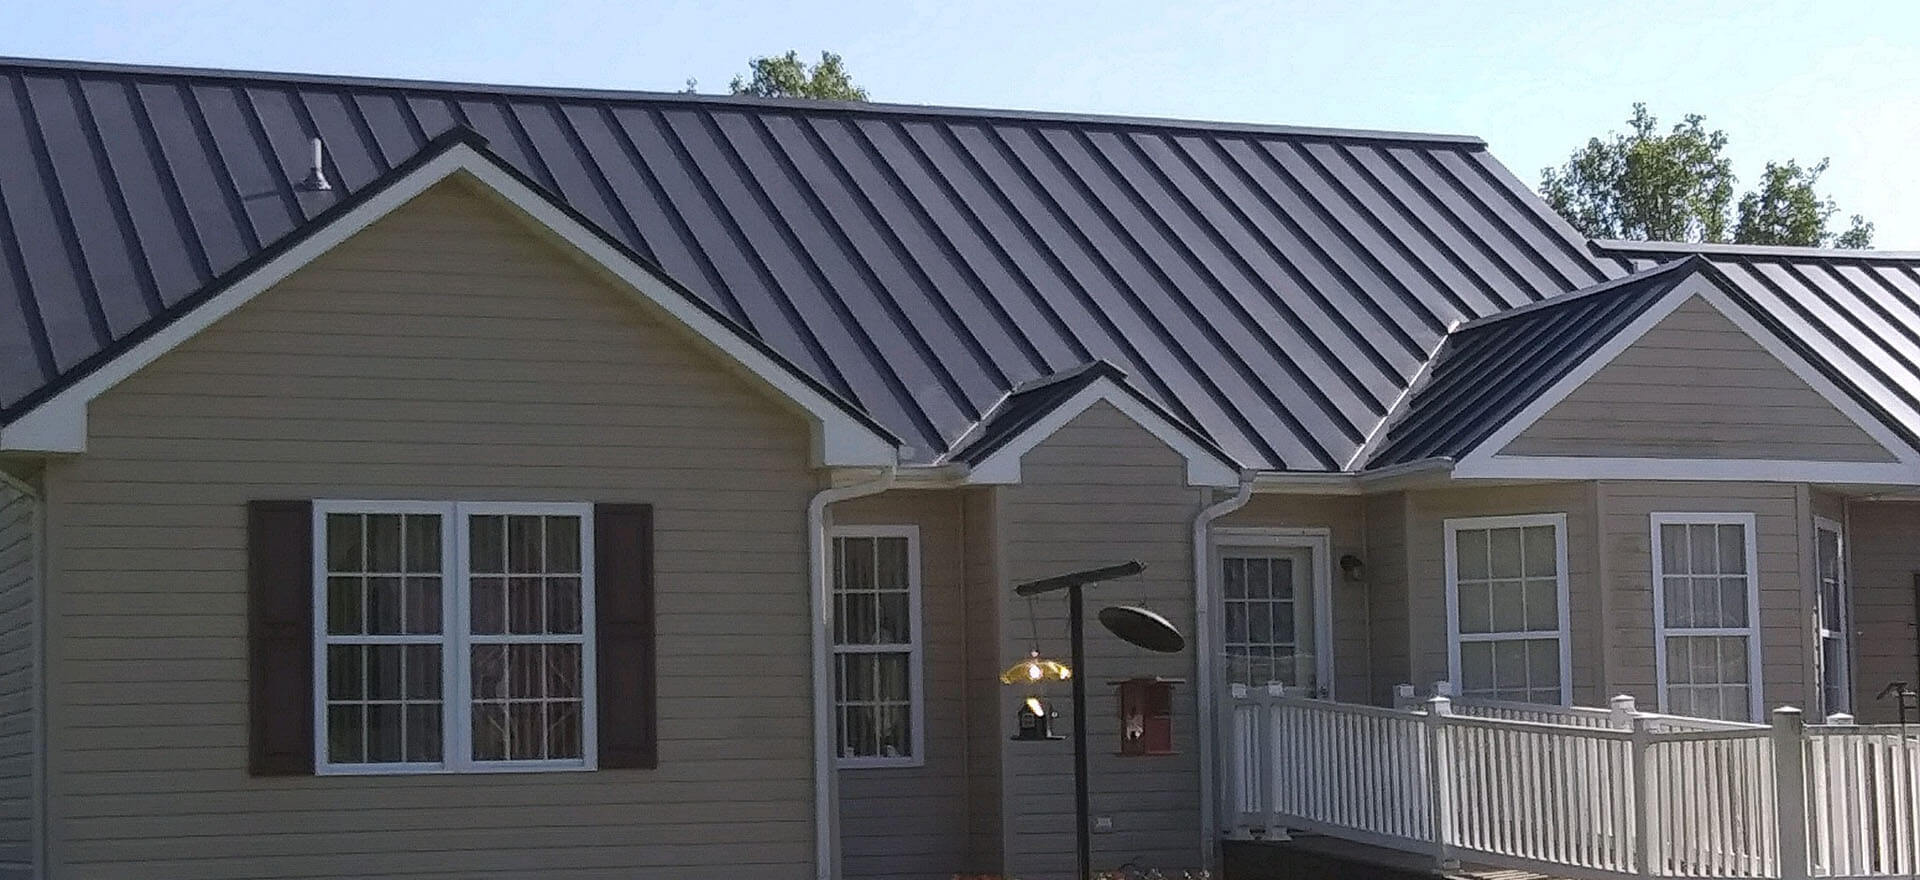
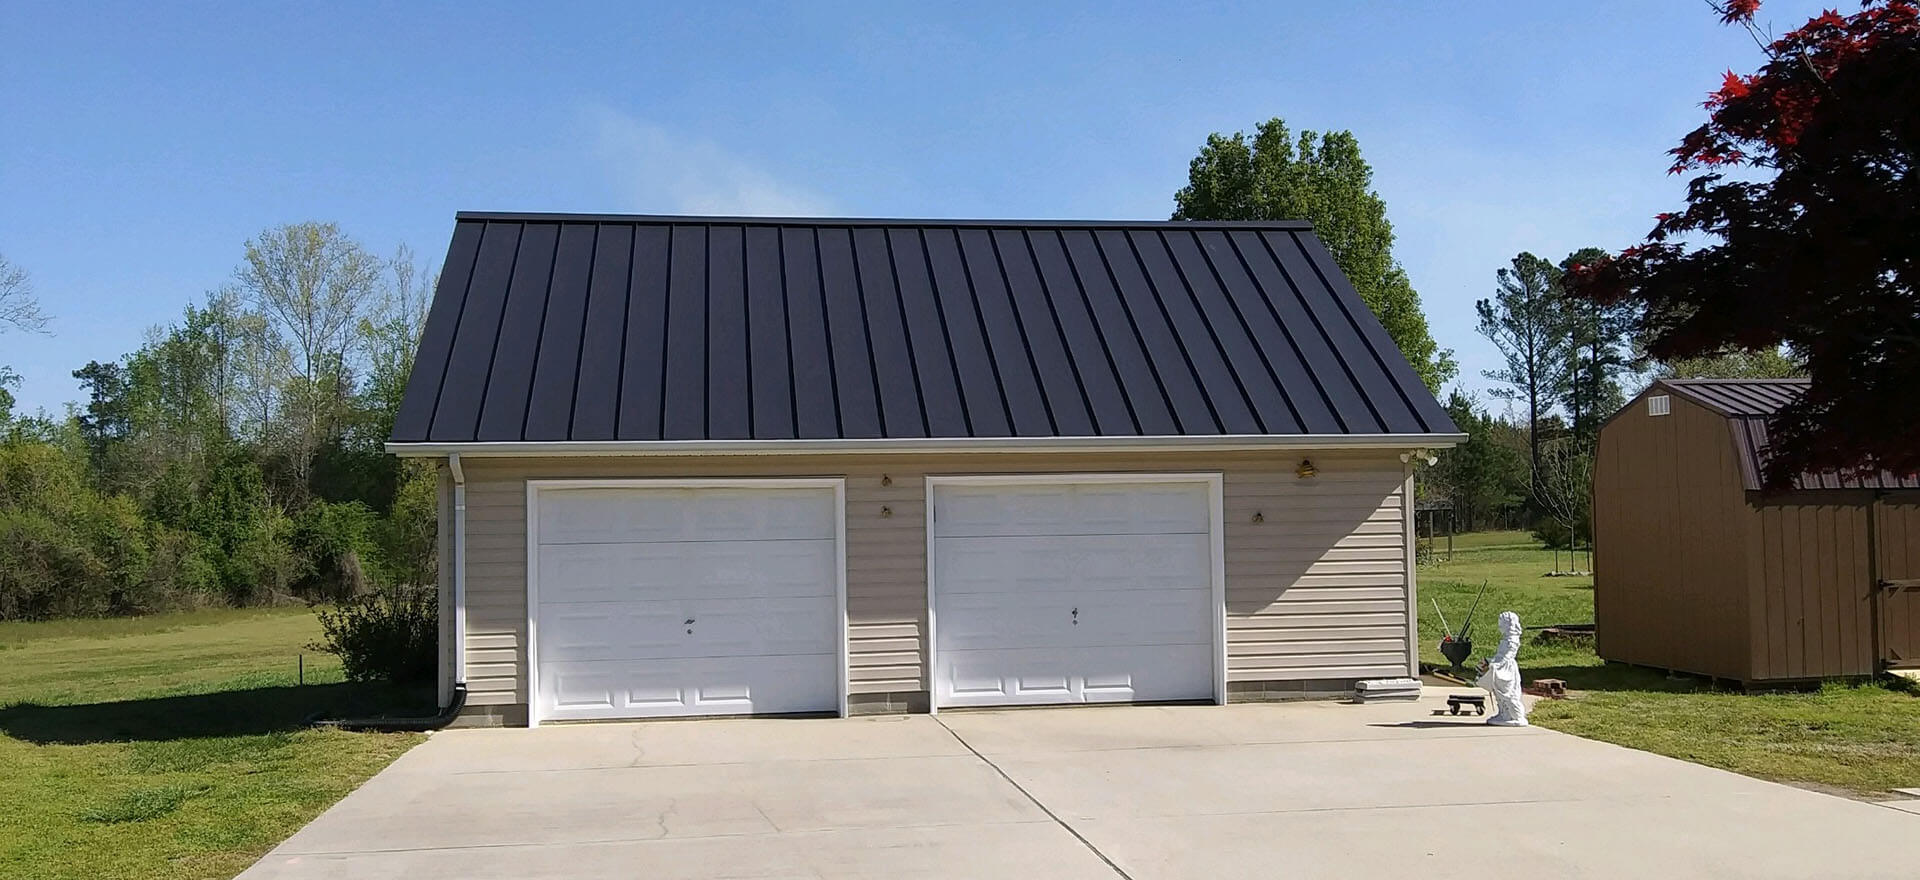
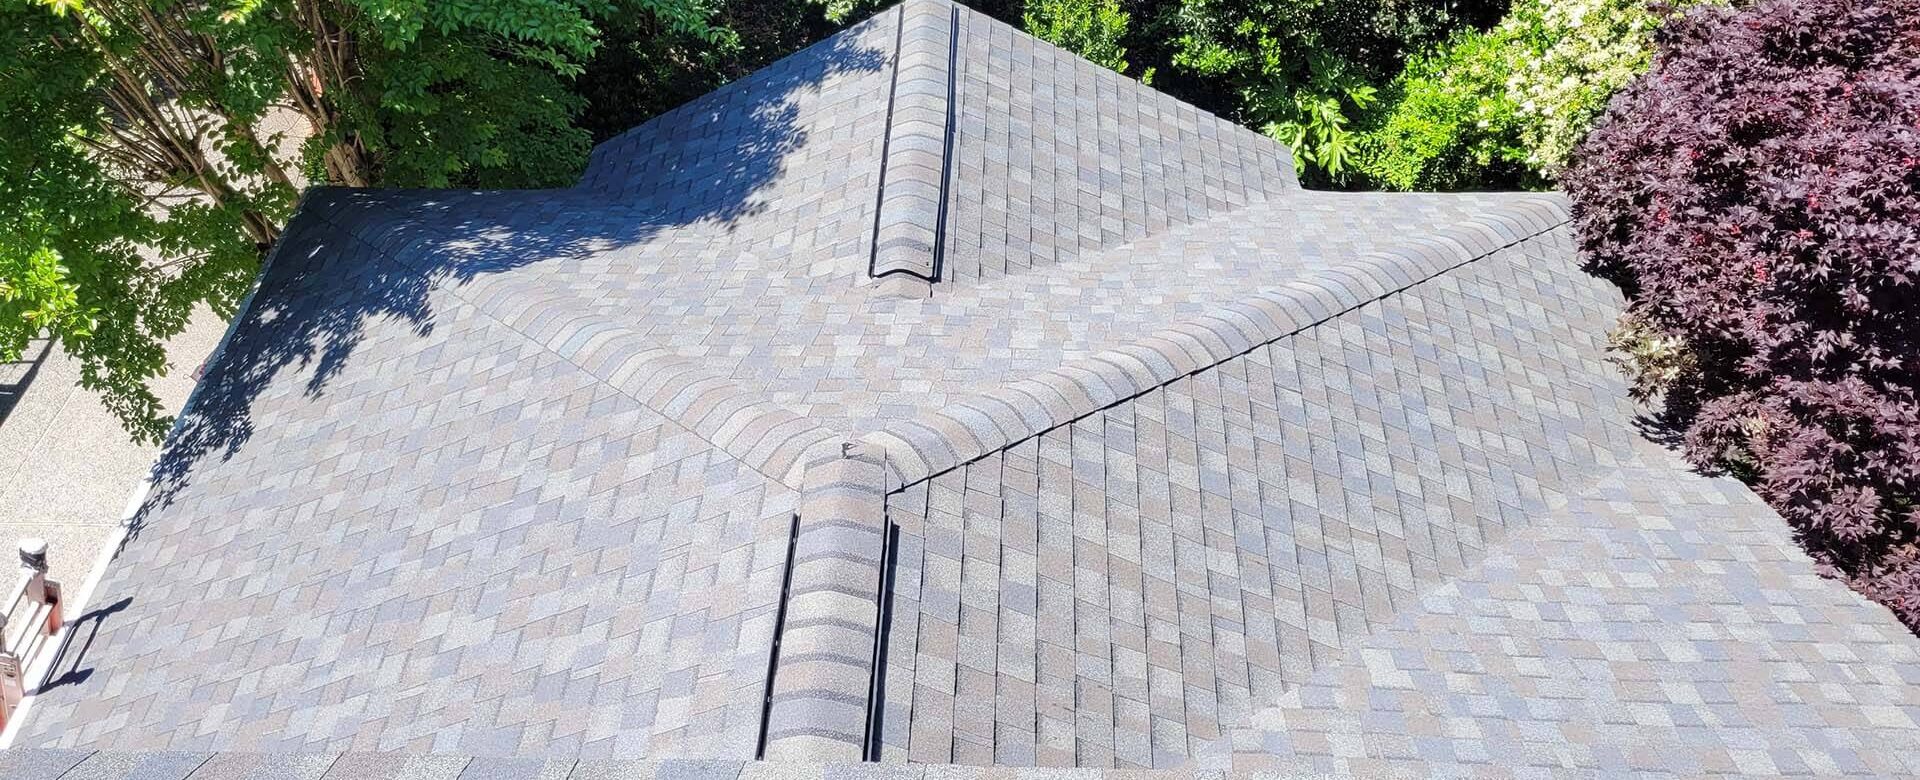
These days there are many more options than just a traditional 3-tab asphalt shingle. There are composite materials, walkable surfaces, wood, clay tile and metal. Of all of these materials, metal roofing is showing the largest growth in consumer interest. While metal roofs are typically more expensive upfront compared to shingled roofs, there are some good reasons why the price disparity exists and many cost benefits associated with a metal roof. Here are just a few things to consider when evaluating whether metal is the right materials for your home’s new roof.
Why so high?
So why do metal roofs have a higher upfront cost than traditional shingles?
First, the materials used in metal roofs, such as steel, aluminum, or copper, are generally more expensive than the asphalt materials used in traditional shingles. These heavy-duty materials can also cost more to manufacture and to ship. Most manufacturers have a factory applied paint finish, with a wide range of color options and some custom colors or less common colors may have an additional cost.
Secondly, they have a longer lifespan thanks to the durability of the materials used. While a typical shingle roof can be expected to function properly for 20 to 30 years, a metal roof can be expected to perform for 50 or more years with proper maintenance. This longevity significantly reduces the need for roof replacements. You may go through two asphalt shingle roofs in the lifespan of one metal roof, making the metal roof much more cost effective over time.
Thirdly, metal roofs withstand heavy winds and storms better than a traditionally shingled roof. This matters a lot in places like southeast Virginia where we encounter hurricanes, tropical storms, nor’easters and plenty of regular old severe storms at any given time of the year. While shingle roofs may be rated for up to 110 mph winds, some metal roofs are rated for 140 mph winds or even more. That’s the difference between withstanding a category two hurricane and a category four hurricane. The reduced costs in repairs over time also contribute to the long-term value of a metal roof.
Finally, metal roofs are more energy efficient, which can lead to cost savings in the long term. They reflect a significant portion of the sun’s radiant heat, reducing the need for air conditioning during hot summer months. This reflective property, coupled with proper insulation, can help lower cooling costs and decrease energy consumption. Moreover, some metal roofs are designed with integral air gaps or coatings that enhance their insulating properties, further reducing heating costs in colder climates. These energy-saving advantages contribute to lower utility bills and, ultimately, a return on investment for homeowners who choose metal roofs.
So yes, metal roofs are a steeper upfront investment in your home. But the cost has long-term benefits that can outweigh the initial cost disparity. The extended lifespan, reduced need for roof replacements, energy efficiency, and consequent cost savings make metal roofs a wise and financially sound choice for homeowners seeking durability, sustainability, and long-term economic advantages.
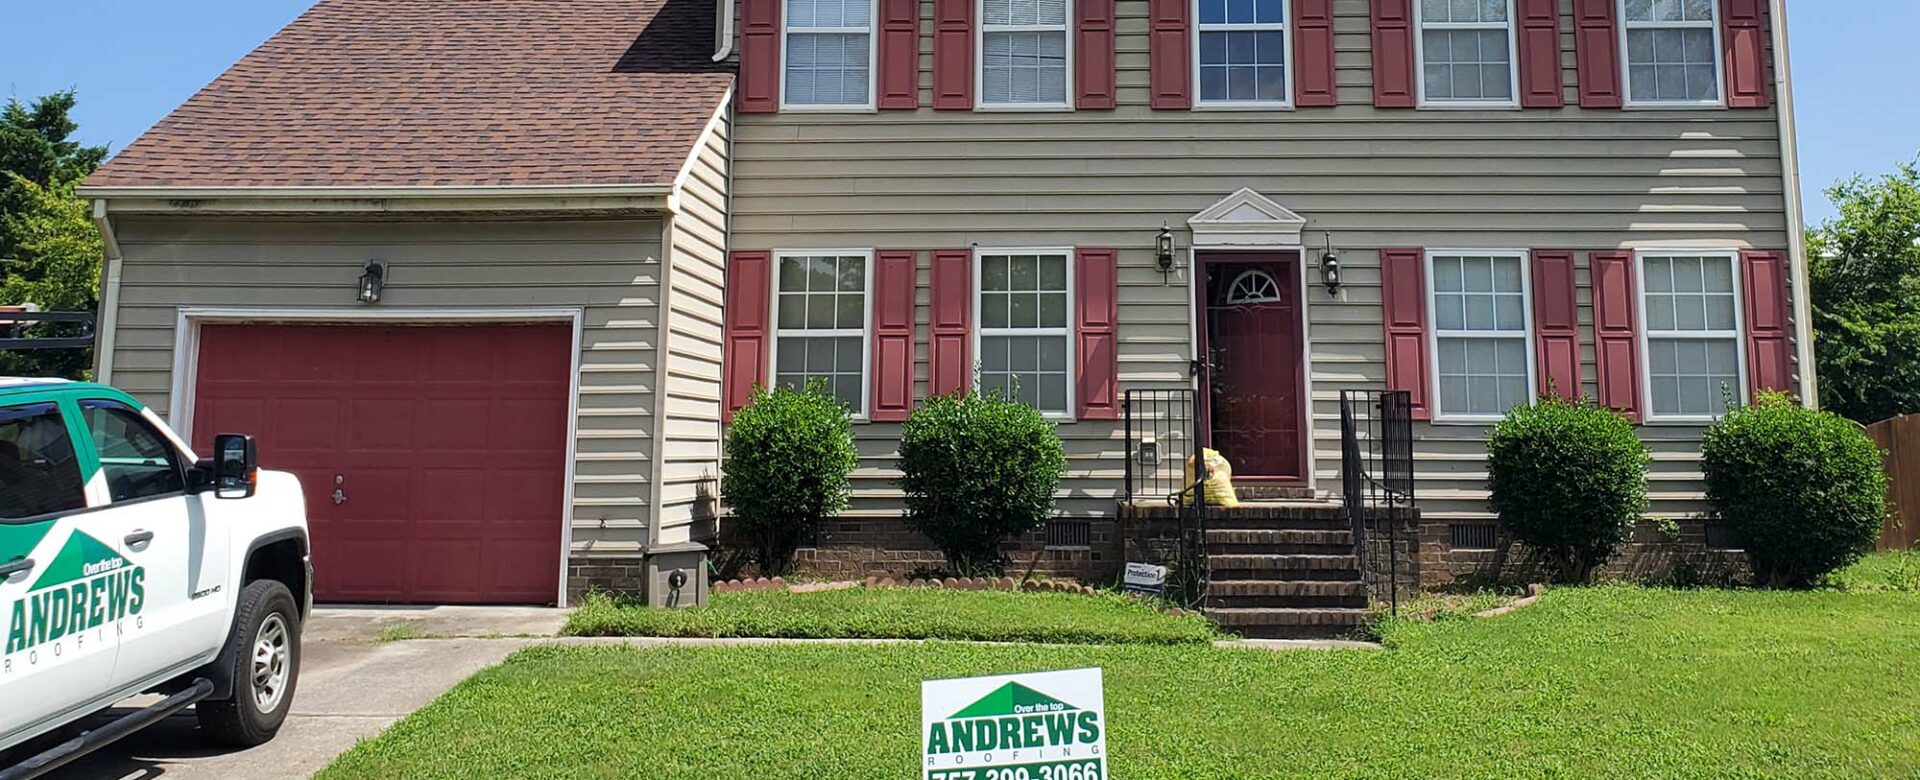
If you’re weighing your roofing materials options, we’d be happy to help guide you through the process. At Andrews Roofing we take pride in using the best products on the market, no matter what material you decide to go with. We take our time with clients, walking them through the pros and cons, typical costs and even financing options because we know that replacing your roof is a big decision and a long-term investment. Contact us today for a roofing consultation.
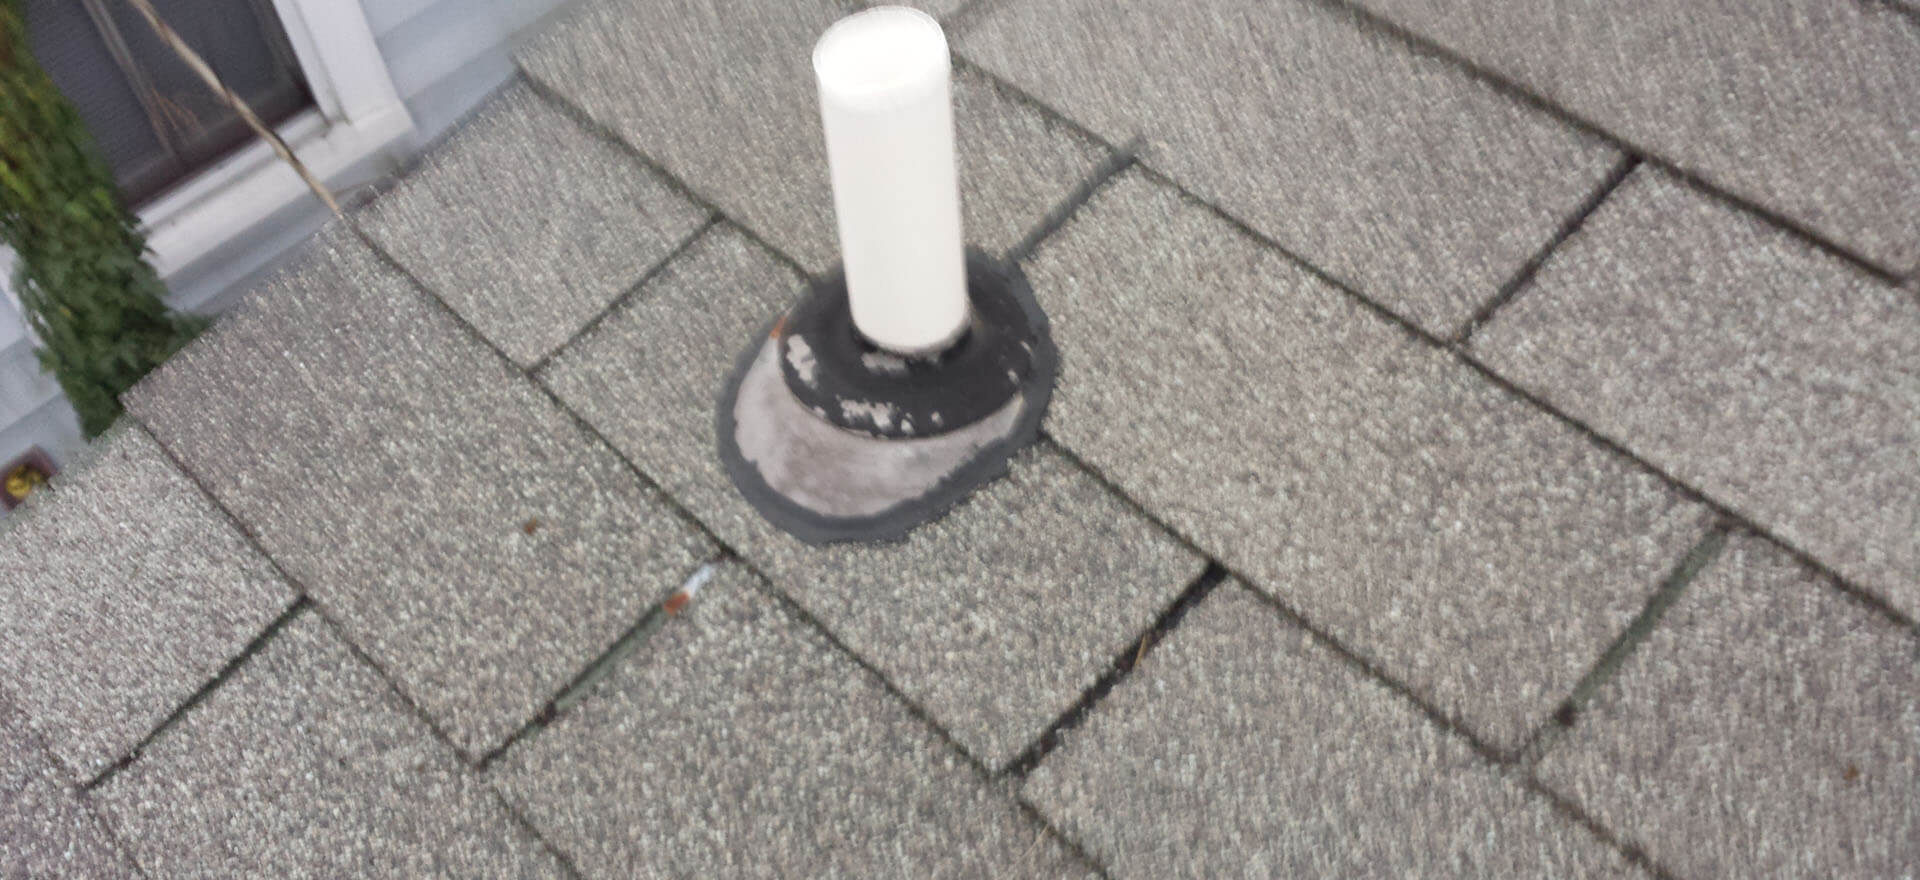
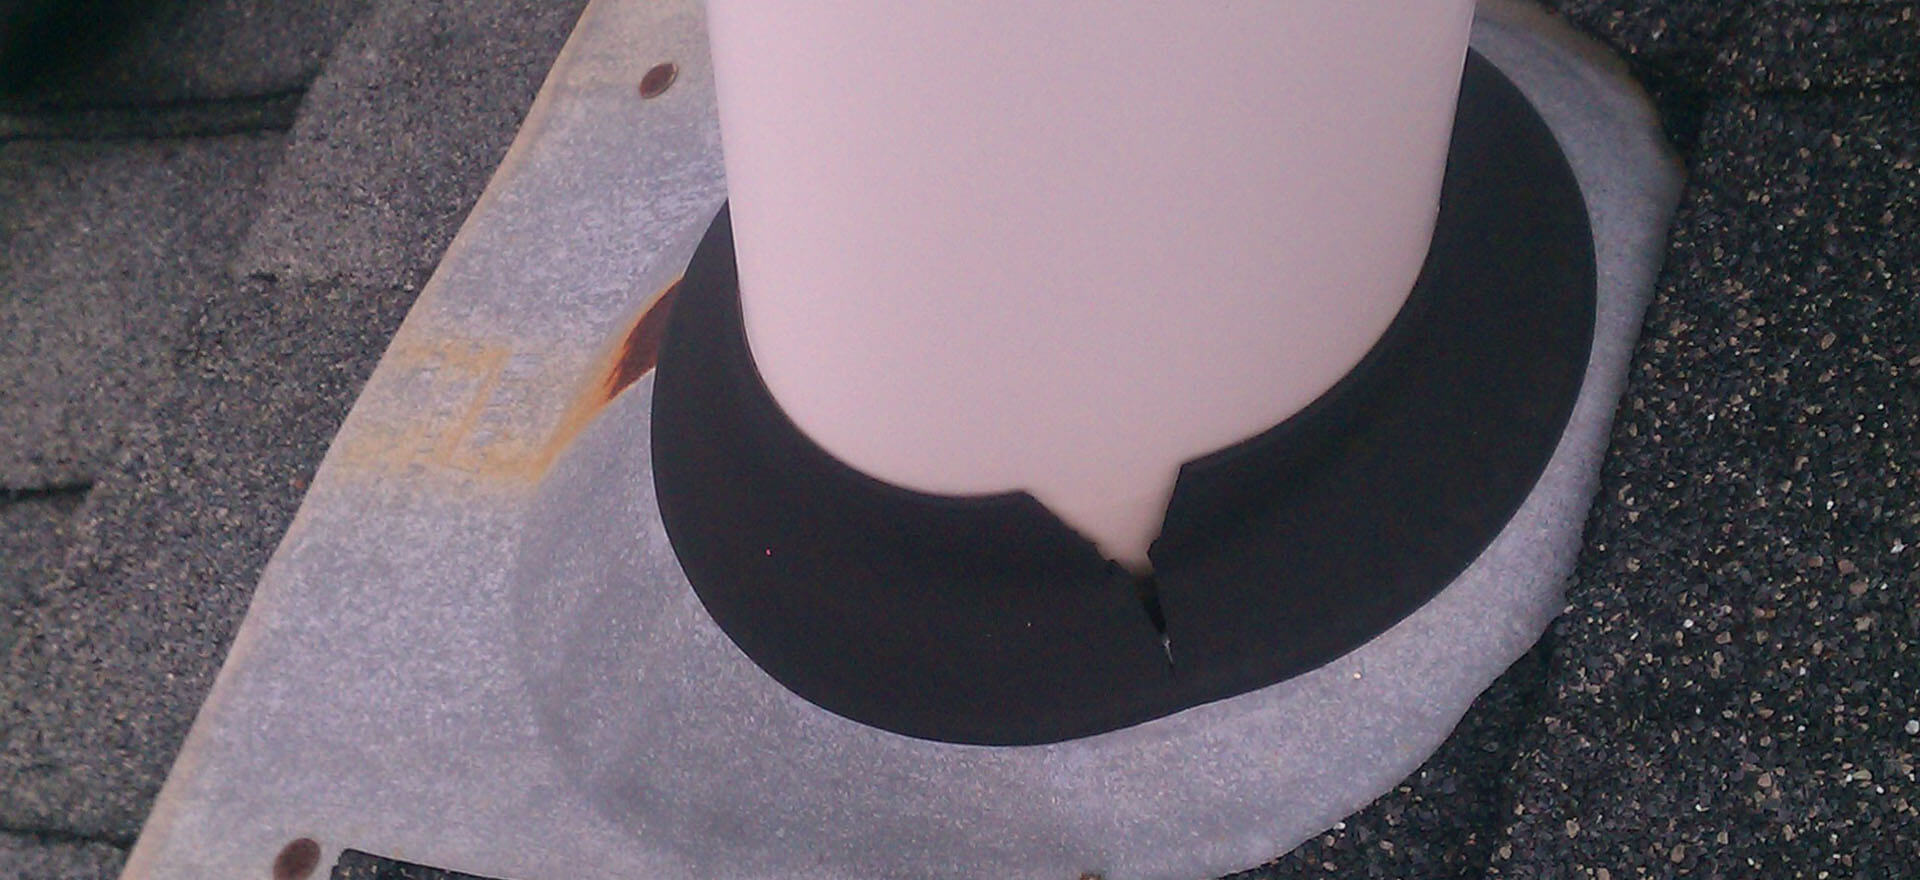
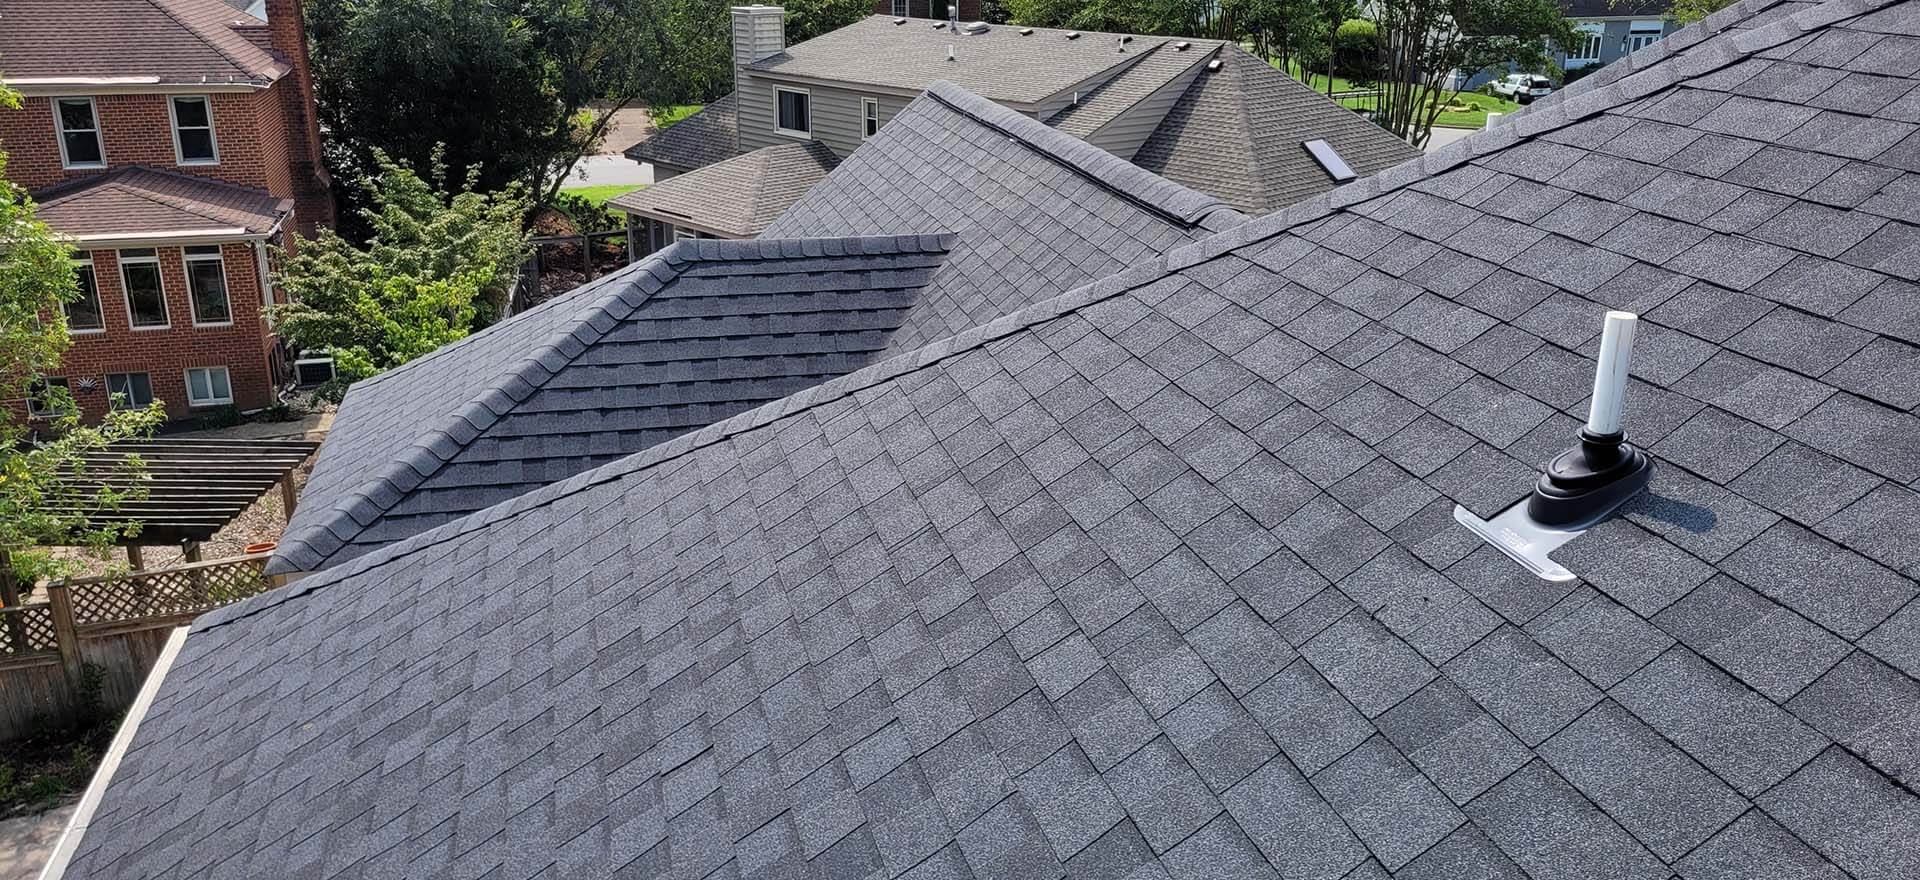
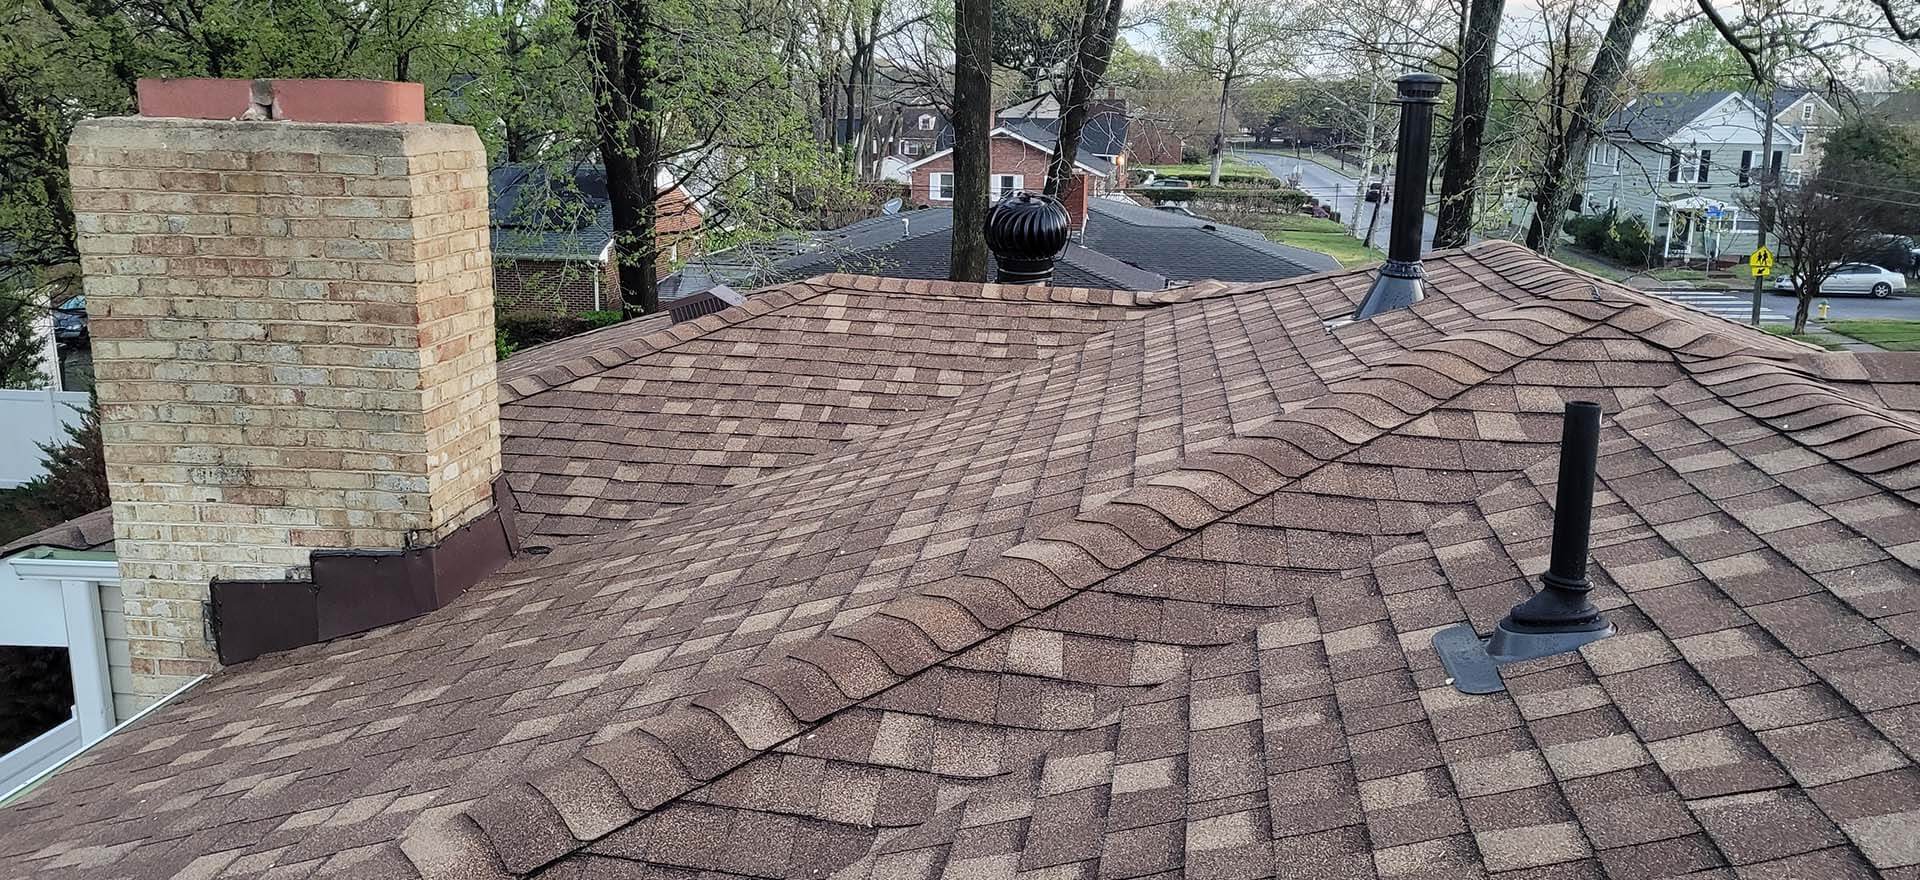
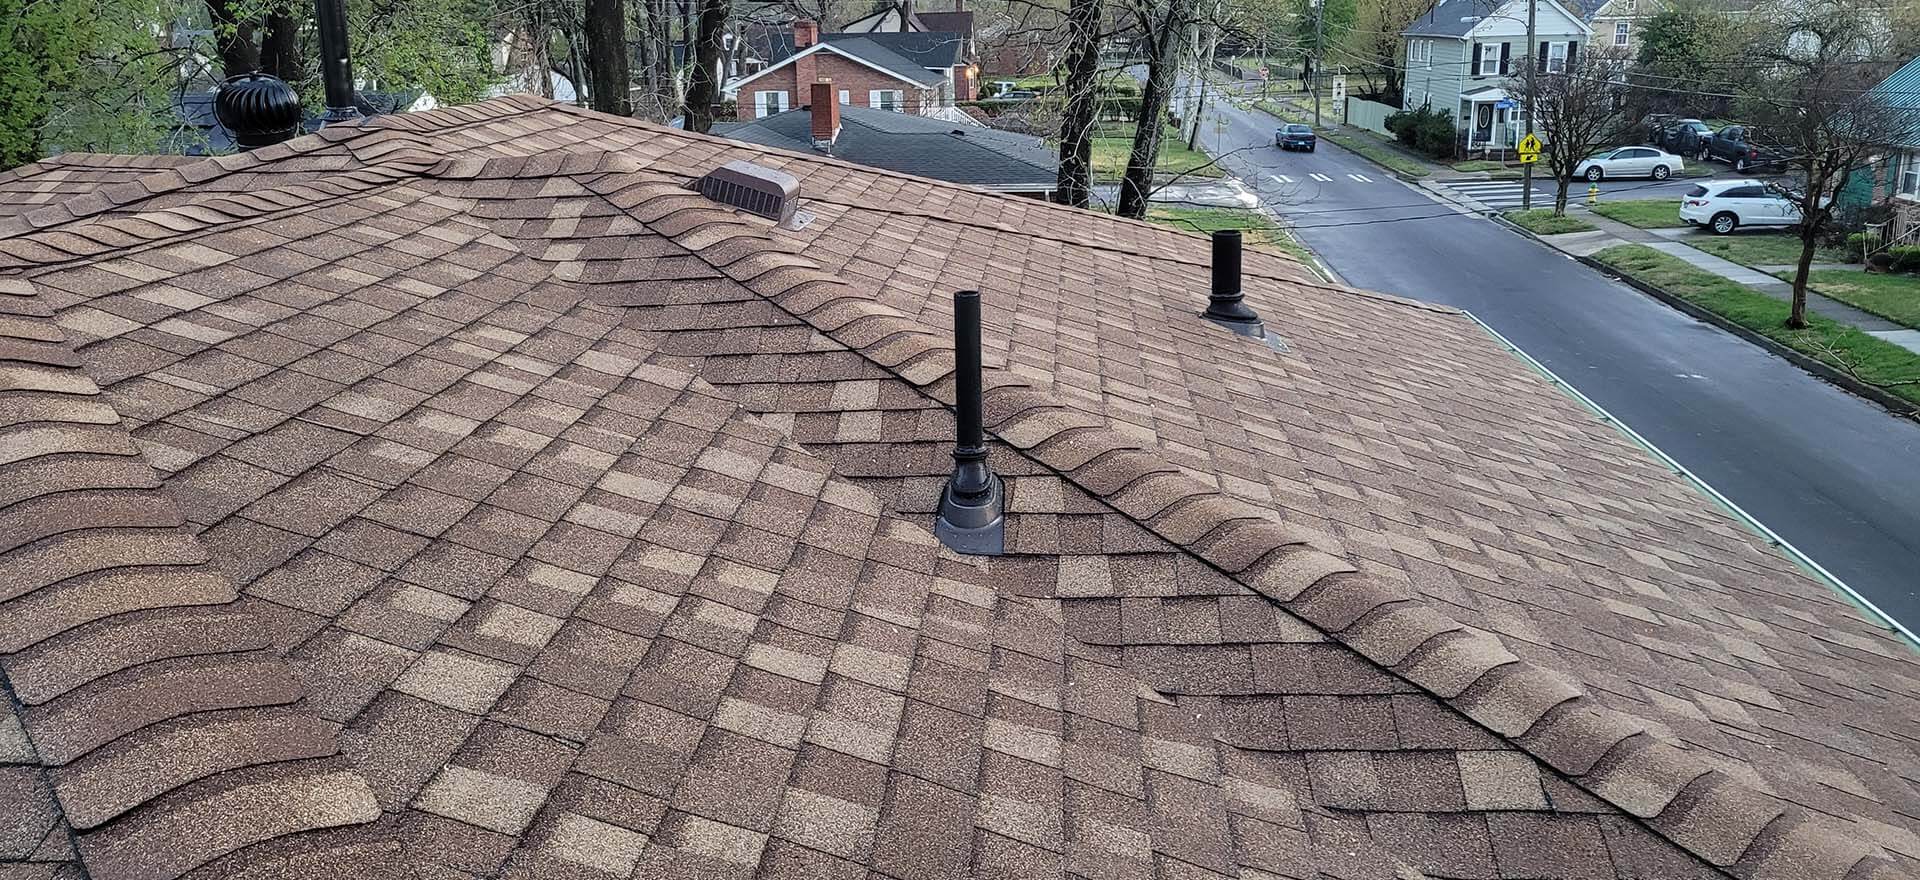
 Most houses have shingle roofs. I think shingles are the basic type of roofing in a way although they are not inferior to other types. I have shingles on my home. Many people or companies are installing shingle roofs right now. There are many companies out there for you to choose from, because roofers usually start in the industry first by installing shingles. You can get the job done but…