

Leaks & Service Repairs

757-399-3066 ext 3 (Leaks & Service Repairs)

Reroof Estimates & Inspections

757-399-3066 ext 1 (Reroof Estimates & Inspections)

News

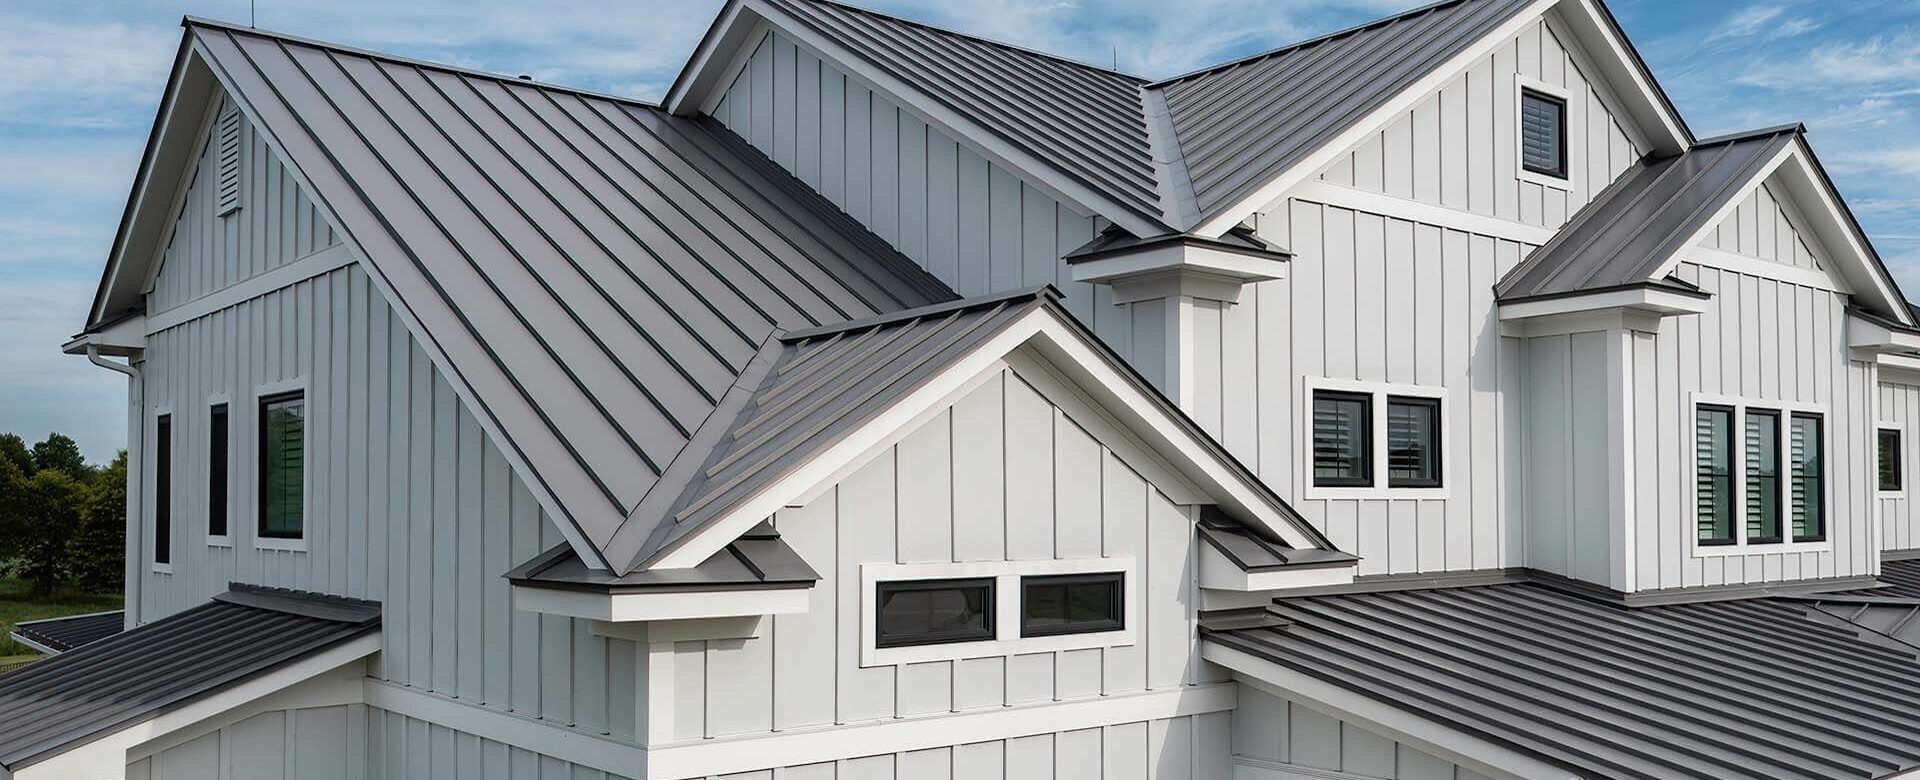
The Truth About Metal Roof Noise and Condensation

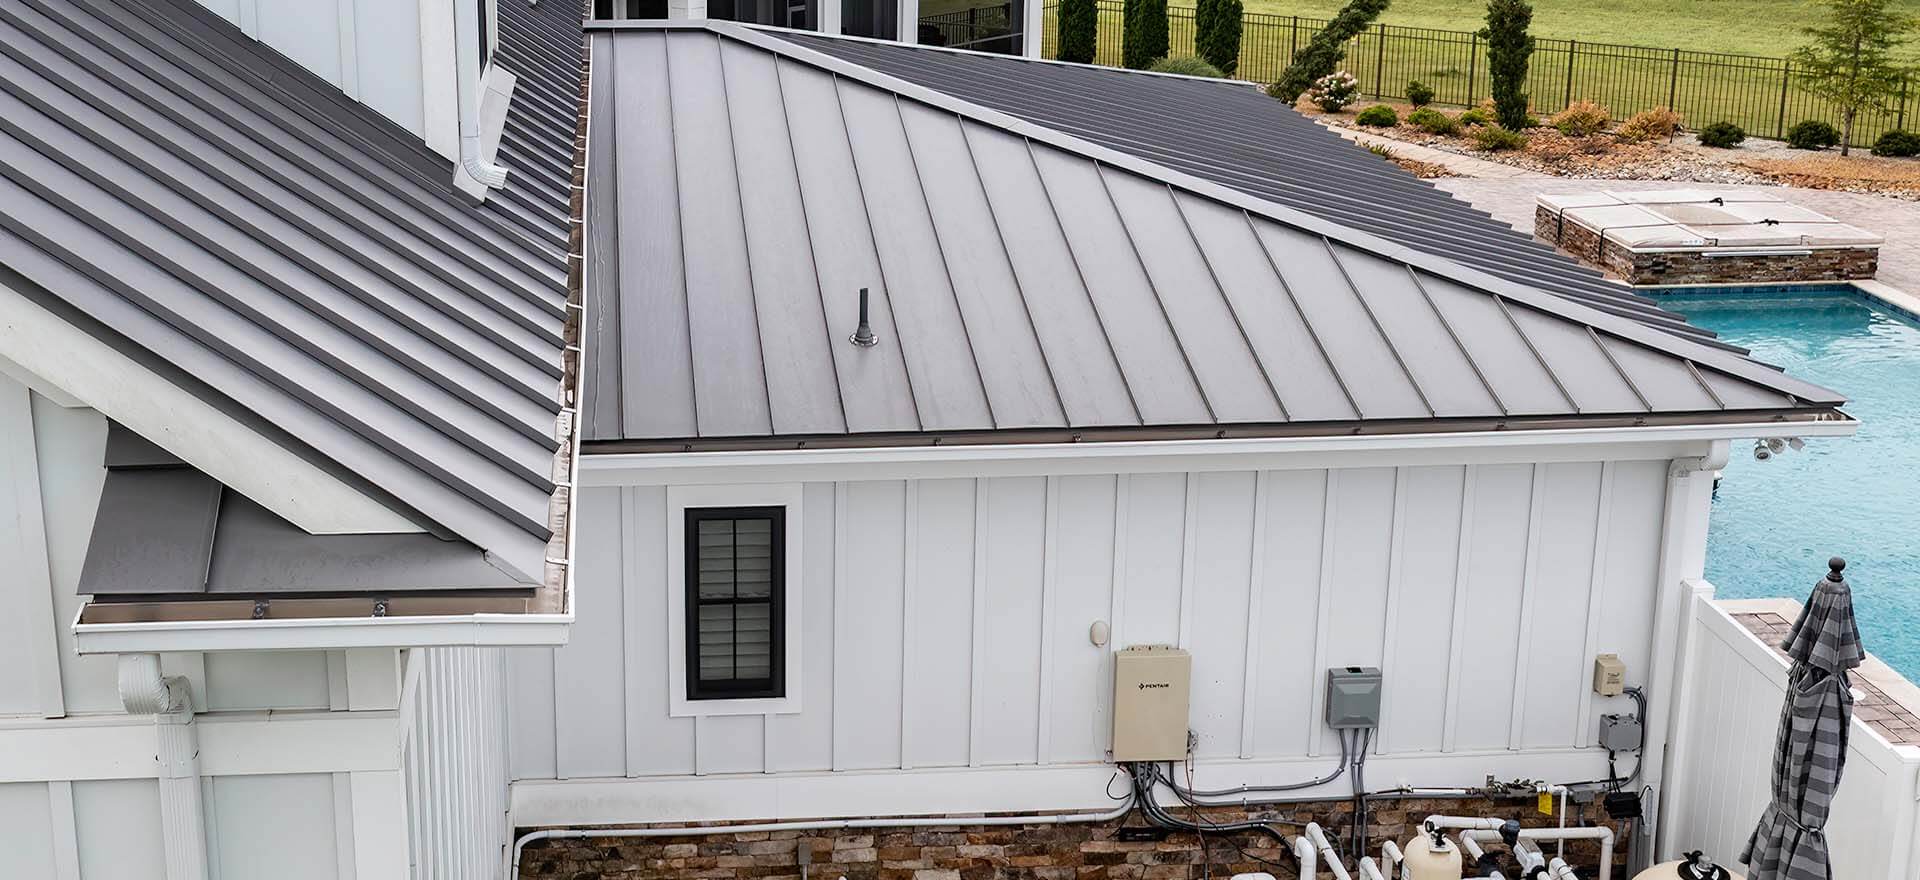
You may have heard people complain that metal roofs are noisy in the rain or prone to condensation dripping inside the attic, but the reality is actually more interesting. Those complaints almost never come from the metal panel itself. They come from how the rest of the roofing system was designed and installed around it.

For homeowners here in Hampton Roads, where humidity is unavoidable not just in the summer but throughout the year, understanding the real cause of these issues matters. Because tackling the true underlying issues can be the difference between a solid, long-lasting roof or a recurring headache.

What Actually Causes Condensation

Condensation isn’t a metal problem. It’s a physics problem, and it shows up on any surface, metal or otherwise. Think about a cold glass of iced tea sweating on a summer porch. The same thing happens on a roof: when warm, humid air inside a building reaches a surface that’s colder than the dew point, moisture condenses out of the air and onto that surface.

In a house, that surface is usually the underside of the roof deck. If the attic isn’t properly ventilated or insulated, humid indoor air rises, hits a cold roof surface on a chilly night, and condensation forms. That can happen under asphalt shingles just as easily as under metal. The panel material has nothing to do with it.

Three Ways to Keep It from Happening

Controlling condensation comes down to managing three things:

  • Reducing indoor humidity so there’s less moisture in the air to begin with.
  • Ventilating so humid air has a path out of the attic or roof assembly before it can condense.
  • Insulating so the underside of the roof deck never gets cold enough to hit the dew point in the first place.

One increasingly common approach on metal roofs is a small, ventilated gap between the roof deck and the panel itself, sometimes called above-sheathing ventilation. It lets air move underneath the panel, drawing cooler air in low and pushing warm, moist air out high, which keeps the deck from ever holding onto trapped moisture. It’s a detail worth asking about if you’re considering a metal roof, regardless of which manufacturer’s panels your contractor uses.

Thermal Bridging Isn’t a Metal Issue Either

If you’ve been researching roof replacements, you may have heard the term “thermal bridging.” It refers to any spot where heat (or cold) has a direct path through a roof assembly, usually because insulation is thin, compressed, or interrupted by framing. It happens in every type of roof. In fact, next time there’s a hard frost, look at an asphalt shingle roof in your neighborhood. If you can see faint outlines of the rafters through melted frost patterns, that’s thermal bridging in action, and there’s no metal involved at all. In other words, it’s a framing and insulation issue, not a panel issue.

What About the Noise?

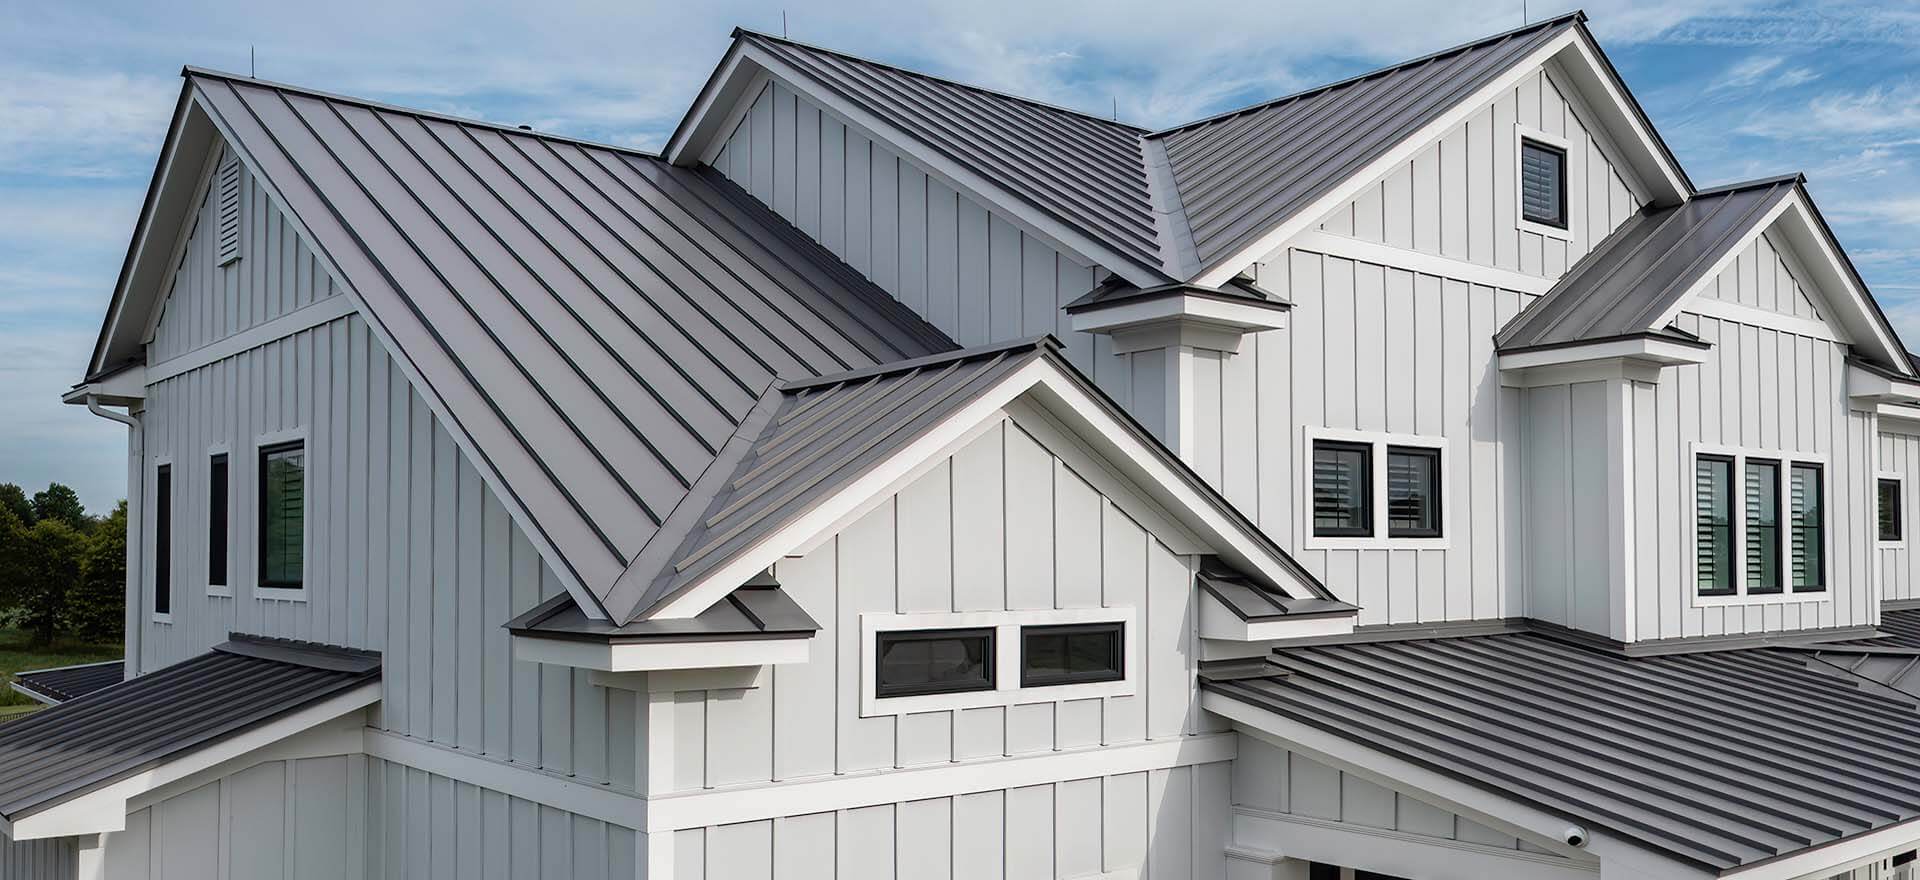
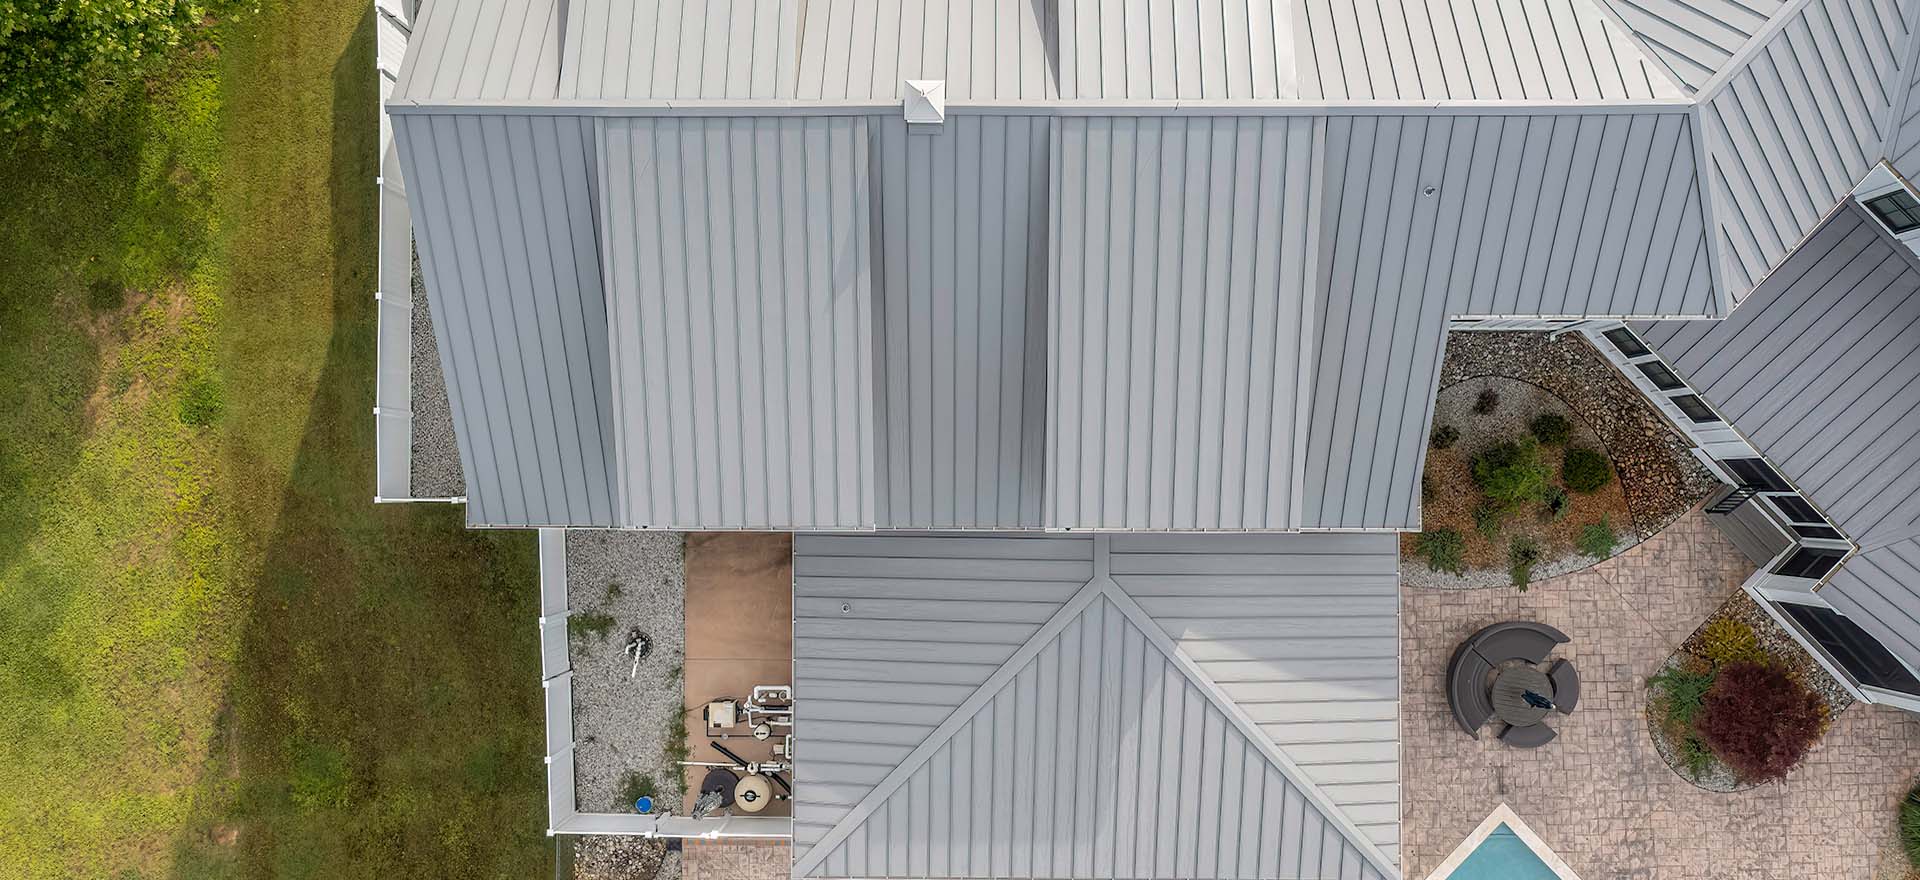
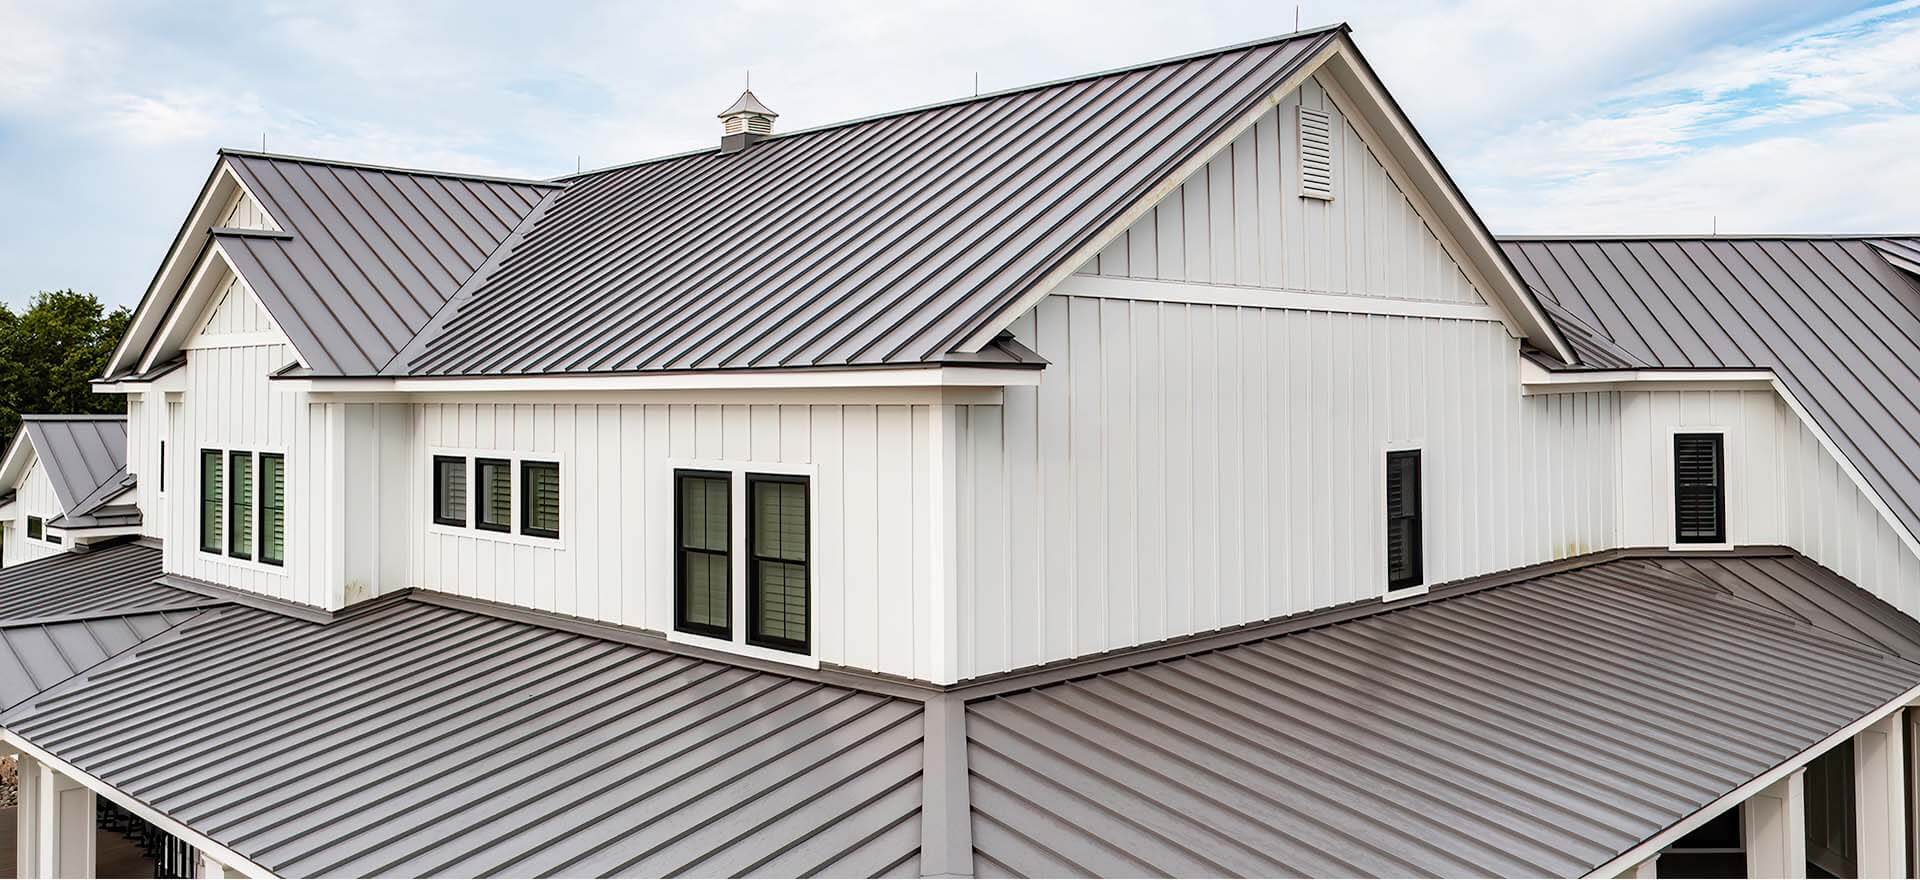
This one’s simple: on a properly insulated, fully decked roof, rain on metal sounds about the same as rain on any other roofing material. The perception that metal roofs are loud usually traces back to old barns or farmhouses with a single layer of exposed metal and no insulation underneath which is a completely different assembly than what goes on a modern home. Add fibrous insulation and a solid deck, and the sound difference is negligible. Standing seam systems, which use concealed clips rather than exposed fasteners, add another layer of quiet by reducing vibration transfer into the structure.

Where Metal Roofs Actually Go Wrong

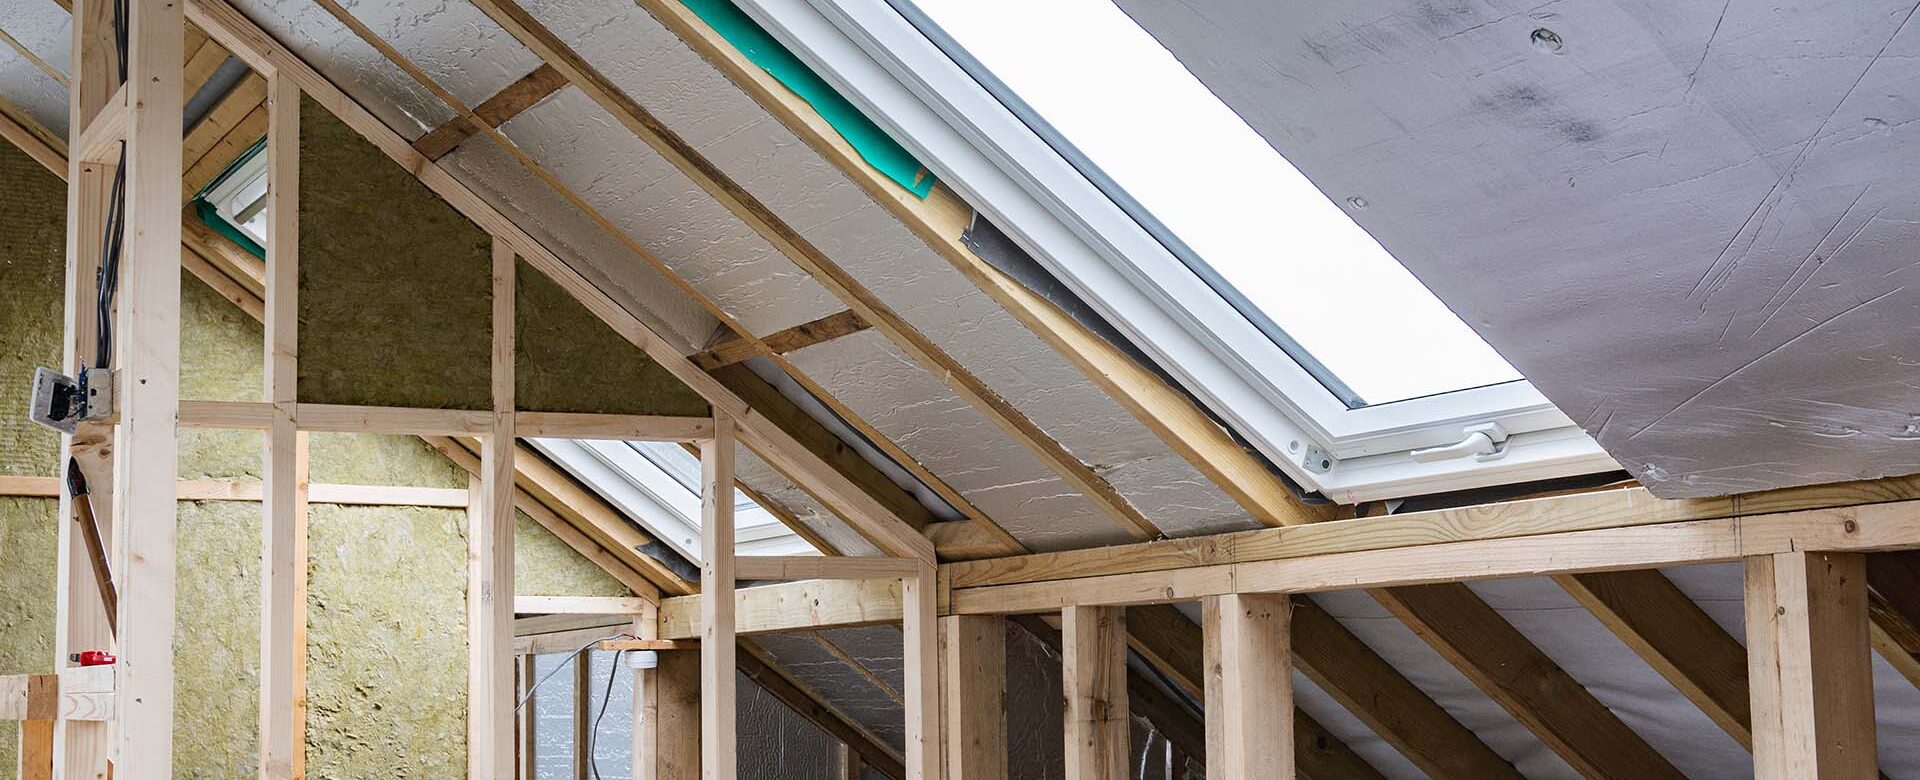
If condensation or noise complaints show up after installation, it’s rarely the material’s fault. It’s almost always a corner that got cut somewhere along the way: a skipped strip of vapor barrier tape, insulation that got compressed or gapped over a framing member, or a ventilation detail that got value-engineered out during construction. These are small decisions made in the field, and they’re exactly where roof performance is won or lost.

The Takeaway

A metal roof isn’t inherently loud or prone to sweating any more than any other roofing material. What matters is the full system around it: how it’s insulated, how it’s ventilated, and how carefully it’s installed. That’s true whether you’re comparing standing seam panels, architectural shingles, or anything in between.

If you’re weighing a metal roof for your home or commercial building in Hampton Roads, Andrews Roofing can walk you through the insulation and ventilation details that actually determine how your roof performs, not just what it’s made of. Contact us today to talk through your options.

read more

What to Do When a Tree Hits Your House

We hope it never happens, but in Hampton Roads, where wooded lots are as plentiful as the pop-up storms, tropical system and nor’easters we experience, it’s never out of the question. There may come a day when you’re awoken in the middle of night to the unmistakable “thud” of a tree landing on your roof. As jarring as that moment can be, the real anxiety is usually in the follow up. Who do you call first? What can you do yourself and what should you wait for an expert for? Who pays for the damage? While we always hope for the best, let’s walk through how to be prepared for the worst.
Step 1: Inspect for Immediate/Emergency Damage

Depending on the size of the tree or the force with which it hit your home, some damage may be immediately obvious. If the tree has penetrated your roof, windows or siding, it will be hard to miss. But in most cases, this doesn’t actually happen. A tree lands on your roof and the damage is typically only exterior and often is underneath the tree in a way that may not be visible without equipment or risky roof access. Immediately following the incident, do a basic safety check first. Look for downed power lines, gas leaks, structural sagging – all things that mean you should vacate the house and call emergency services.

If you don’t see signs of imminent danger, access your attic to check for any penetration or daylight coming through. This may be hard to do if the incident happens at night, so double check when it’s daylight. Next, look for water intrusion – even if there isn’t a visible hole. You may see seeping water coming through the roof deck from the inside where shingles have been lifted or come off.

Whatever you find, document everything! Take photos and videos from multiple angles where it’s safe to do so. This will matter enormously for any insurance claims that need to be made. Unless it is absolutely critical in order to exit the home or for immediate safety, avoid moving debris or cutting the tree yourself, especially if it’s resting up against the house. Shifting the weight of a tree can actually cause further structural damage, and one large limb or piece being moved off the house can drag across and remove shingles, gutters, siding, etc.

Most insurance companies will actually require you to take “reasonable steps” to prevent any further damage, but this does not mean getting on your roof or putting yourself in danger. Tarping your roof is a job for a professional. Your “reasonable steps” should be calling a tree removal company and roofing company as soon as possible.

Step 2: Reach Out to Insurance

As soon as you’ve documented the damage, reach out to your insurance company, even if you’re not sure yet that you’ll need to make a claim. You can ask them specifics about what they consider “reasonable steps” to mitigate any damage, but again – no one should be asking you to put yourself in danger. Instead, ask them if they have preferred vendors for doing this kind of temporary repair work.

Clarify with your agent or representative what exactly is covered in your policy. If your home is not actually damaged by the tree, the cost of removal may or may not be covered. Schedule an insurance adjuster to come inspect your property as soon as possible. Have your documentation ready to share – some insurance companies will have you email or upload photos to their app or website. In the meantime, keep every receipt for any work you have done for immediate repairs, tarping or even hotel costs if you’ve had to vacate your home.

Phase 3: Call in the Professionals

Your insurance company may have preferred contractors and vendors they work with for this type of job, but most policies do not require you to use those vendors. Whether the reference comes from them or elsewhere, you should call a licensed, insured tree removal company ASAP. Until the tree is removed it will be impossible to know the extent of the damage done to the house. As best as you can, coordinate the timing between the tree removal and a roofing inspection by a licensed roofing contractor as closely as possible.

Even if you don’t see signs of a leak, bring in a professional roof inspector. Hidden damage like cracked shingles, missing shingles or compromised flashing are very common and not always visible from the ground. Get a detailed, written estimate from the roofing contractor to supply your insurance adjuster. If possible, work with tree removal and roofing companies who are experienced with insurance claims and who have a process in place for how those jobs are estimated and billed.

Once the inspection is complete and repairs are scheduled, make sure the area stays properly secured until the fix is complete. Especially since storms tend to come in waves in our area, it’s important to try and avoid any additional damage that could complicate a claim or put any of the fault on you.

Step 4: Finalize the Claim

Hopefully the damage is covered by your insurance and the vendors you’ve worked with understand the claims process. In many cases, contractors will bill your insurance company directly. But in other cases, you’ll pay out of pocket, submit your receipts to your claims agent and then your insurance company will cut you a check for what is covered, minus your deductible. This can be stressful, as it’s not always clear that all expenses will be covered, but the best thing you can do is document everything fully, and submit everything you have in an organized, clear way.

Contact a Local Expert

If you’re dealing with a felled tree on your house, Andrews Roofing can help. We have decades of experience with Hampton Roads homeowners and insurance companies, and we have processes in place to help you easily file claims for the work done to your home. We are licensed, insured and experienced. Contact us today for a roof inspection, professionally written estimate and quickly scheduled repair to help you get through this stressful time.

read more

Don’t Wait for Winter: How Summer Chimney Care Keeps Your Whole Roof Healthy

When the temperatures rise in Hampton Roads and your fireplace goes cold for the season, it can be easy to forget the chimney even exists.

That is, until the fall, when you’re ready to get cozy, lighting your first fire of the year and noticing a musty smell, a mysterious water stain on the ceiling, or worse, the sound of something potentially living up there?

Summer is actually the ideal time to inspect and address chimney issues before you’re ready to snuggle up in front of a fire. Here’s why regular maintenance matters for your roof, your home, and your peace of mind.

The Off-Season Advantage

Most homeowners think about their chimneys in late fall when the evenings start to cool down. The problem is that by then, roofing and chimney contractors are slammed with demand, and any damage that’s been accumulating all summer has had months to get worse. Scheduling your chimney inspection and any needed repairs during summer means no disruption in your routine or heat. It also means you’ll get more scheduling flexibility with contractors, dryer summer weather that’s better conditions for mortar work, flashing repairs and sealant curing, and peace of mind heading into the cooler months knowing your system is sound.

Summer is Wildlife Season

An uncapped or damaged chimney is prime real estate for birds, squirrels, raccoons, and other wildlife who are out and about during the warmer months. Once a chimney isn’t in frequent use, it becomes an attractive nesting spot that is dark, sheltered and elevated.

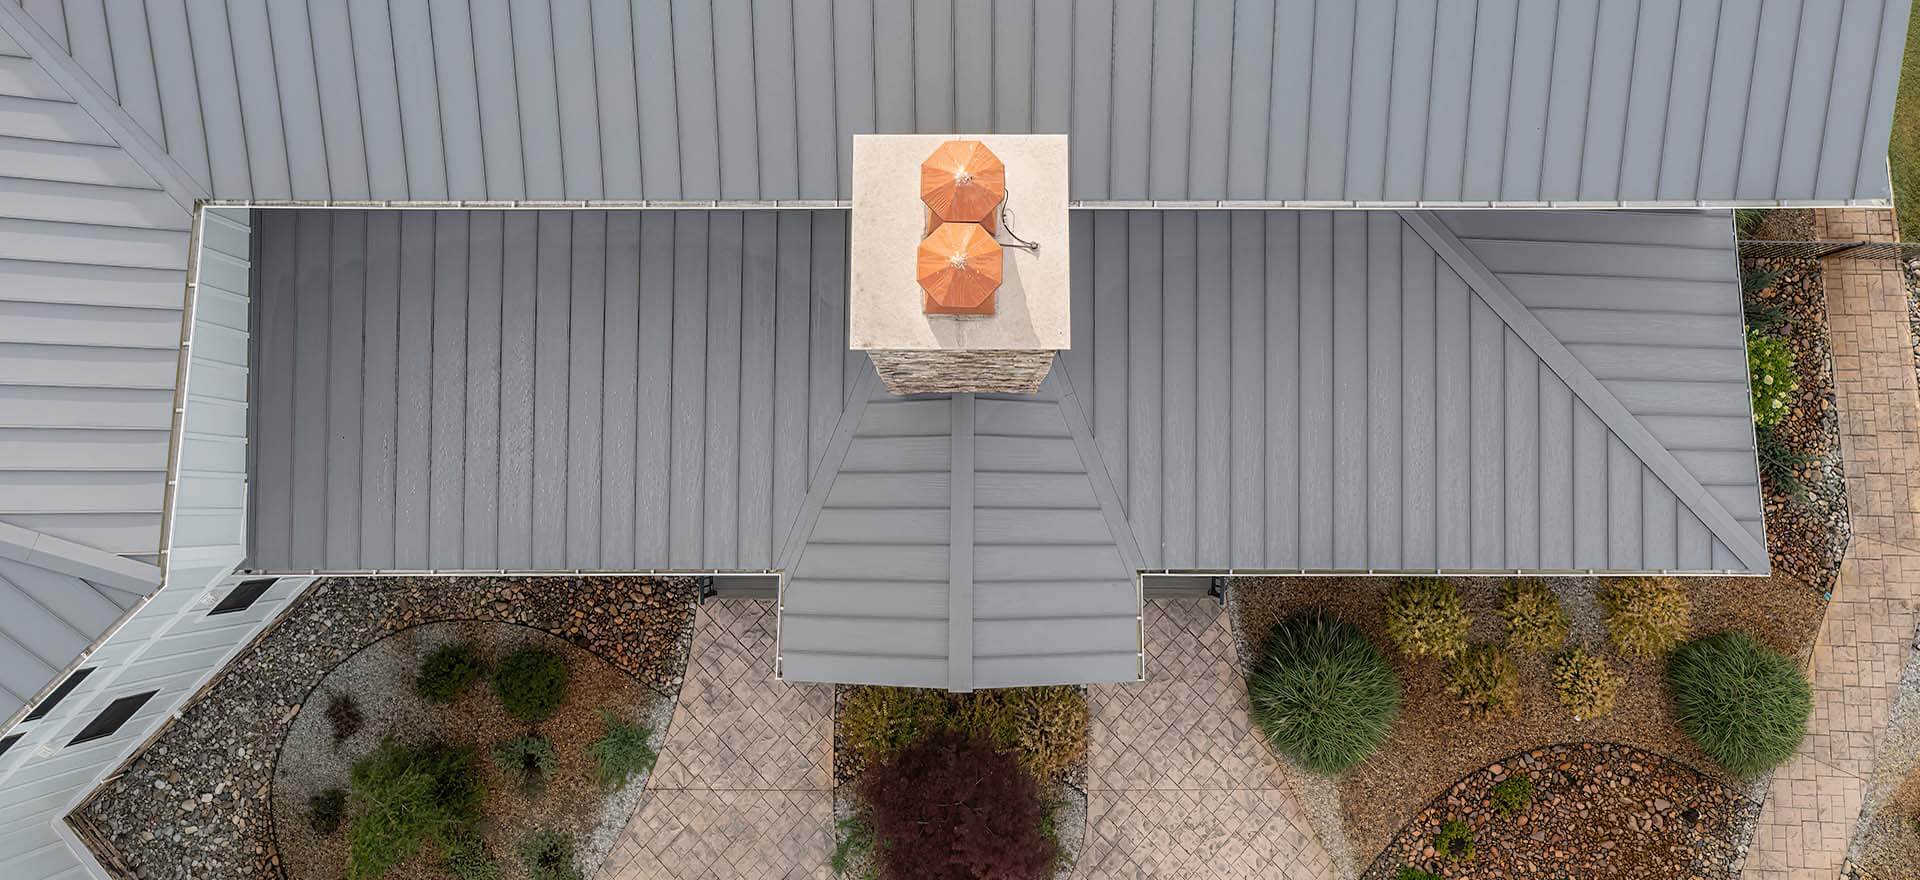
In addition to nesting materials being a major fire hazard and mess, when wildlife intrudes into your chimney, the cap can be physically damaged or removed entirely, leaving the flue wide open to rain, debris, and ongoing animal access. A raccoon or even a squirrel that’s been using your chimney all summer can cause a lot of damage that you might not know about until you go to light that first fall fire of the season. Fortunately, the solution to this is simple: a properly installed, well-fitting chimney cap keeps wildlife AND weather out.

The Importance of Chimney Caps

Not all chimneys are alike, which means not all chimney caps are either. There are standard sizes, which can be dealt with using stock caps but then there are non-standard sizes and special situations where custom caps are needed. This is not at all uncommon in Hampton Roads, given the number of older and historic homes here.

For standard flue openings, a stock chimney cap is practical, cost-effective and can be installed quickly, solving most animal intrusion issues immediately. But for those outliers, Andrews Roofing can custom fabricate chimney caps to fit virtually any opening, ensuring a proper seal, a professional appearance, and longevity.

A well-fitted chimney cap does more than keep animals out. It also:

  • Prevents rain and moisture from entering the flue and damaging the firebox, liner, and surrounding masonry
  • Blocks wind-driven debris from accumulating inside the chimney
  • Reduces downdrafts that can push smoke back into the home
  • Extends the life of your chimney liner and surrounding masonry

Why Your Chimney is so Important to Your Roof

Chimney leaks are one of the most common sources of roof-related water damage, but they are also often the most misdiagnosed. Your roof may be in great shape, but the connection points between it and the chimney may actually be to blame for the damage.

Brick Chimneys: Mortar and Masonry Concerns

On brick chimneys, the most common leak source is deteriorating mortar – the material that holds the bricks together and seals the top crown of the chimney. Our coastal climate can be hard on masonry due to the summer heat, humidity and thaw-freeze cycles in the winter. That repeated expansion and contraction can eventually crack or erode mortar joints.

Once mortar begins to fail, water can get inside the masonry itself. Without remediation, bricks can literally pop off or become loose, causing significant structural deterioration and water intrusion into attic and living spaces. However, there are masonry specialists who can make these repairs, called “tuckpointing” which removes and replaces damaged mortar. Summer is the ideal time of year for this type of work for the mortar to dry quickly and effectively.

Vinyl-Sided Homes: Flashing Concerns

On homes with vinyl siding and vinyl sided chimneys, the critical element is flashing, that thin metal material installed around the base of the chimney where it meets the roof deck. When installed properly, step and counter flashing should create a watertight seal at this important transition point.

But flashing can fail for a number of reasons: poor original installation, sealant that has dried out and cracked over time, or physical damage from storms or settling. Because the failure point is often hidden under the siding or shingles, flashing leaks can be particularly tricky to diagnose and are often blamed on the roof itself when the chimney is actually the culprit.

Hampton Roads Humidity and Chimney Health

Hampton Roads’ coastal climate brings year-round moisture challenges that accelerate the wear on chimneys faster than drier inland climates. High humidity means mortar stays damp longer, sealants and caulks degrade more quickly, and any small opening in a cap, crown, or flashing becomes an invitation for ongoing water intrusion. That’s why staying ahead of chimney maintenance in our region is essential.
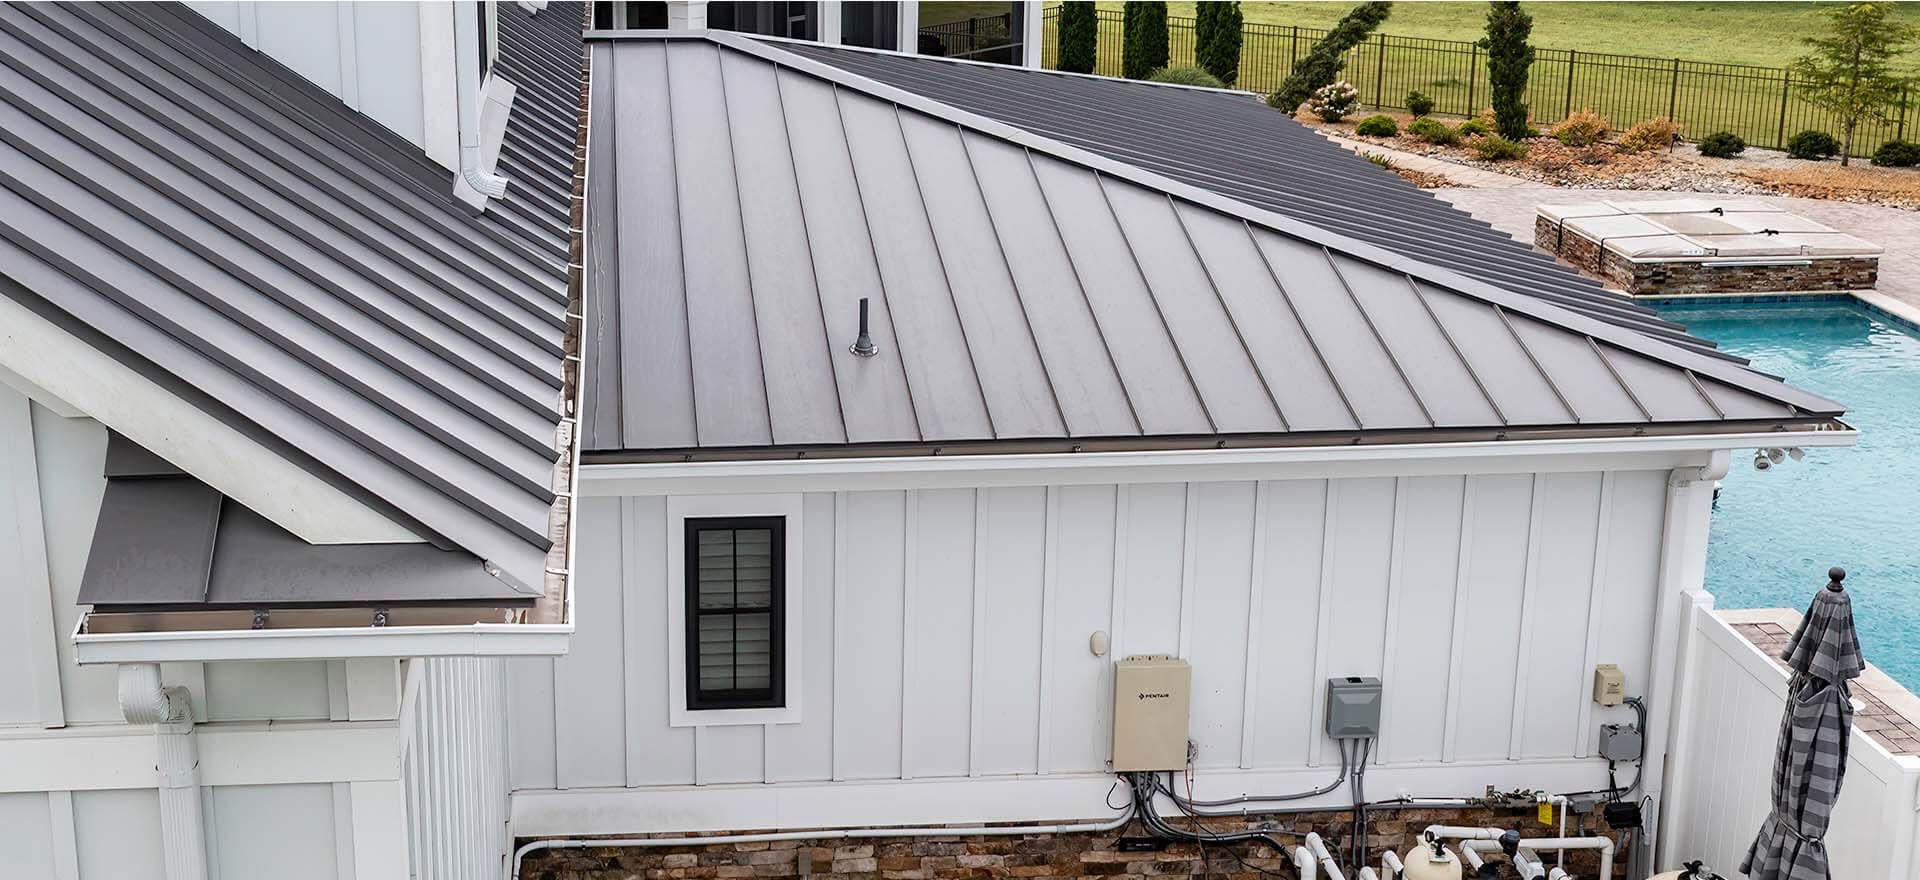
Check It Off Your List

At Andrews Roofing, we can inspect, and in some cases repair or replace chimney-related roofing components. From flashing to custom-fabricated chimney caps built to fit your specific chimney, we have the expertise to take care of it. If it’s been more than a year since your chimney was inspected, or if you’ve noticed any signs of water intrusion near the fireplace or in the attic above it, now is the time to act. Contact us today to schedule your chimney and roof inspection before summer flies by.

read more

Is Your Roof’s Drainage System Ready for Storm Season?

Between the humidity, the nor’easters, tropical storms and the occasional full-blown hurricane, Hampton Roads knows rain and knows that it’s not to be dealt with lightly.

A well-designed drainage system is one of the most important (and often the most overlooked) investments you can make in your home. When water has nowhere to go, it finds its way into your home’s fascia, down your siding, and finally – into your foundation. But proper drainage isn’t just about gutters. There are many components that work together to keep water moving away from your home. Here’s a breakdown of what your roof drainage system should consider and why.

Drainage: The Unsung Hero

Your roofing materials get a lot of attention: shingles, flashing, underlayment.  But even the highest end roofing materials aren’t worth much if water can’t exit the system efficiently. Poor drainage leads to pooling water, which accelerates shingle deterioration, promotes mold and mildew growth, and puts unnecessary weight and stress on your roof structure. In our coastal climate, where heavy rain events can dump several inches in a matter of hours, a drainage system that can’t keep up is a liability.

The good news is that a properly sized and maintained drainage system is built to handle these types of rain events with ease. The key being “properly sized.” Not every drainage setup is created equal, and the details such as gutter capacity, downspout placement, and guard selection make a significant difference in how well your system performs over time.

Gutters: Capacity Is Everything

Gutters are your roof’s first line of defense against water damage. Their job is to collect runoff from the entire roof surface and channel it safely away from your home’s foundation. Standard residential gutters come in 5-inch and 6-inch widths, with the larger size handling significantly more volume (an especially important consideration for homes with steep pitches or large surface area). In a region where storm intensity can be unpredictable, upsizing your gutters is a decision most homeowners don’t regret.
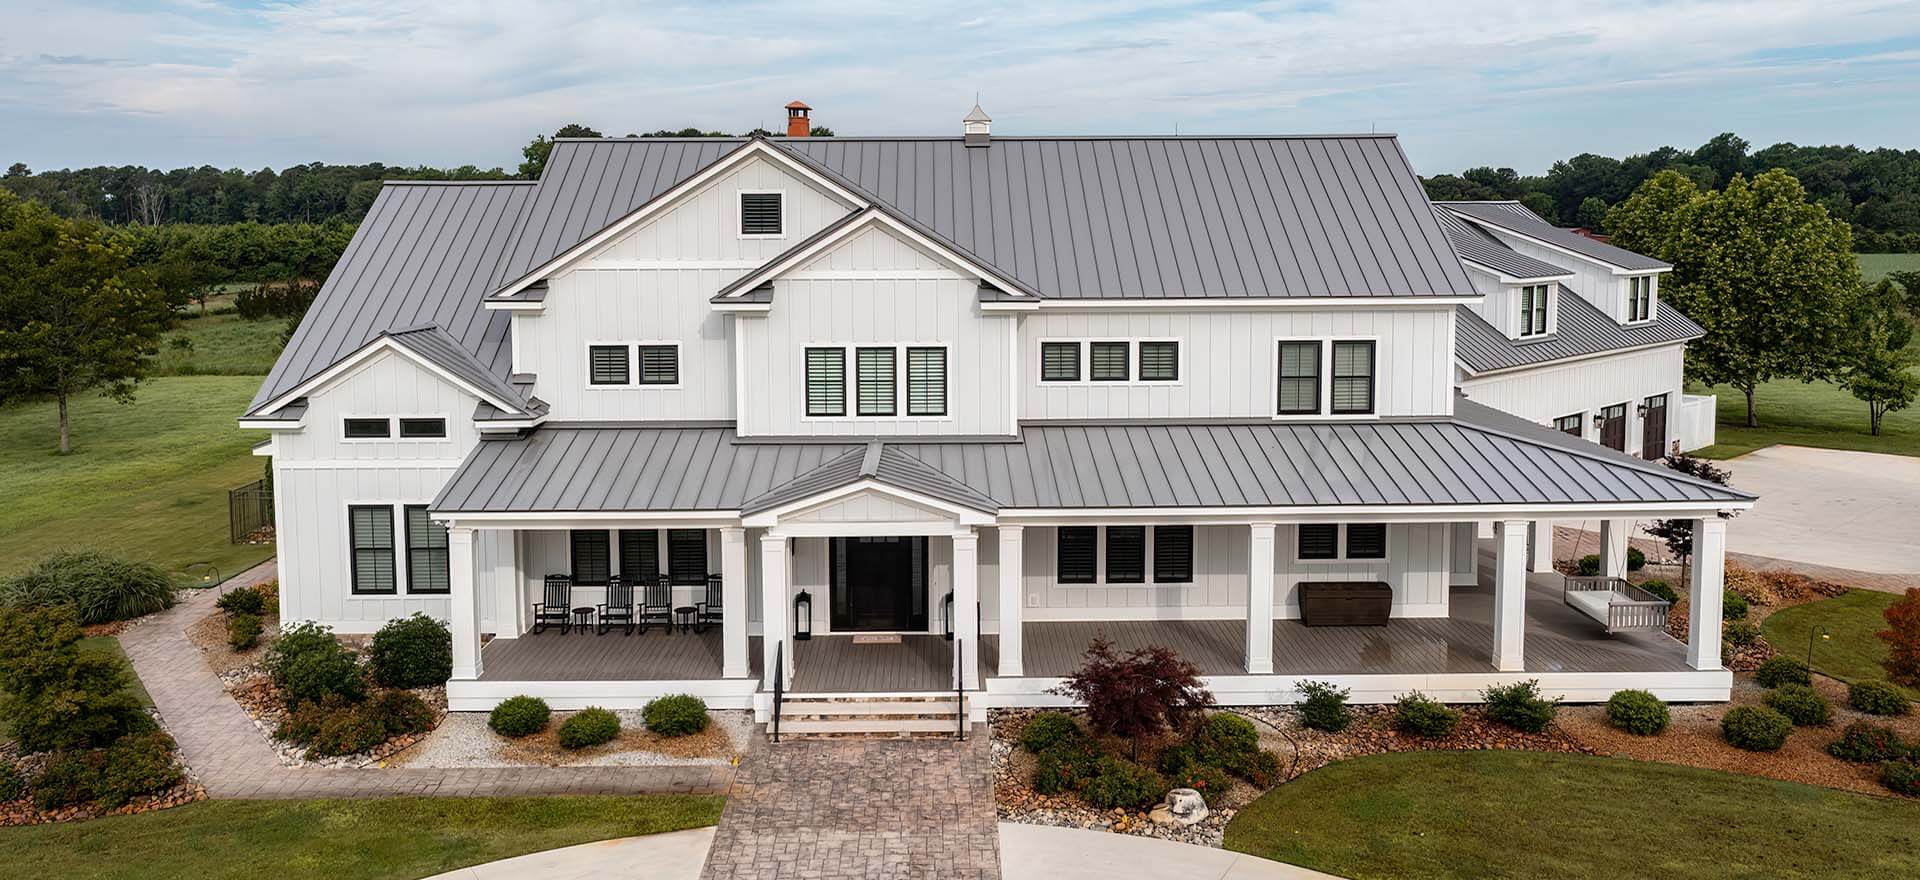
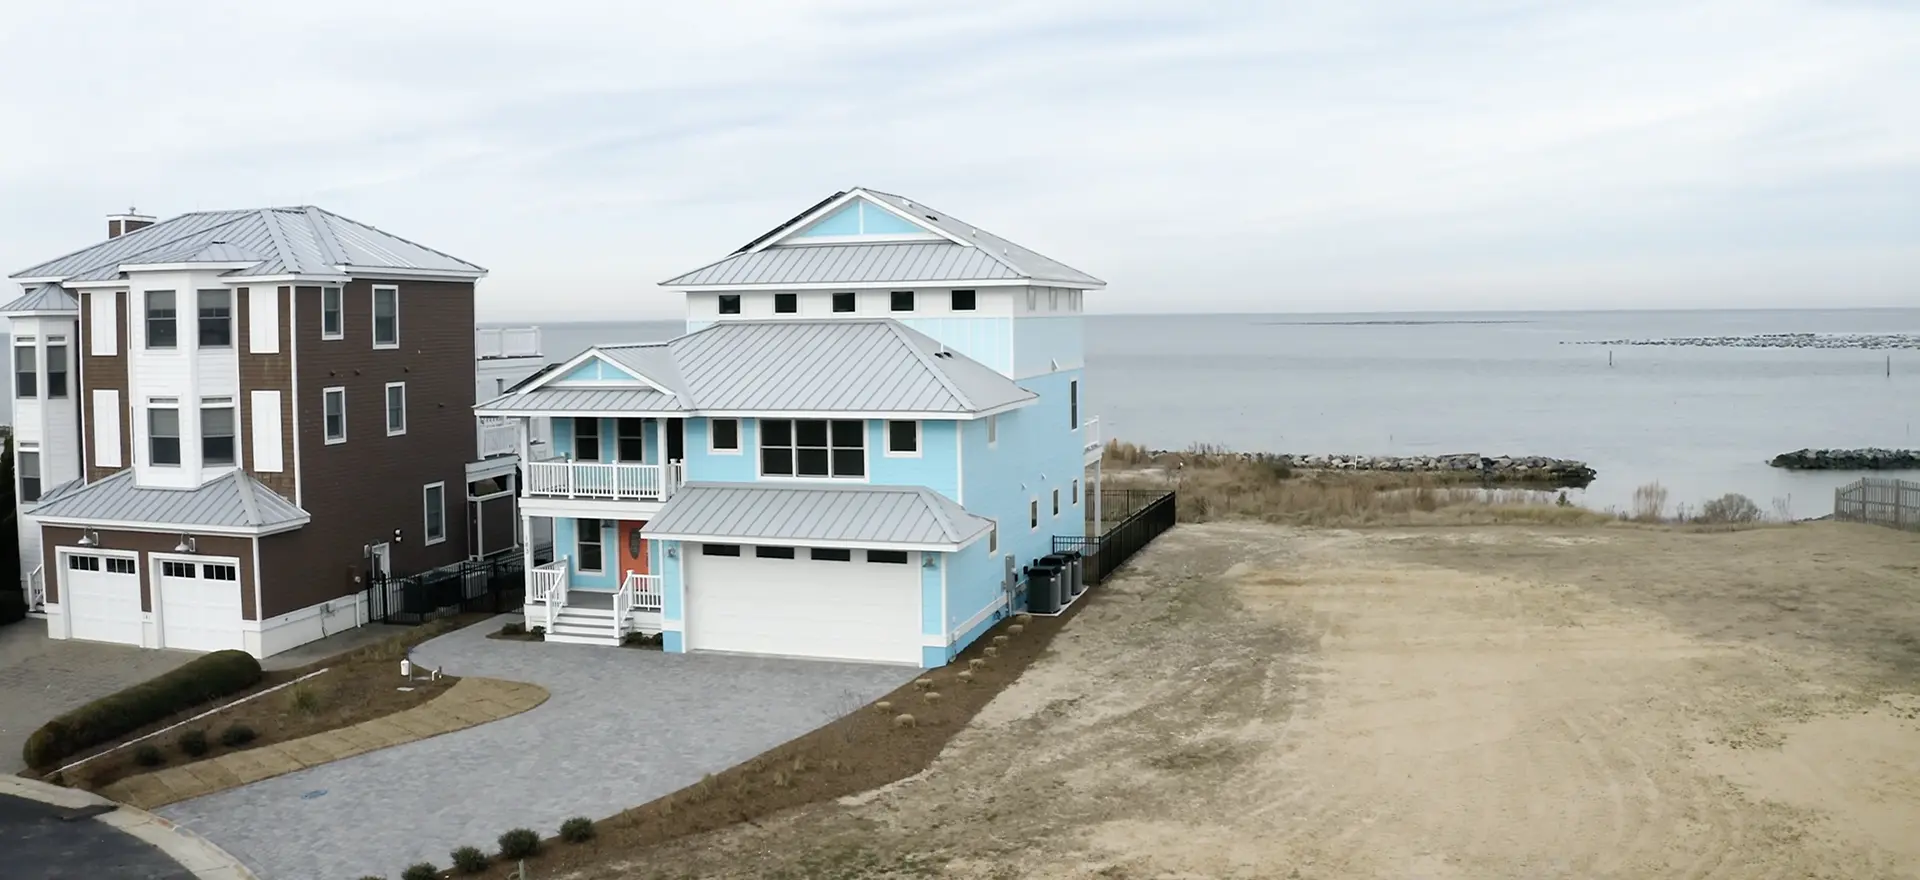
Equally important is how the gutters are pitched. A properly installed gutter isn’t perfectly level, it’s angled slightly toward the downspout so water flows rather than sits. Standing water in a gutter is a breeding ground for mosquitoes and can lead to rust and rot. Your gutters may look fine from the ground while actually holding water if the pitch has shifted over time due to fastener failure or foundation movement.

One option that addresses many of the issues we experience in the Tidewater region is the Rapid Rain Gutter System™ which was specially designed for high capacity without the visual trade off. The Rapid Rain looks like a standard 5-inch gutter from the curb, but it’s engineered with a larger-than-standard gutter bottom and downspout to perform like a 6-inch system. It’s also constructed from 18.5% heavier metal than standard gutters and mounted with heavy-duty hangers to hold up through years of coastal weather. This is a great option for homeowners who want upgraded drainage performance without the visual bulk of an oversized gutter.

Downspouts: Placement and Number Matter

Downspouts are where drainage systems most commonly fall short. Many homes, especially older builds, were fitted with the minimum number of downspouts, and that minimum may no longer be adequate as the home has settled, trees have grown, or weather patterns have intensified. The general guideline is one downspout for every 30 to 40 linear feet of gutter, but this should be adjusted based on your roof’s size and slope.

Placement is just as important. Downspouts should be positioned at the low points of each gutter run, typically at corners and ideally away from doorways, HVAC units, and areas where pooling near the foundation could become a problem. Extensions at the base of each downspout help direct water at least four to six feet away from the house, reducing the risk of foundation dampness and erosion. If your yard slopes back toward the house, underground extensions or French drains may be worth considering.

Leaf Guards: Worth the Investment?

Leaf guards (also called gutter guards or gutter covers) are designed to keep debris out of your gutters while allowing water to flow through. For homes surrounded by the tall pines, oaks, hickory trees and gumball trees that are so common in Hampton Roads landscaping, they can dramatically reduce how often gutters need to be manually cleaned. However, no gutter guard is completely maintenance-free, and homeowners should install them with realistic expectations.

Upsides:

  • Significantly reduces debris buildup and the need for frequent cleaning
  • Reduces the risk of clogs that lead to overflow and water damage
  • Helps prevent pests and mosquitoes from nesting in standing water
  • Some styles can extend the life of the gutter by reducing moisture contact

Considerations:

  • Fine debris like pine needles and seed pods can still work their way through certain guard designs
  • In heavy rain, water can sometimes overshoot a covered gutter entirely
  • Guards still require periodic inspection and occasional cleaning
  • Installation quality matters – poorly fitted guards can create more problems than they solve

Guard quality varies widely, and micro-mesh styles tend to outperform basic screens or foam inserts in heavily wooded areas. If you’re going with the Rapid Rain Gutter System™, it can be fitted with Andrews Roofing’s patented MicroGuard Leaf Protection, which has over 48 perforations per square inch making it fine enough to block even small debris like pine needles. For other gutter systems, the important thing is just to be sure whatever guard you select is compatible with your gutter profile and installed with care by a professional.

Rain Diverters: A Targeted Tool, Not a Replacement

Rain diverters are metal strips installed on the roof surface to redirect water away from specific problem areas such as doorways, porches, or valleys that tend to funnel runoff water all in one area, creating heavy water streams. They can be a practical and relatively low-cost solution in the right situation. For example, if you have a doorway that has a constant waterfall effect every time it rains, that’s a good place for a diverter.

However, diverters come with their own set of trade-offs. Because they interrupt the natural flow of water across the roof, they can create pockets where debris accumulates. Leaves, twigs, and granules from aging shingles tend to collect along the edge of a diverter, which can eventually trap moisture against the roof surface. If diverters aren’t inspected and cleared regularly, they can contribute to premature shingle wear and even leaks.

So, while rain diverters can solve some problems, they should only be used as a supplement to a larger drainage solution. Use them where they make sense, but don’t rely on them as your primary drainage solution.

Maintenance: Don’t Underestimate This!

Even the best-designed drainage system will fail if not regularly maintained. In Hampton Roads, where tree coverage is dense and storm season runs from spring through late fall, most homes benefit from gutter cleaning at least twice a year. We recommend once in late spring after pollen and seed pods have fallen, and once in late fall after the leaves are down. Doing this before winter weather kicks in can help avoid ice dams and slow leaks that don’t make themselves known until exponential damage has been done.

When cleaning gutters, it’s also a good time to inspect for signs of wear: rust spots, separated seams, loose or bent hangers, and downspouts that have pulled away from the fascia. Check that all downspout extensions are intact and properly directing water away from the foundation. After major storms, a quick visual check is always worth the few minutes it takes. A clog that forms after a heavy rain event can cause overflow damage in the very next storm if it goes unaddressed.

The Right System for Your Home

Roof drainage isn’t one-size-fits-all. The right setup depends on your home’s size and roof pitch, the tree coverage on your property, your yard’s grading, and how much maintenance you’re realistically going to do. A home tucked into a wooded lot in Chesapeake has different needs than a townhouse in a newer Virginia Beach development near the beach.

If you’re not sure whether your current drainage system is up to the task of this year’s hurricane season, Andrews Roofing can take a look. We’ll assess your gutter sizing, downspout placement, and overall drainage strategy and let you know if there are any vulnerabilities worth addressing before the next big storm rolls through. A small investment in drainage today can prevent a much larger repair bill down the road. Contact us today for an evaluation.

read more

Protecting Your Roof While Power Washing

This is the time of year that many Hampton Roads homeowners get outside and start tidying up their yard and home’s exterior as outdoor living season takes off.

For some, this includes power washing off mold, mildew and other dirt that has accumulated on vinyl siding, wood fascia, gutters and even brick. While this is a good task to stay on top of to keep your house looking good and to protect your home’s building materials from decay, there are also risks, especially the higher up you go.

It’s tempting to take the power washing all the way to the top – especially when you see algae and mold buildup on your roof. If it works on the siding and driveway, why not the roof, right? But the damage you can cause to yourself and your home with this well-intentioned chore could be disastrous.

What Happens When You Power Wash Shingles

It’s never a good idea to power wash your roof. First and foremost, it’s incredibly dangerous to you. Walking on a slick, steep slope roof with a powerful tool in hand is a recipe for injury. But it’s also likely to do more harm than good to your roof as well. Here’s how:

  • Granule loss: the protective granules embedded in asphalt shingles are what shield them from UV rays and weather. The high pressure of the pressure washer strips them away, which can make them age faster.
  • Shingle breakage and cracking: older or already-weathered shingles are brittle; the added pressure can crack, split, or blow them away entirely.
  • Voided manufacturer warranty: many shingle manufacturers explicitly exclude damage from pressure washing, so don’t take any chances of losing a valuable warranty.
  • Water penetration to roof decking: a power washer has the ability to raise shingles up when the spray is pointed at the right angle. When that happens, water can penetrate to the underlayment and even to the roof decking, leading to rot, mold and eventually structural damage.

Power Washing Fascia, Gutters and Soffits

It’s also tempting to power wash the fascia, gutters and soffit on the outside of your house, as they can tend to get mildewed, especially in highly shaded areas or on the north side of your home. There are some ways to do this safely but keep these points in mind.

  • Upward spray under shingles: angling the wand upward forces water past the shingle’s overlap. As mentioned above, this can penetrate to the roof deck, causing much bigger and long-term damage.
  • Shingle lifting and loosening: the force can break the seal strip between shingles, leaving them vulnerable to strong wind lift afterward.
  • Gutter loosening: the force of a power washer may loosen or even detach gutters from the fascia or your home, or downspouts from their connection points. When gutters are not in place, they don’t move water away from your home correctly, which can lead to water damage along your foundation.
  • Soffit penetration: water driven into soffits can reach attic insulation, causing moisture buildup and mold growth inside the home.

What Should You Do Instead?

You want your home to look beautiful and protect it from long-term staining and damage, but there are right ways and wrong ways to do that. Here are a few ideas that are safer but still effective.

  • Soft washing: consider a low-pressure application of a biocide or cleaning solution designed specifically for roofs. These often attach to regular water hoses and can kill algae and mildew without physical force.
  • Professional gutter cleaning: Hire a local professional to manually clean your gutters with professional tools and leave the ladder climbing to them.
  • Annual professional roof inspection: catch buildup and early damage before it becomes a bigger problem. Call your local roofing professional if you have any concerns about roof aging, damage or maintenance. They will know what to look for and also how to identify and deal with it safely.
  • Algae-resistant shingles: there are some roofing materials now that have built-in algae resistance. Talk to your roofing contractor about these options if you’re considering a roof replacement. This is a particularly good choice for homeowners in the Hampton Roads region, which sees wet, humid weather year-round.

Take the Pressure Off Yourself

Your roof is your home’s first line of defense against the elements. Don’t let a DIY weekend compromise it, costing you money or even your safety. At Andrews Roofing we know all the telltale signs of roof damage – whether it was caused by you, the weather, age or previous owners. Contact us today if you have any concerns about your roof’s condition; we’d be happy to help point you in the right direction, while taking the pressure off you.

read more

Commercial Applications for Walkable Roofing Pavers

Many commercial buildings are designed with flat or low slope roofs which are doing one simple thing: keeping the weather out.

Of course, that’s the most important thing for a roof to do, but it’s not the only thing it can do. And in Hampton Roads’ competitive business environment, using every single square foot available can give a business a real leg up.

Walkable roofing pavers can give owners of commercial structures a competitive advantage in a variety of ways. The same system that turns a residential flat roof into a rooftop terrace works just as well or better at commercial scale, where the return on that square footage can be measured in additional revenue, higher occupancy, better tenant retention, or simply a stronger competitive position in the market.

The concept is straightforward: a waterproof TPO membrane goes down first (and is possibly already on a no slope commercial grade roof), followed by a drainage mat, and then durable rubber composite paver squares are set on top. They aren’t permanently adhered, which means individual squares can be lifted, repositioned, or replaced without disturbing the roof below. The result is a stable, attractive, fully walkable surface that protects the roof underneath while turning dead square footage into usable space.

If you want the full technical picture on how the system works, we covered it in an earlier post. Here, we want to talk about what’s possible when commercial property owners start looking up and thinking about their roofs differently.

Restaurants: More Capacity, Same Rent

Expanding a restaurant’s seating capacity is one of the hardest and most expensive moves an operator can make, unless you go up rather than out. A rooftop dining terrace adds seats without adding to the lease footprint, – a nearly impossible thing to accomplish any other way.

In Hampton Roads, where spring and fall offer some of the best outdoor dining weather on the East Coast, a rooftop terrace extends the revenue-generating season well beyond the summer months. A rooftop bar creates its own draw for guests who come specifically for the experience of the space, not just the menu. For restaurants looking to differentiate in a crowded market, the rooftop vibe is hard to replicate.

Keep in mind: commercial restaurant installations require attention to load capacity, drainage, safety railings, and permitting, but these are all navigable with the right contractor and a little lead time in the planning process.

Hotels: High End Amenities

For hotels, amenity space goes beyond function and becomes a true marketing asset in a crowded tourist industry like we have in Virginia Beach. A rooftop terrace will show up in photos, reviews and in the mental checklist travelers run through when choosing where to stay. Boutique and mid-scale properties that can’t compete with large resorts on square footage or ocean frontage can use a rooftop installation to punch well above their weight on a unique experience.

This is particularly true for smaller oceanfront and ocean-block hotels in markets like Virginia Beach. A hotel that sits one or two streets back from the water may have limited or no ocean views from its standard rooms or ground-level common areas. A rooftop terrace changes that, providing a legitimate “ocean view” space on the property, which opens up amenity language and marketing that wasn’t available before.

Beyond the view, rooftop spaces can be booked for private events, corporate gatherings, and weddings, providing a revenue stream without a significant increase to overhead.

Multifamily Residential: One More Reason to Renew a Lease

Apartment buildings and condo developments also compete heavily on amenities, and outdoor communal space is consistently near the top of what prospective tenants and buyers want. For urban infill properties or buildings with limited ground-level common space, the roof is often the only place to create meaningful outdoor space.

A rooftop terrace that’s furnished, landscaped, with seating areas or a grill station is a premium amenity that will stand out in listings. It can also increase tenant retention. When tenants value their building’s amenities or see them being invested in, they are more likely to stay put, which is important since turnover is one of the most expensive things a property manager deals with. Walkable composite pavers are especially well-suited for shared amenity spaces because they require almost no ongoing maintenance. You won’t have to worry about resealing, splinters or rotting boards to replace season after season.

Office Buildings: Out(side) of Office

Employee expectations around office environments and personal wellbeing have shifted dramatically in the last several years. With more workers concerned about work/life balance and having a healthy work environment, whether they’re working from home or at an office, outdoor access during the workday has become a baseline requirement for many people. Building owners competing for commercial tenants are responding accordingly.

A rooftop terrace gives office occupants a place to take calls outside, step away from a desk for lunch, or decompress between meetings in a way that a lobby or break room can’t replicate. For building owners, it’s one more amenity to add to your sales pitch that can have a big influence over modern companies’ leasing decisions. Pavers can also be paired with planters and greenery to create green spaces that feel restorative and functional. Happy employees have higher retention, fewer sick days, and are more productive, which is good for everyone.

Rooftop Gardens: Creating Green Space

Walkable pavers are an excellent foundation for rooftop garden installations such as raised garden beds and green zones. The applications are varied: a restaurant with a rooftop herb or produce garden can use this as both a supply source as well as a marketing story for health and environmentally conscious customers. A corporate campus with rooftop green space creates an amenity that supports employee wellbeing. A multifamily property with community garden plots turns the roof into something tenants actively use and value. The pavers provide the durable, low-maintenance foundation that makes it worth a property owner’s while.

What Commercial Installations Require

Regardless of the application, there are some key fundamentals to make walkable pavers work: structural soundness, proper waterproofing, drainage, and experienced installation. Commercial projects typically require additional considerations like load calculations (typically done by a structural engineer), safety and railing code requirements, and local permitting, so the contractor you choose needs to be equipped to handle the full scope.

The long-term investment case is strong, though. Firestone SkyPavers carry a 20-year warranty with a potential lifespan of up to 50 years, compared to wood or other traditional surface materials that require regular maintenance and eventual replacement.

Put Your Roof to Work

The flat roof on a commercial building doesn’t have to just be an expense. With the right installation, it can become a revenue driver, a tenant amenity, a marketing differentiator, or an employee benefit. If you’re curious about what a rooftop installation could look like for your property, we’d love to talk to you about it. Andrews Roofing has commercial roofing experience across Hampton Roads, including complex projects in demanding coastal environments. We know how to assess what’s feasible, navigate the requirements, and provide a long-lasting, high-quality installation. Contact us today.

read more