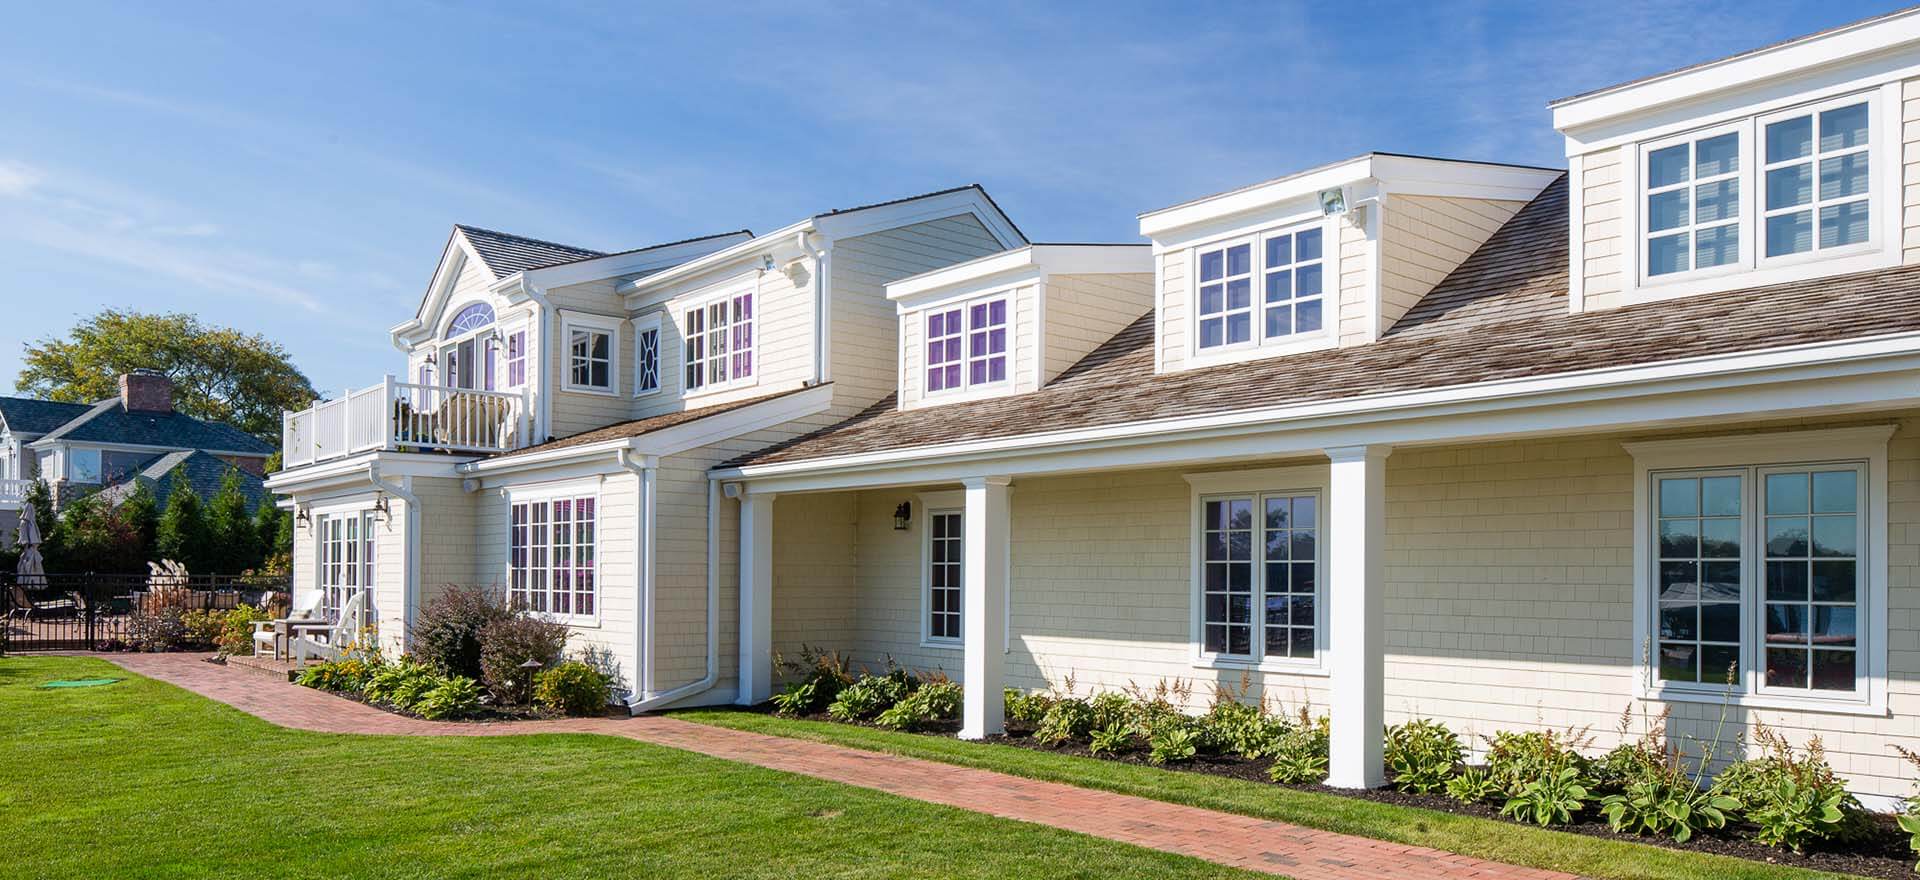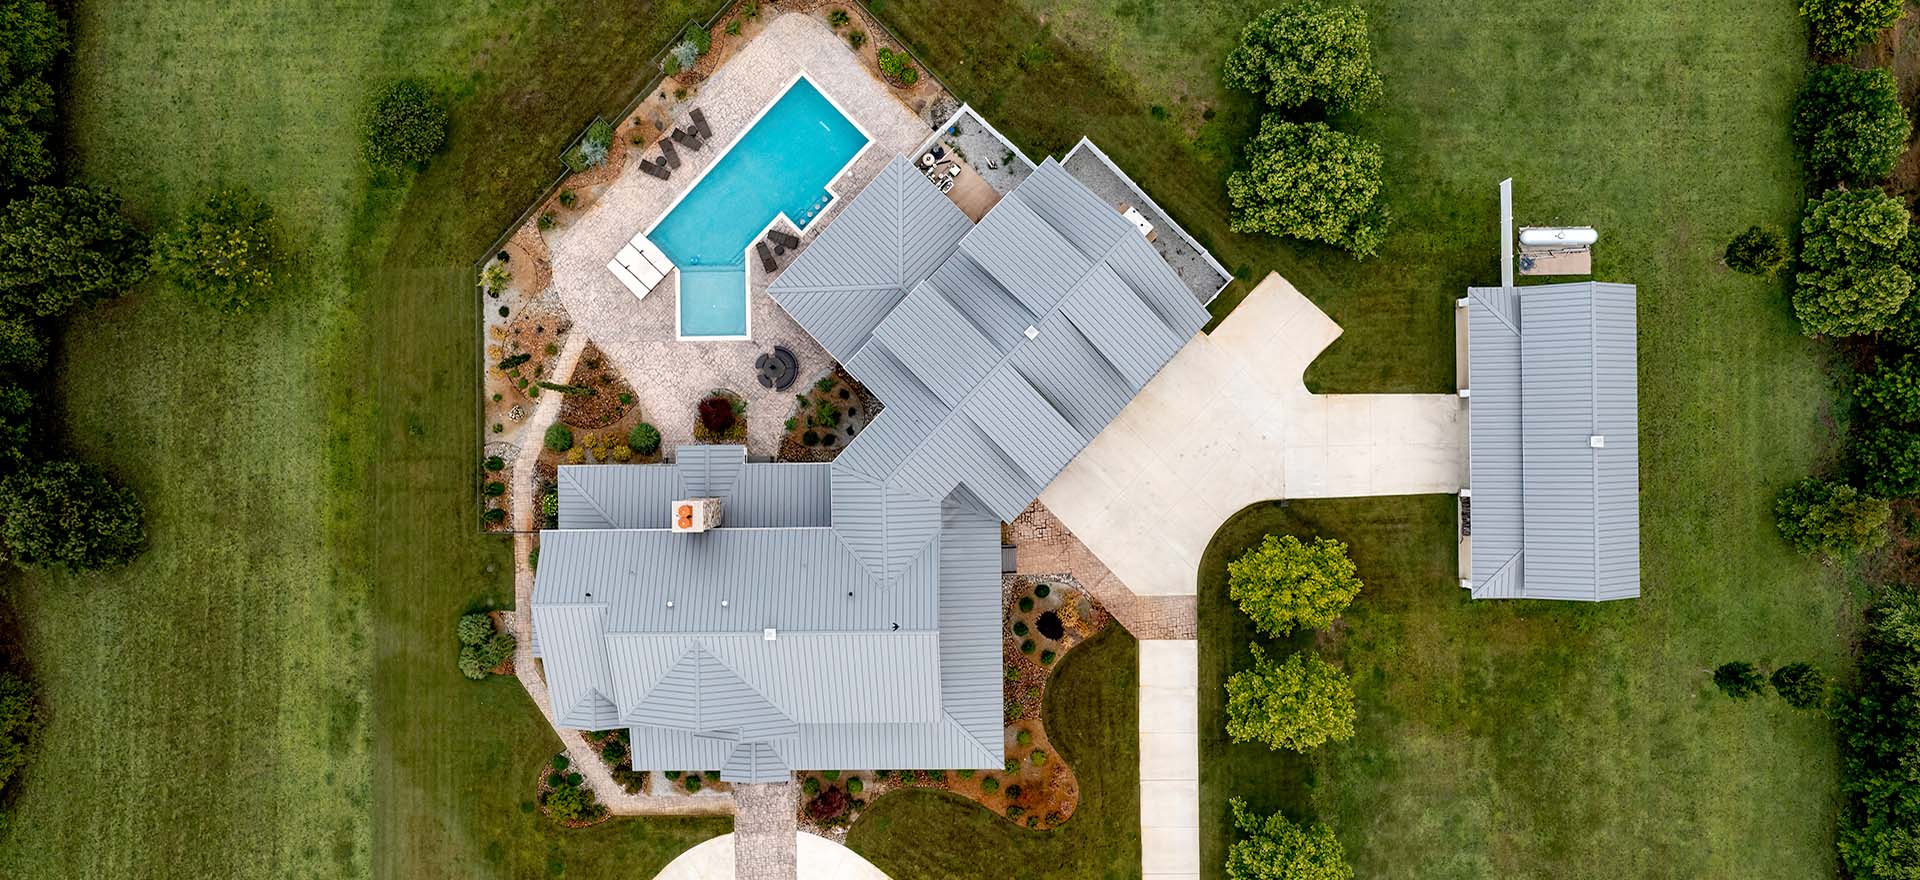
Between the humidity, the nor’easters, tropical storms and the occasional full-blown hurricane, Hampton Roads knows rain and knows that it’s not to be dealt with lightly.
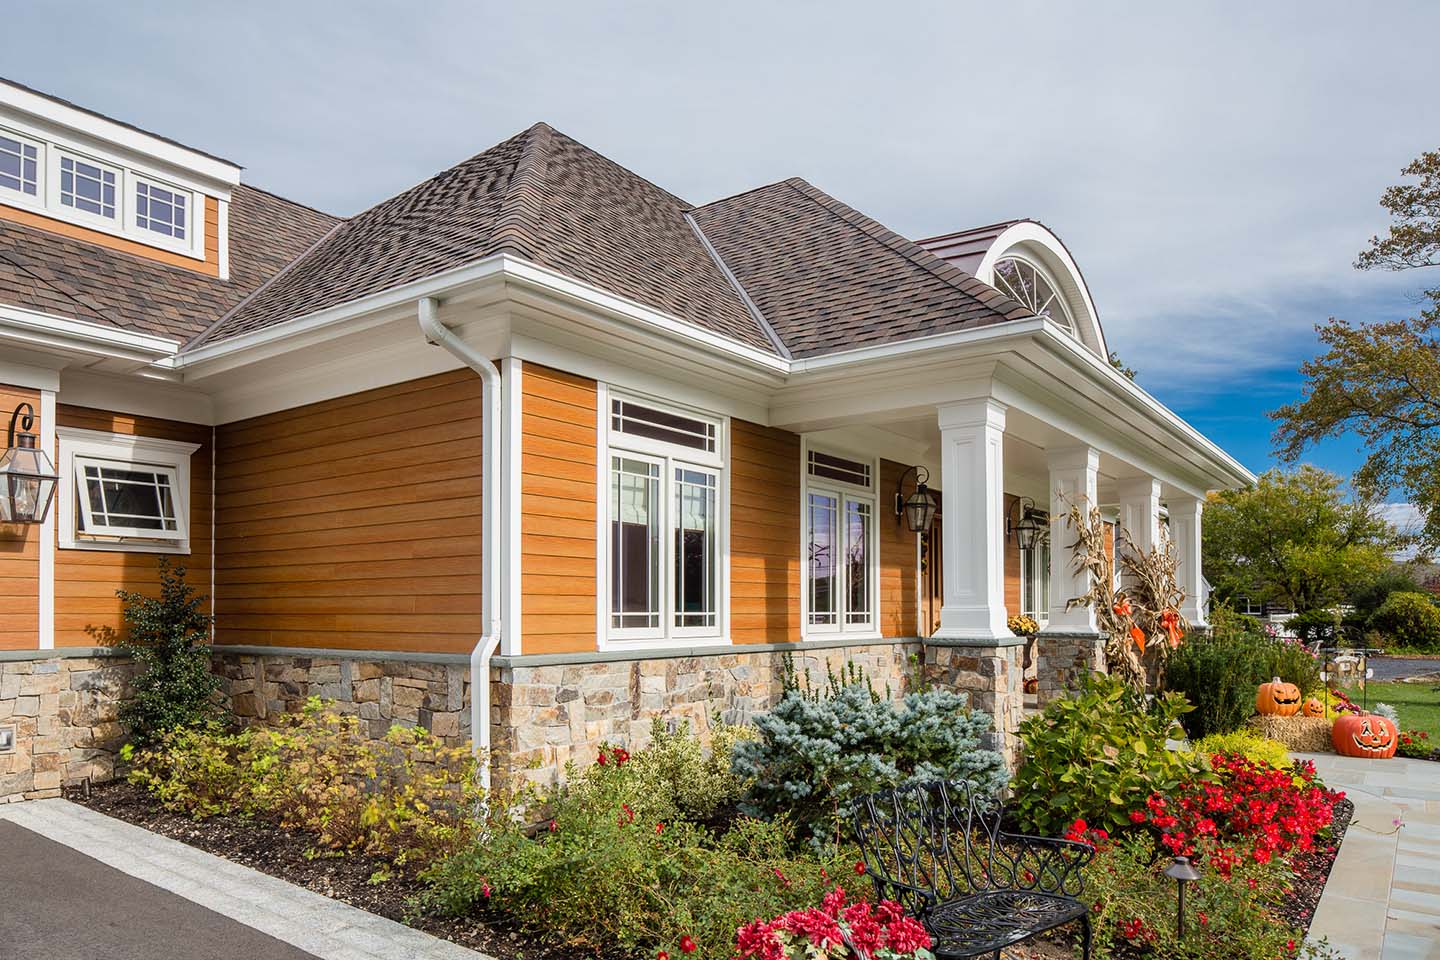
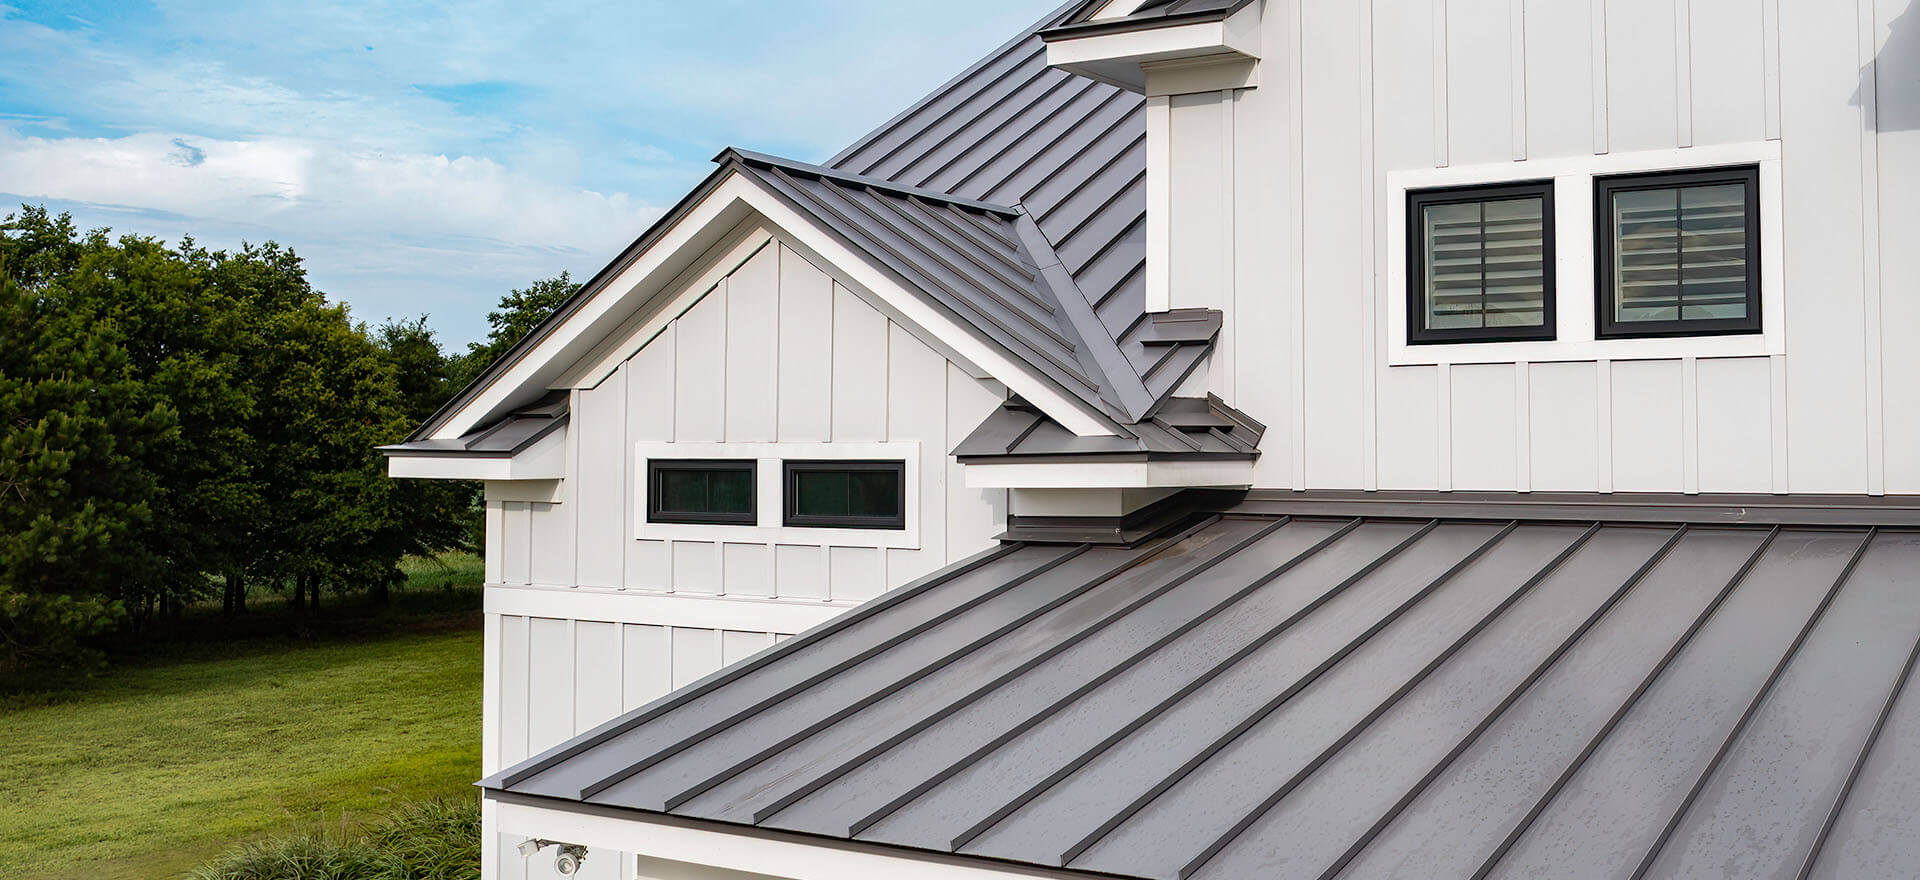
A well-designed drainage system is one of the most important (and often the most overlooked) investments you can make in your home. When water has nowhere to go, it finds its way into your home’s fascia, down your siding, and finally – into your foundation. But proper drainage isn’t just about gutters. There are many components that work together to keep water moving away from your home. Here’s a breakdown of what your roof drainage system should consider and why.
Drainage: The Unsung Hero
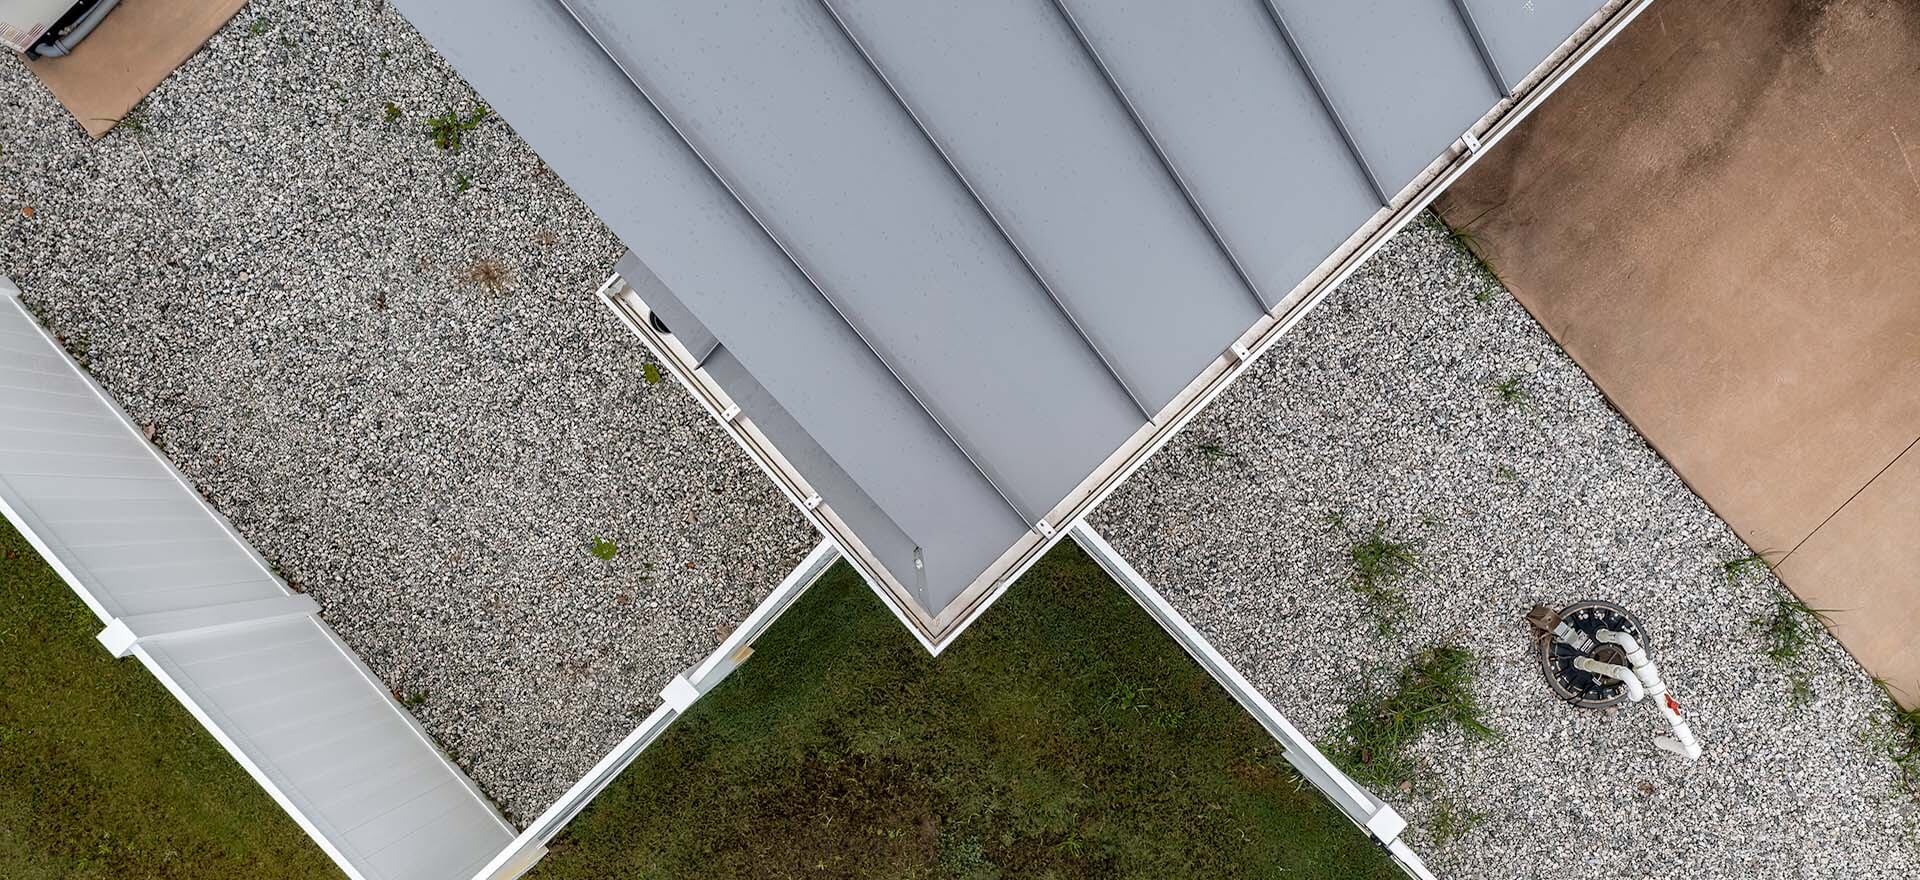
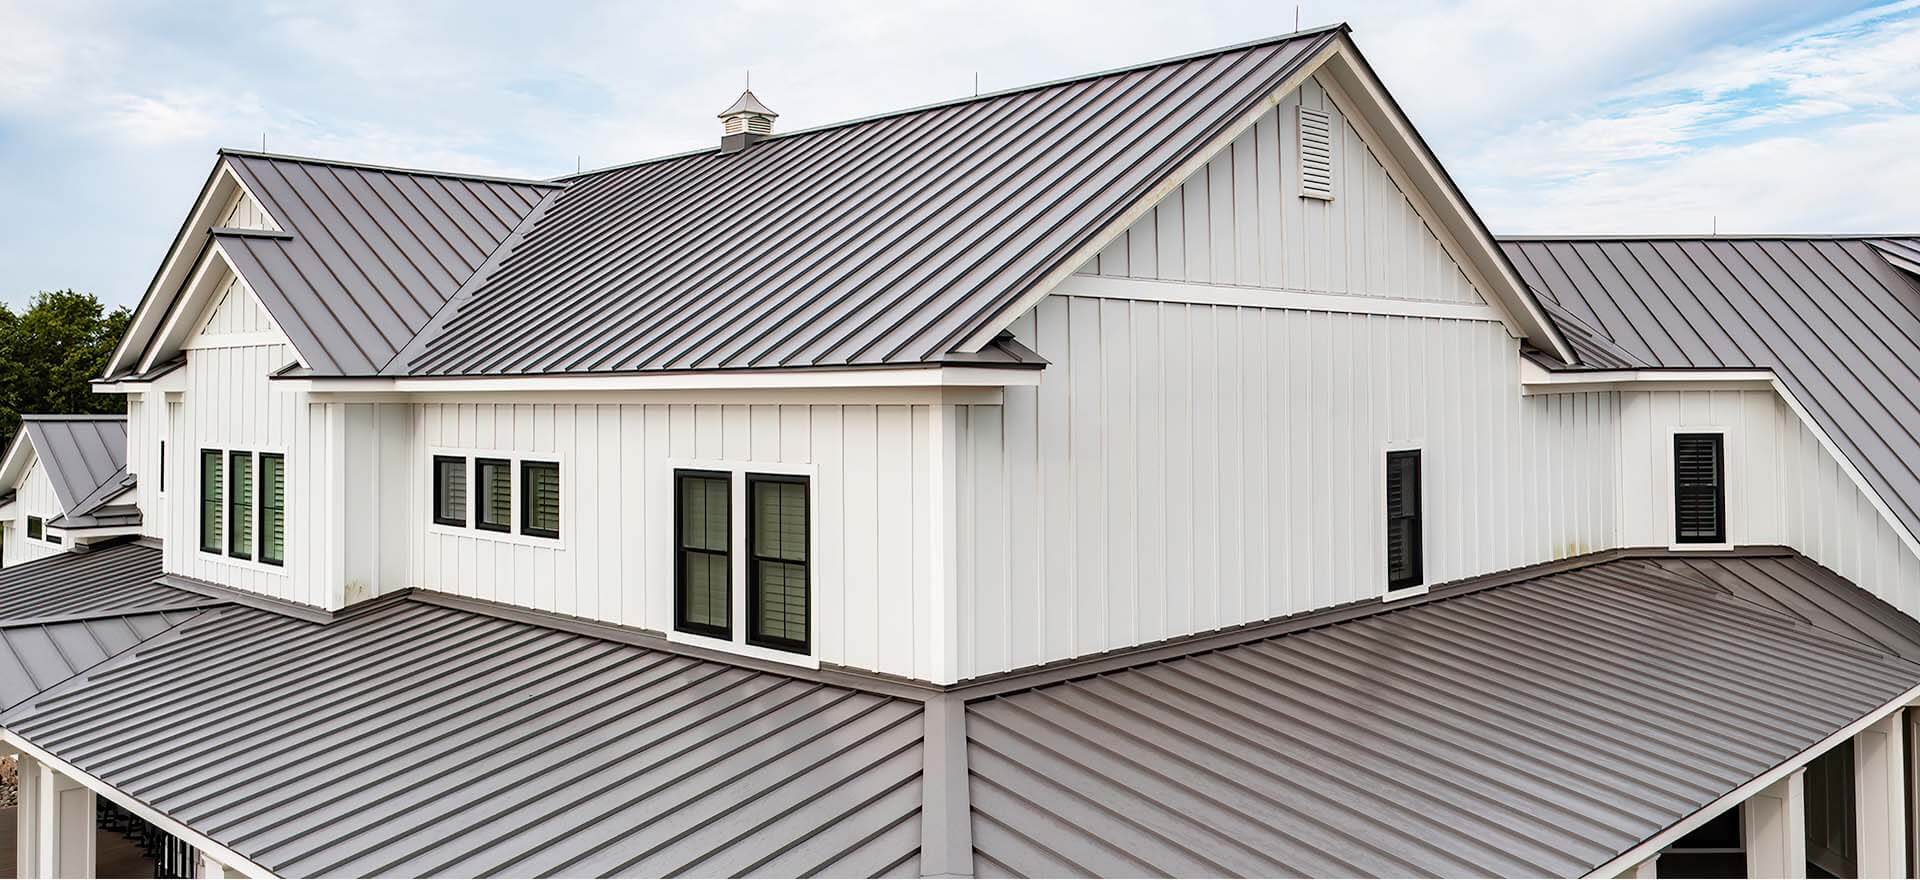
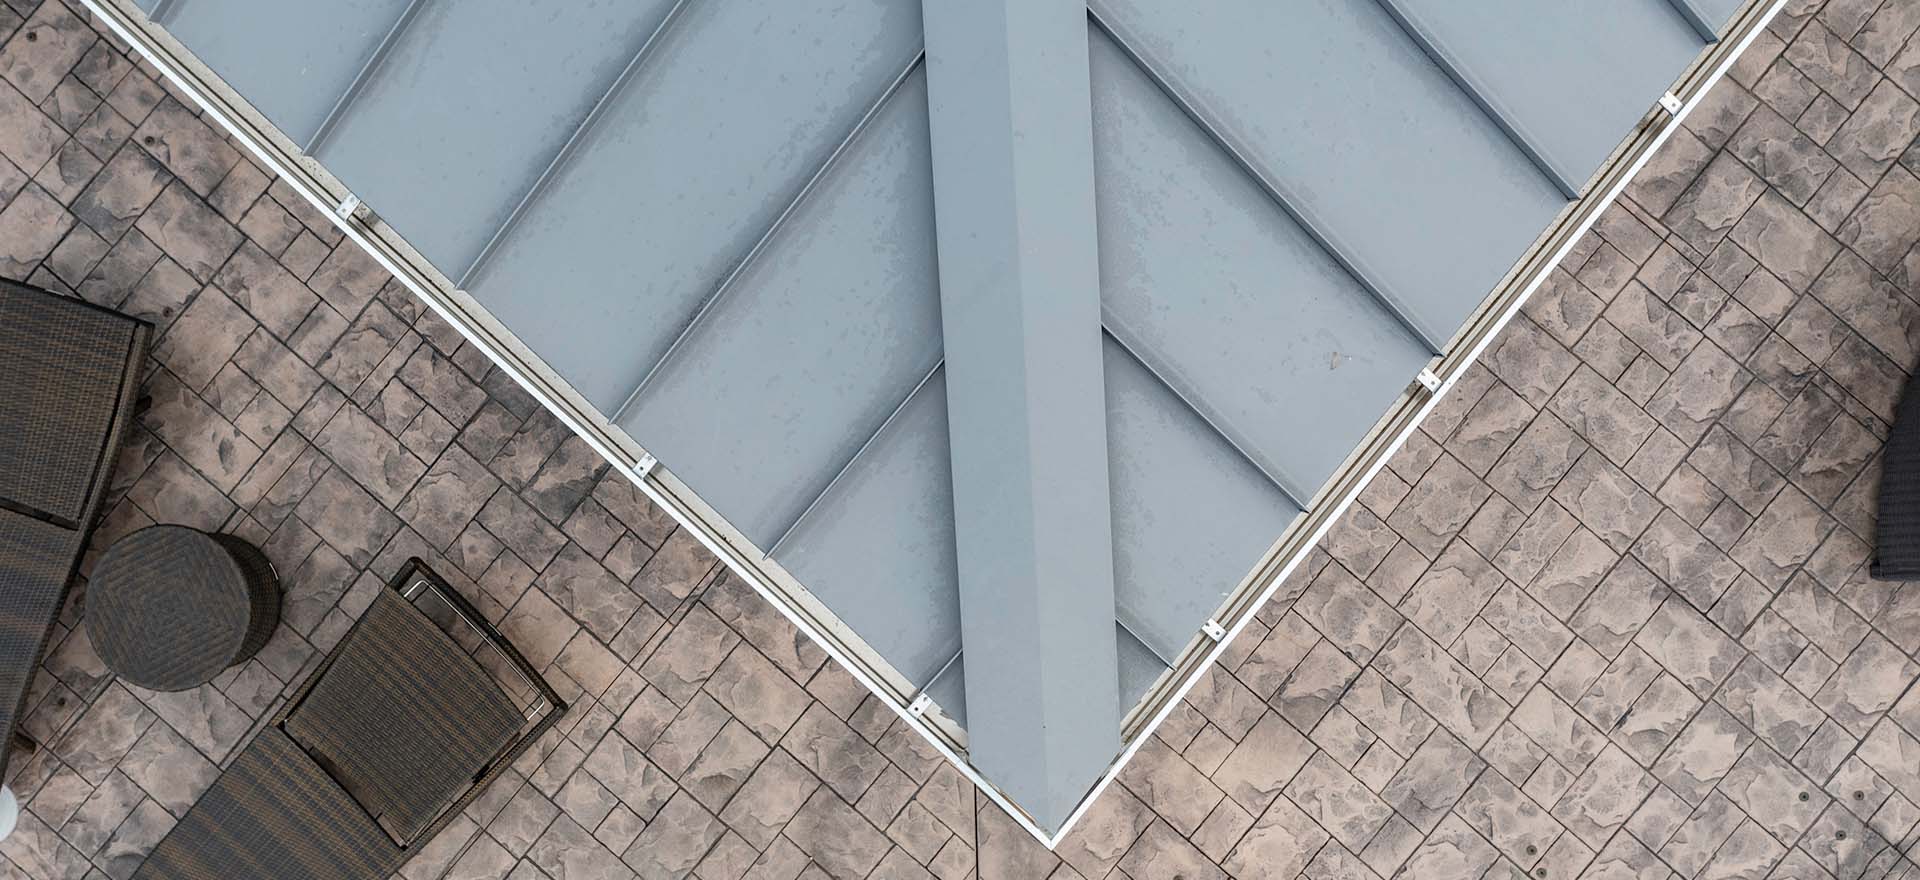
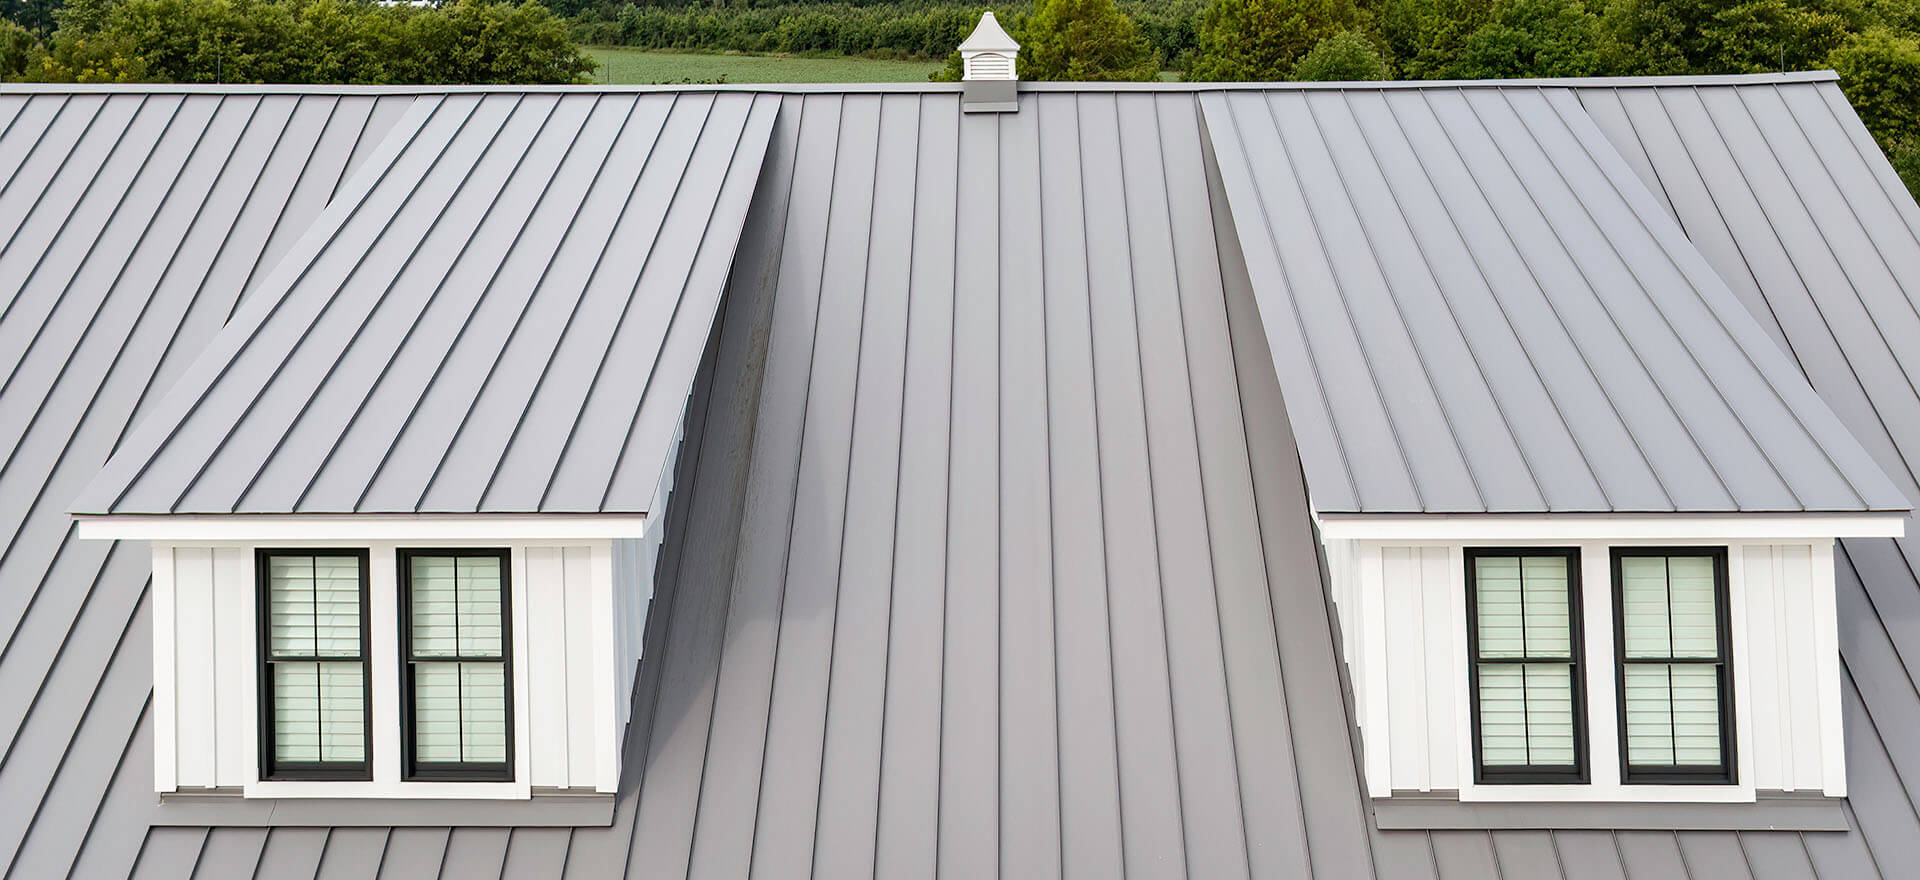
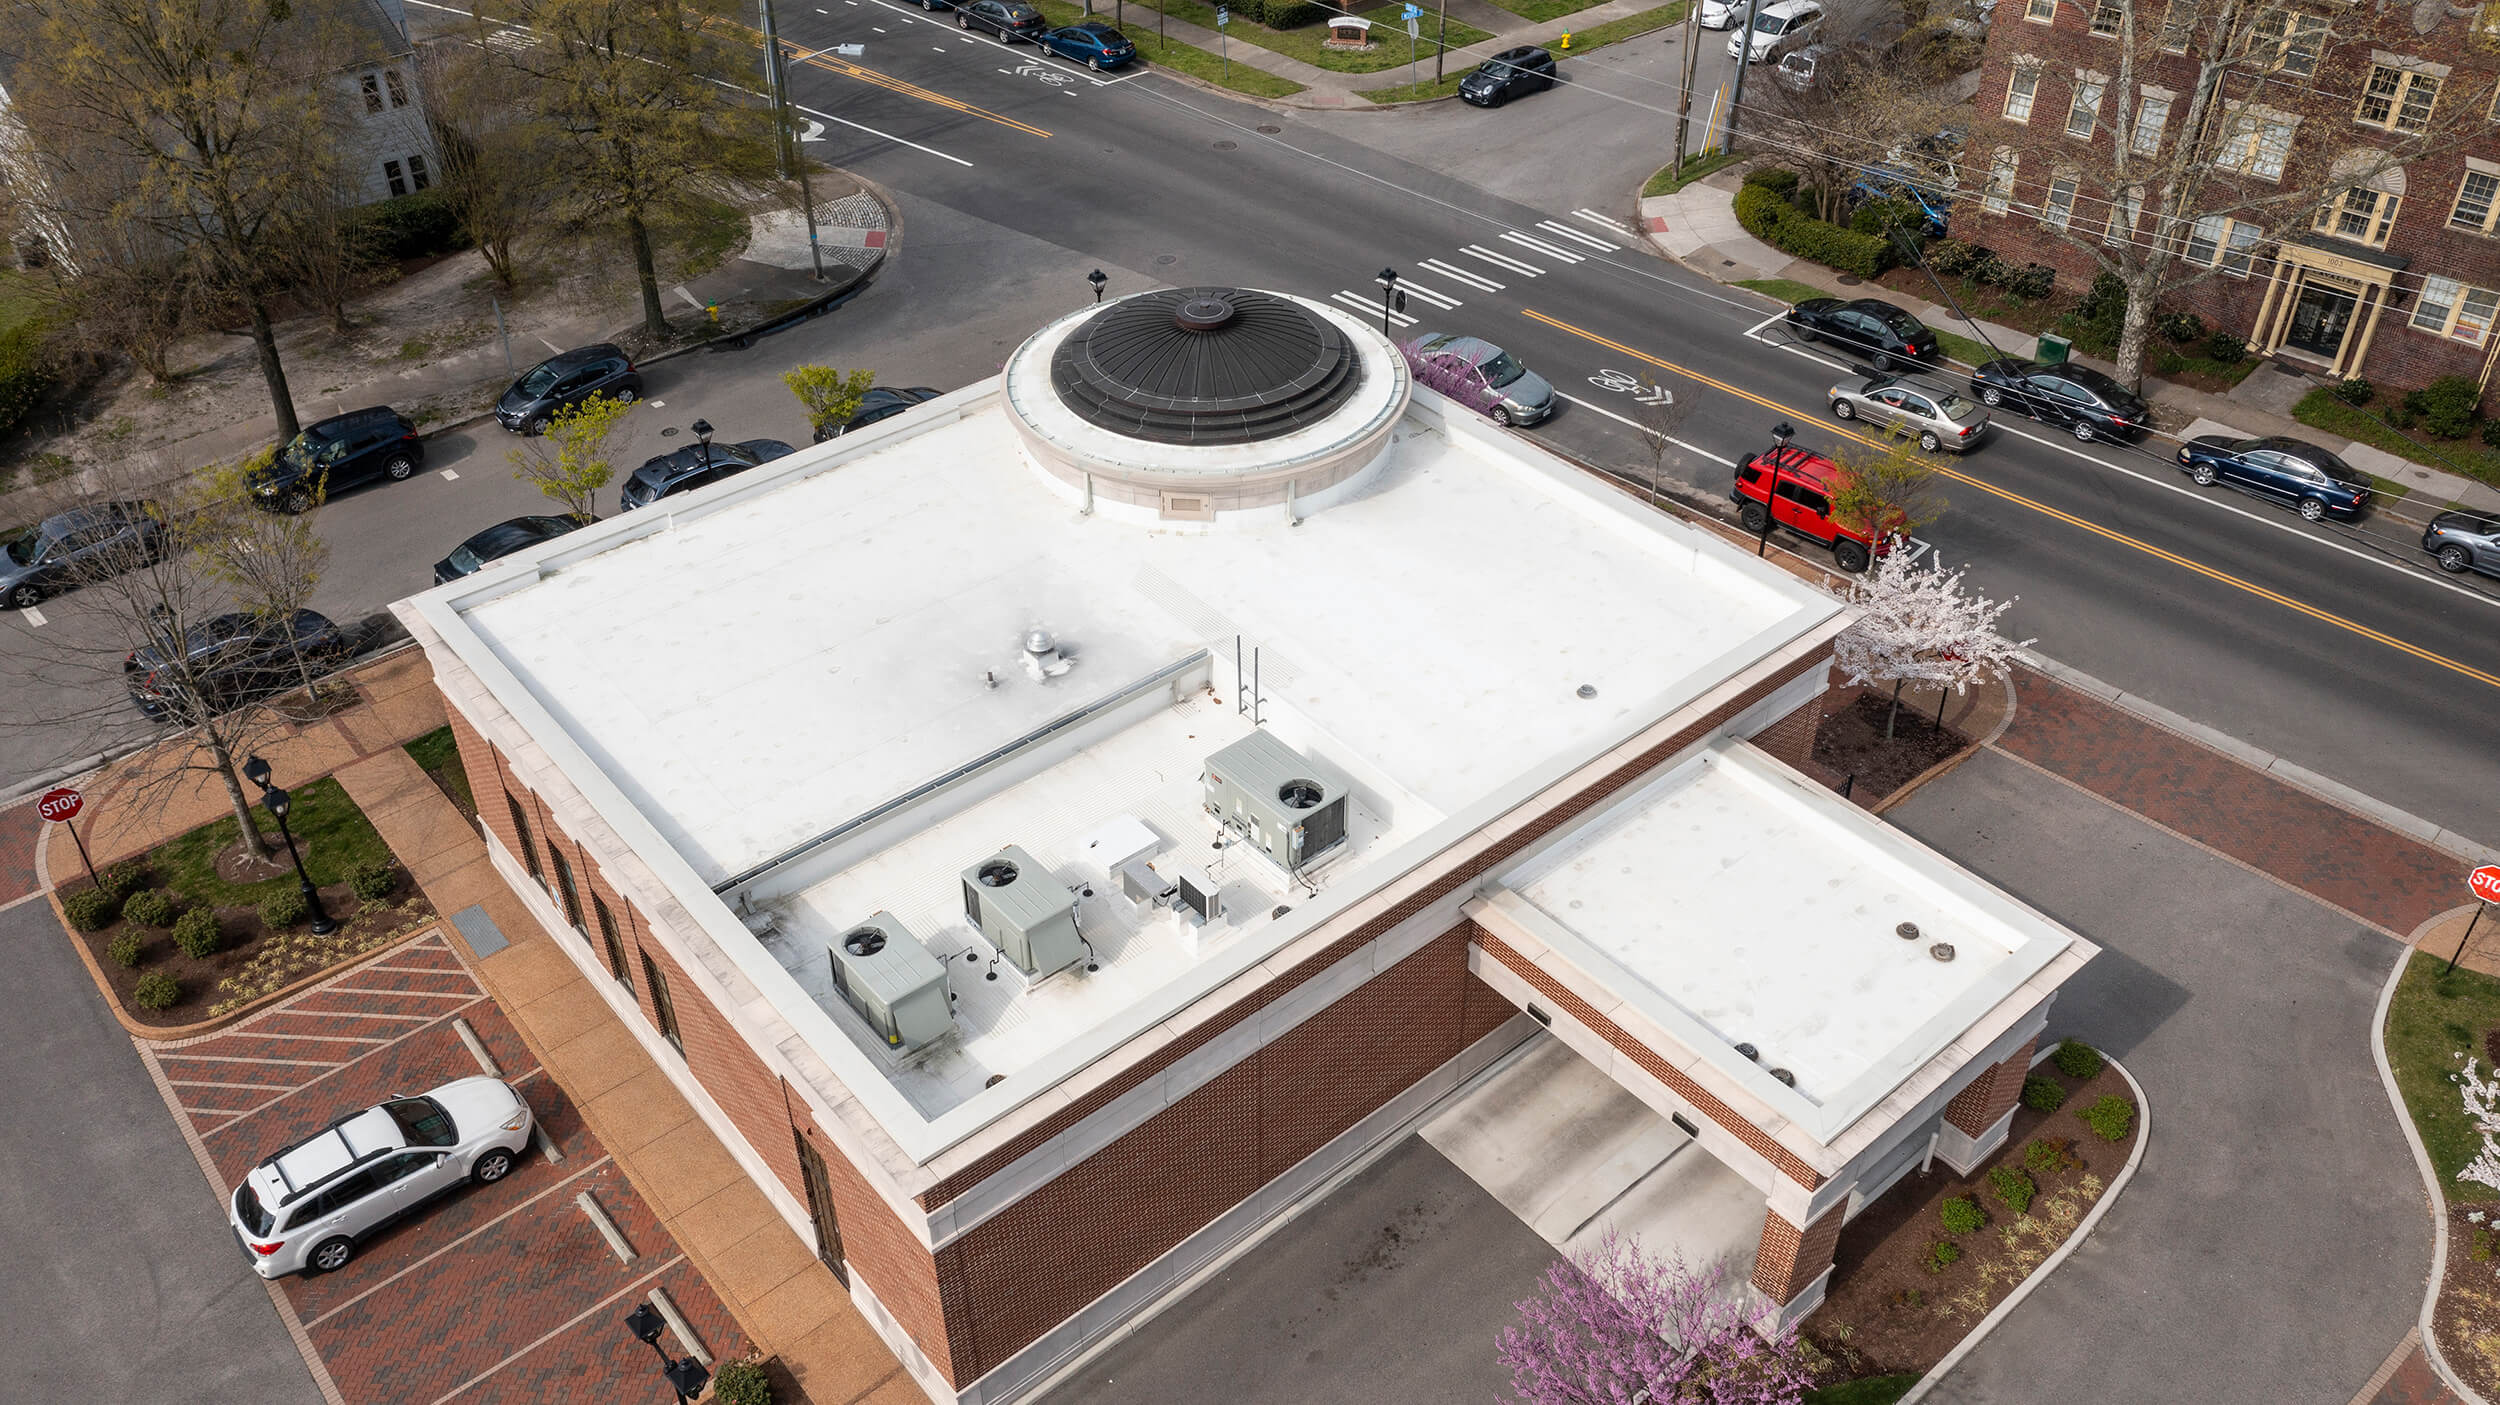
Your roofing materials get a lot of attention: shingles, flashing, underlayment. But even the highest end roofing materials aren’t worth much if water can’t exit the system efficiently. Poor drainage leads to pooling water, which accelerates shingle deterioration, promotes mold and mildew growth, and puts unnecessary weight and stress on your roof structure. In our coastal climate, where heavy rain events can dump several inches in a matter of hours, a drainage system that can’t keep up is a liability.
The good news is that a properly sized and maintained drainage system is built to handle these types of rain events with ease. The key being “properly sized.” Not every drainage setup is created equal, and the details such as gutter capacity, downspout placement, and guard selection make a significant difference in how well your system performs over time.
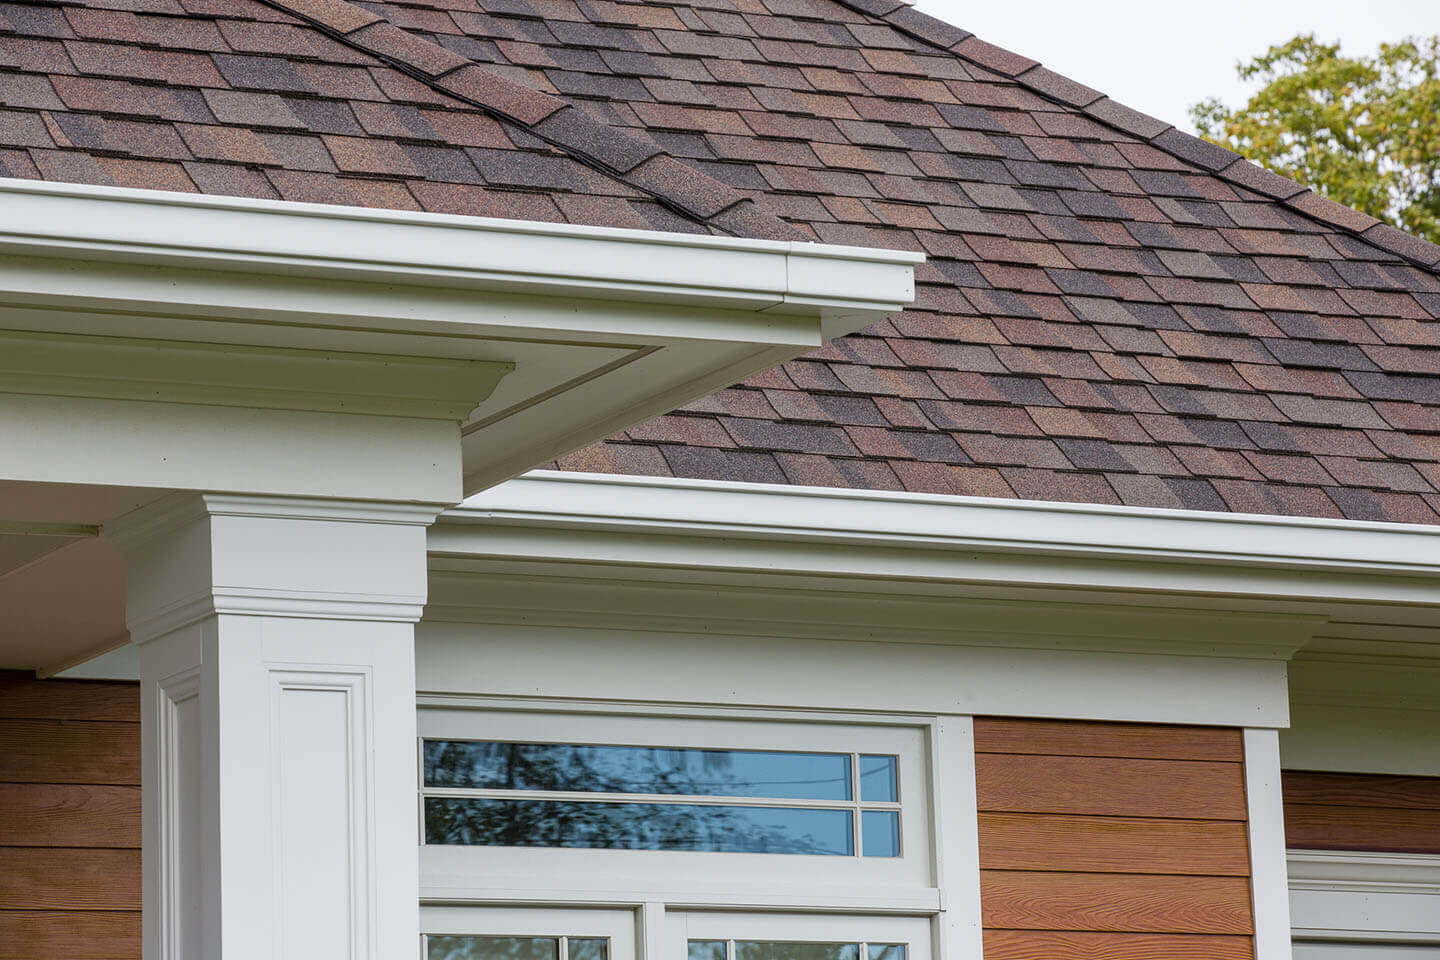
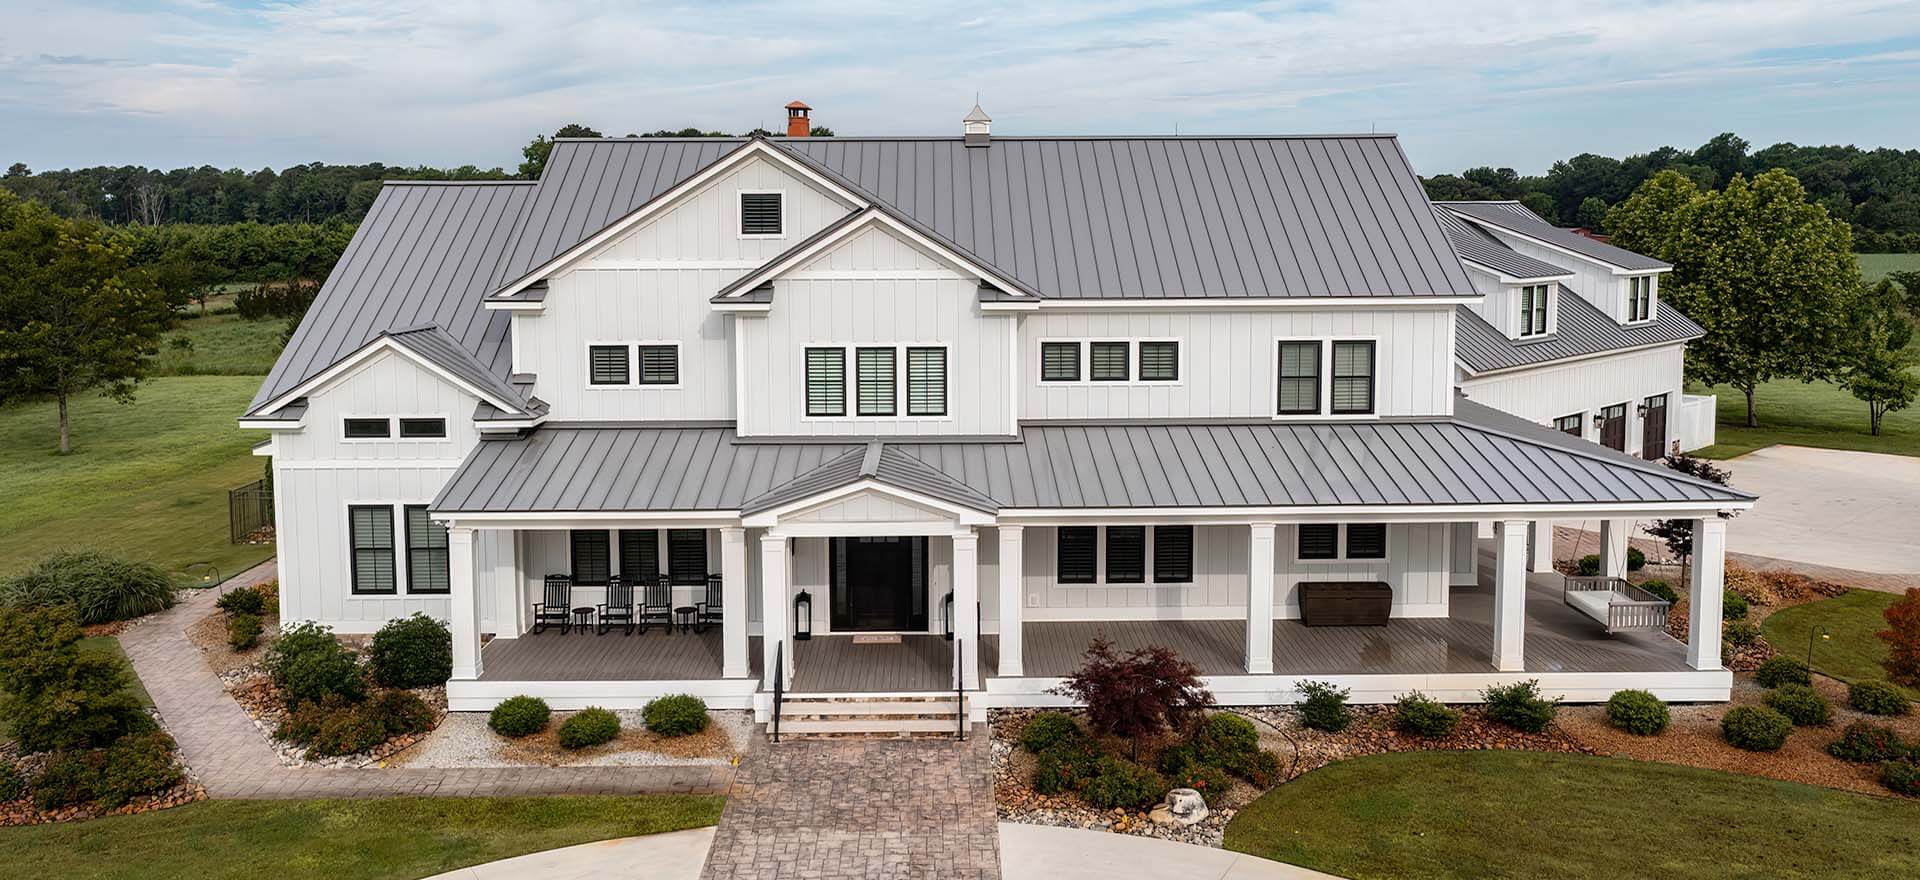
Gutters: Capacity Is Everything
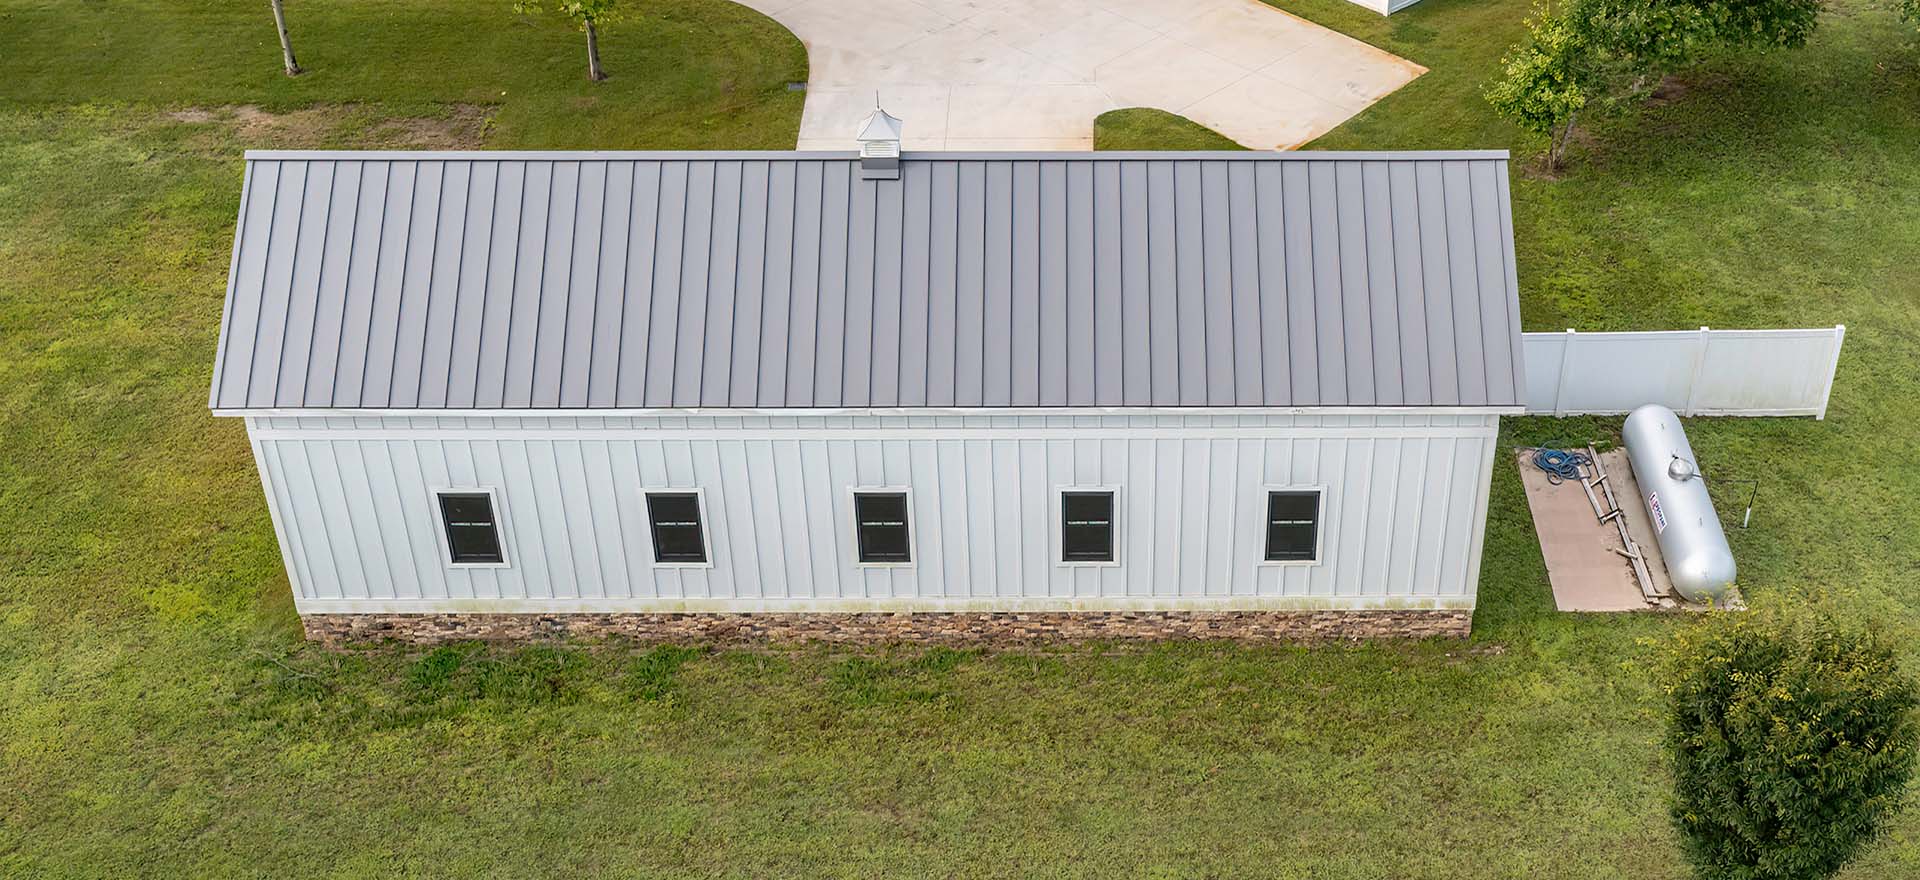
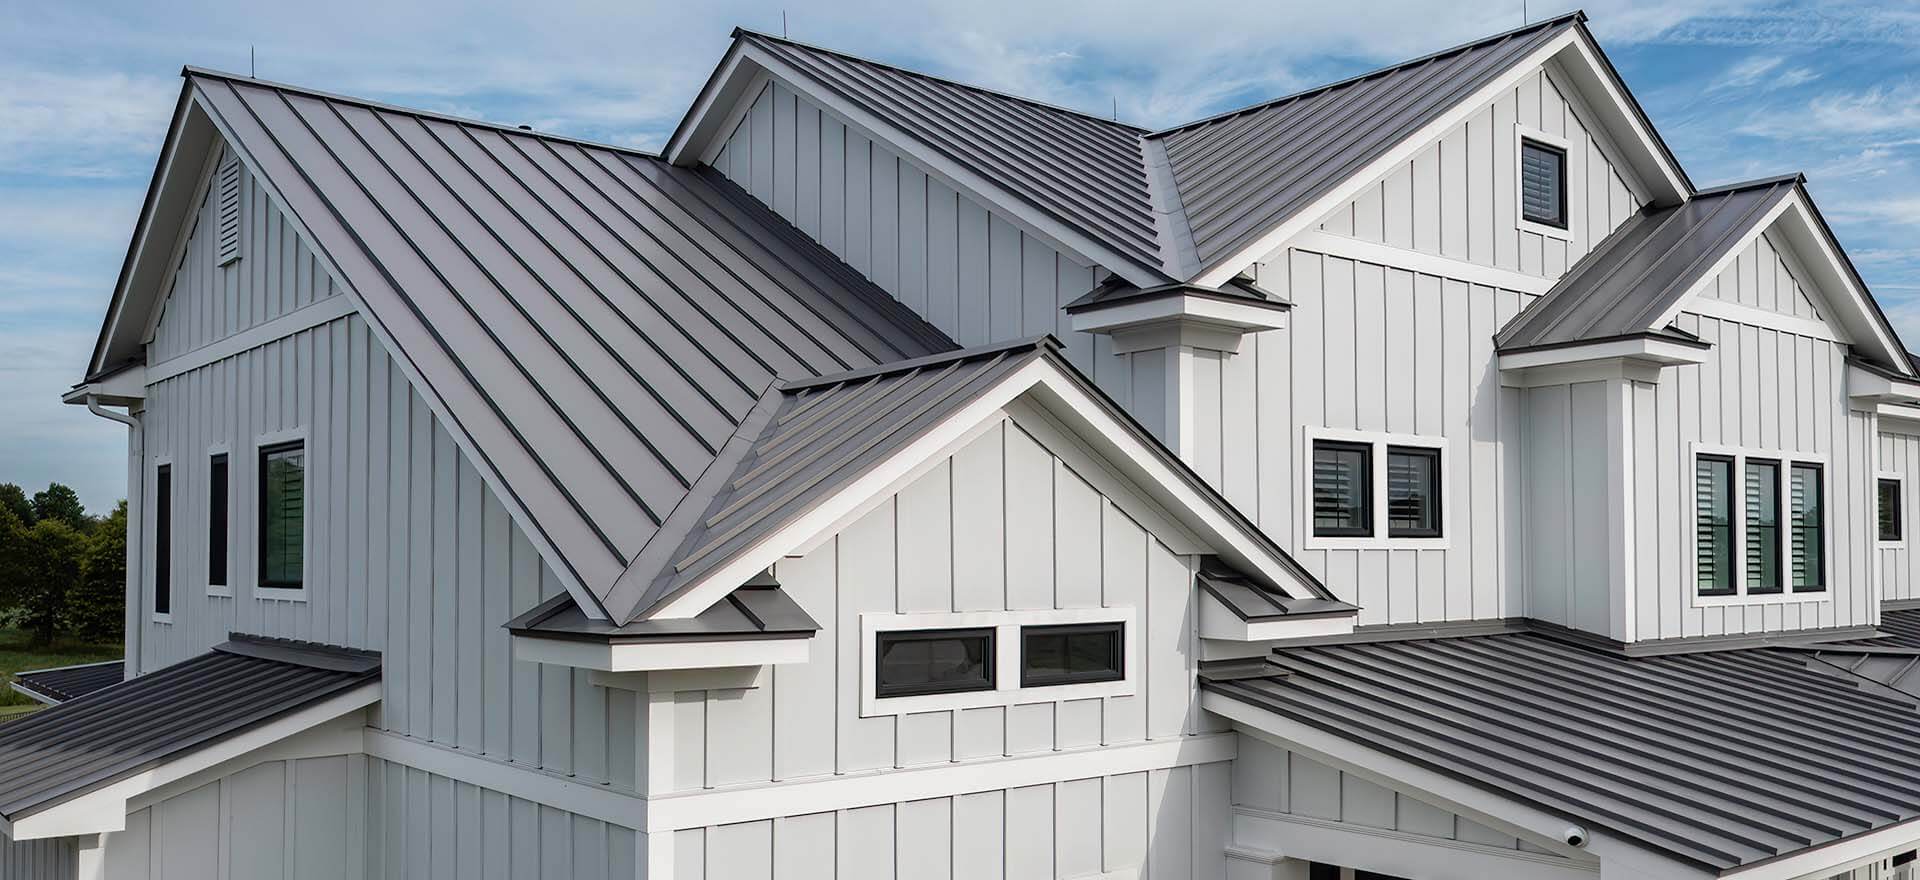
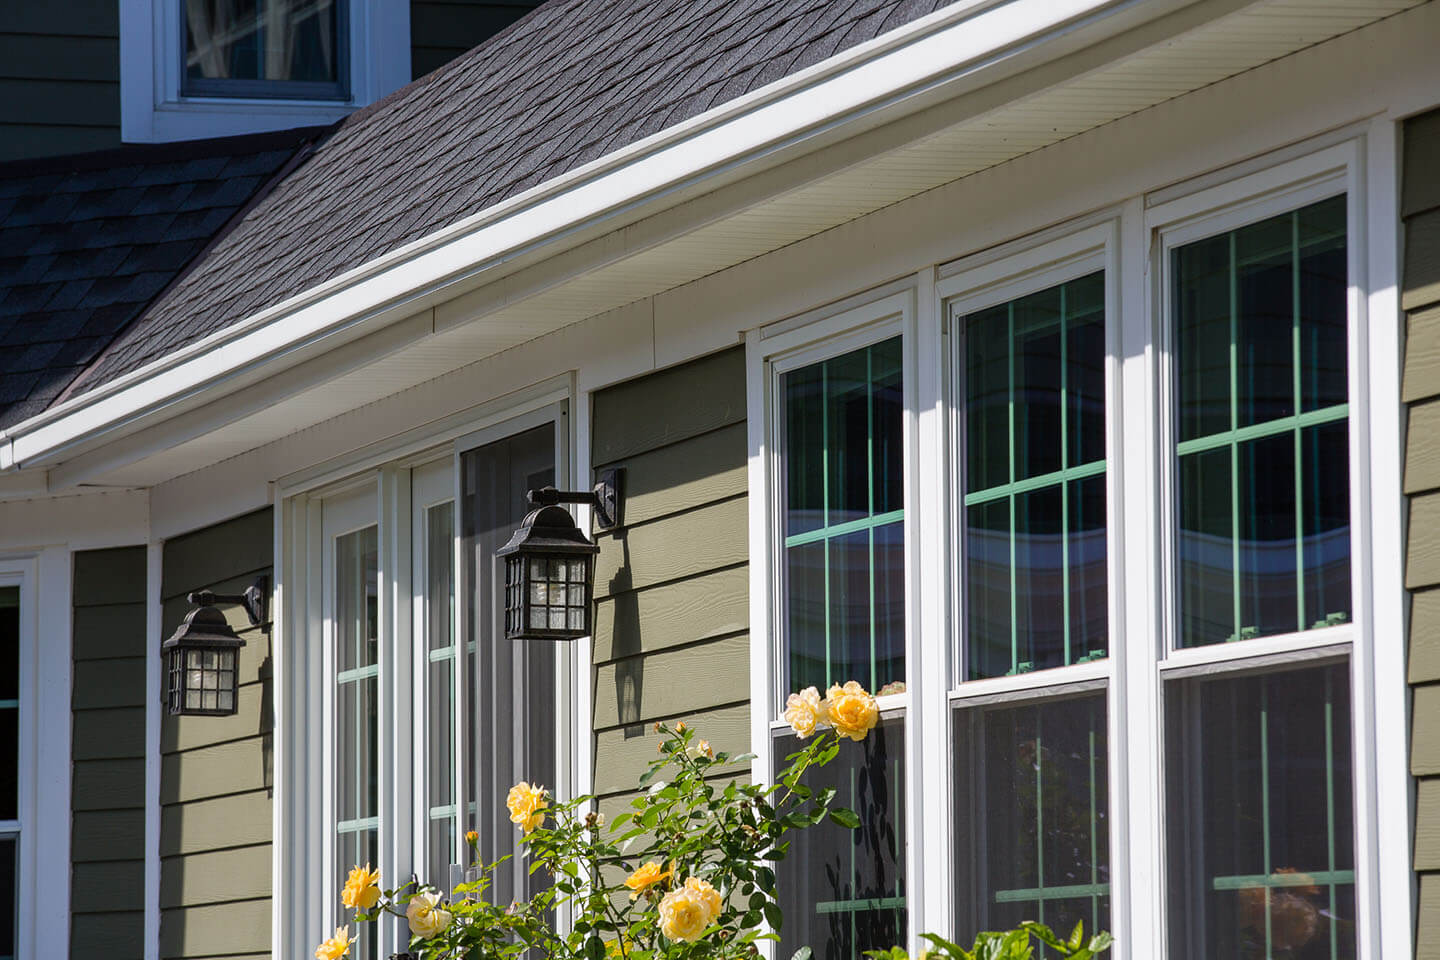
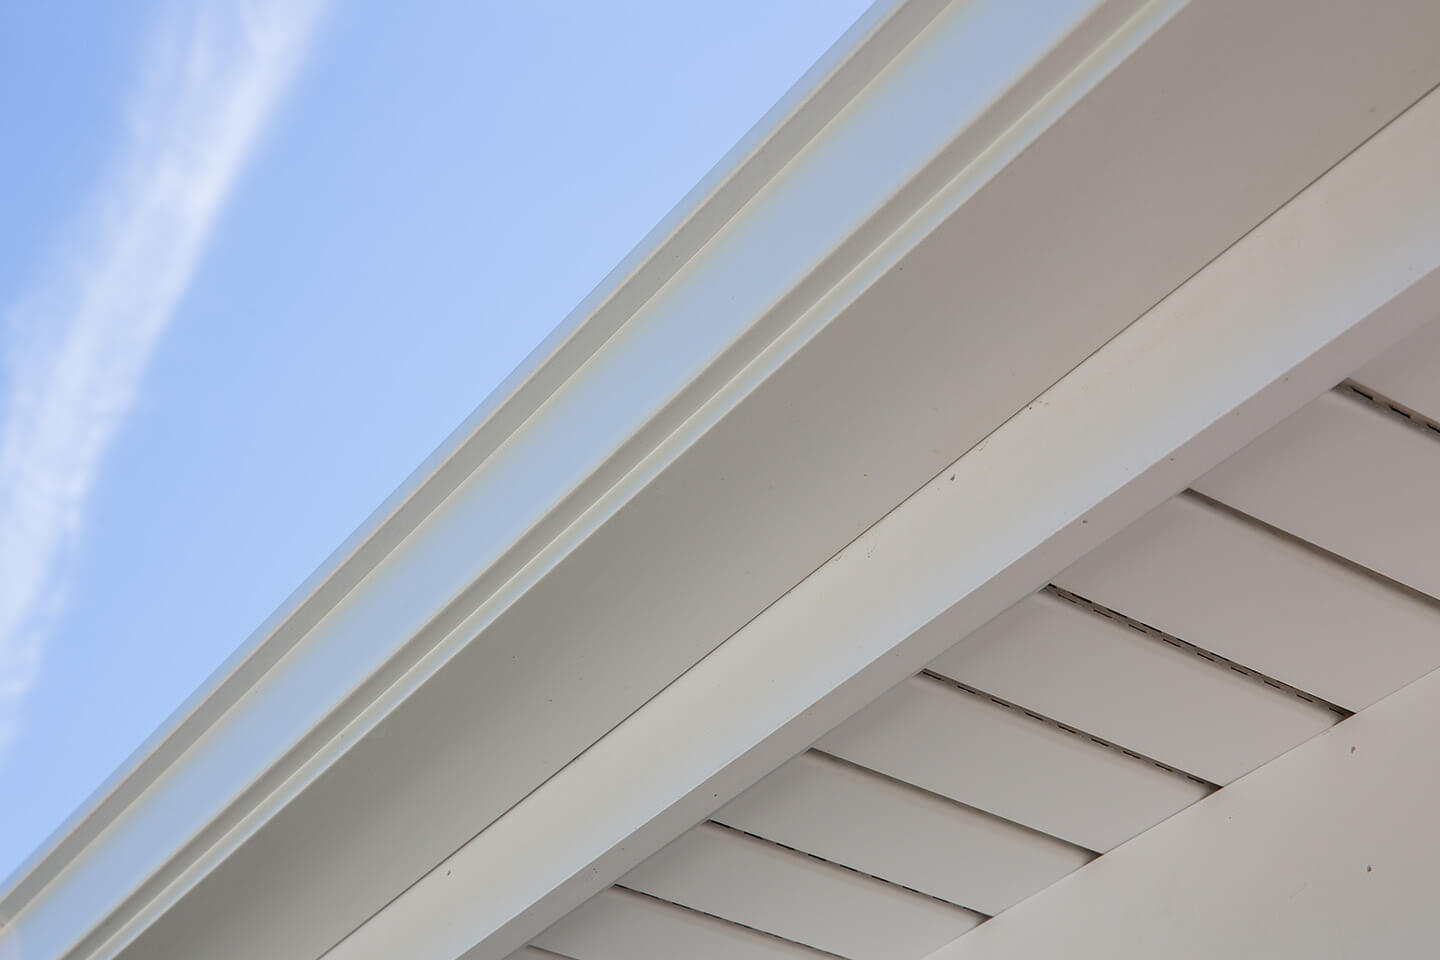
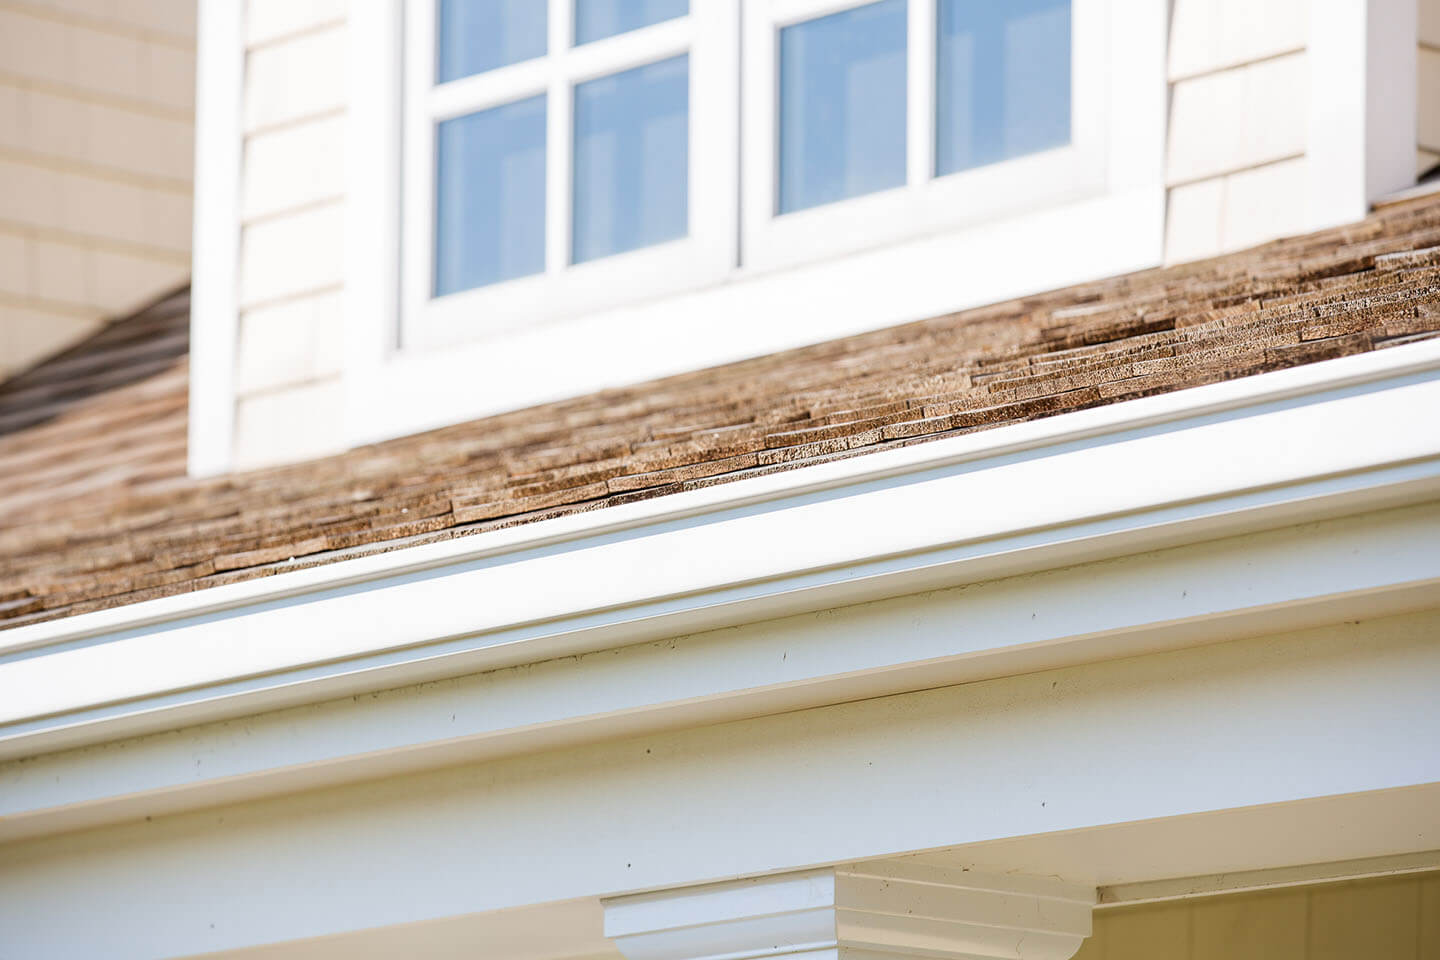
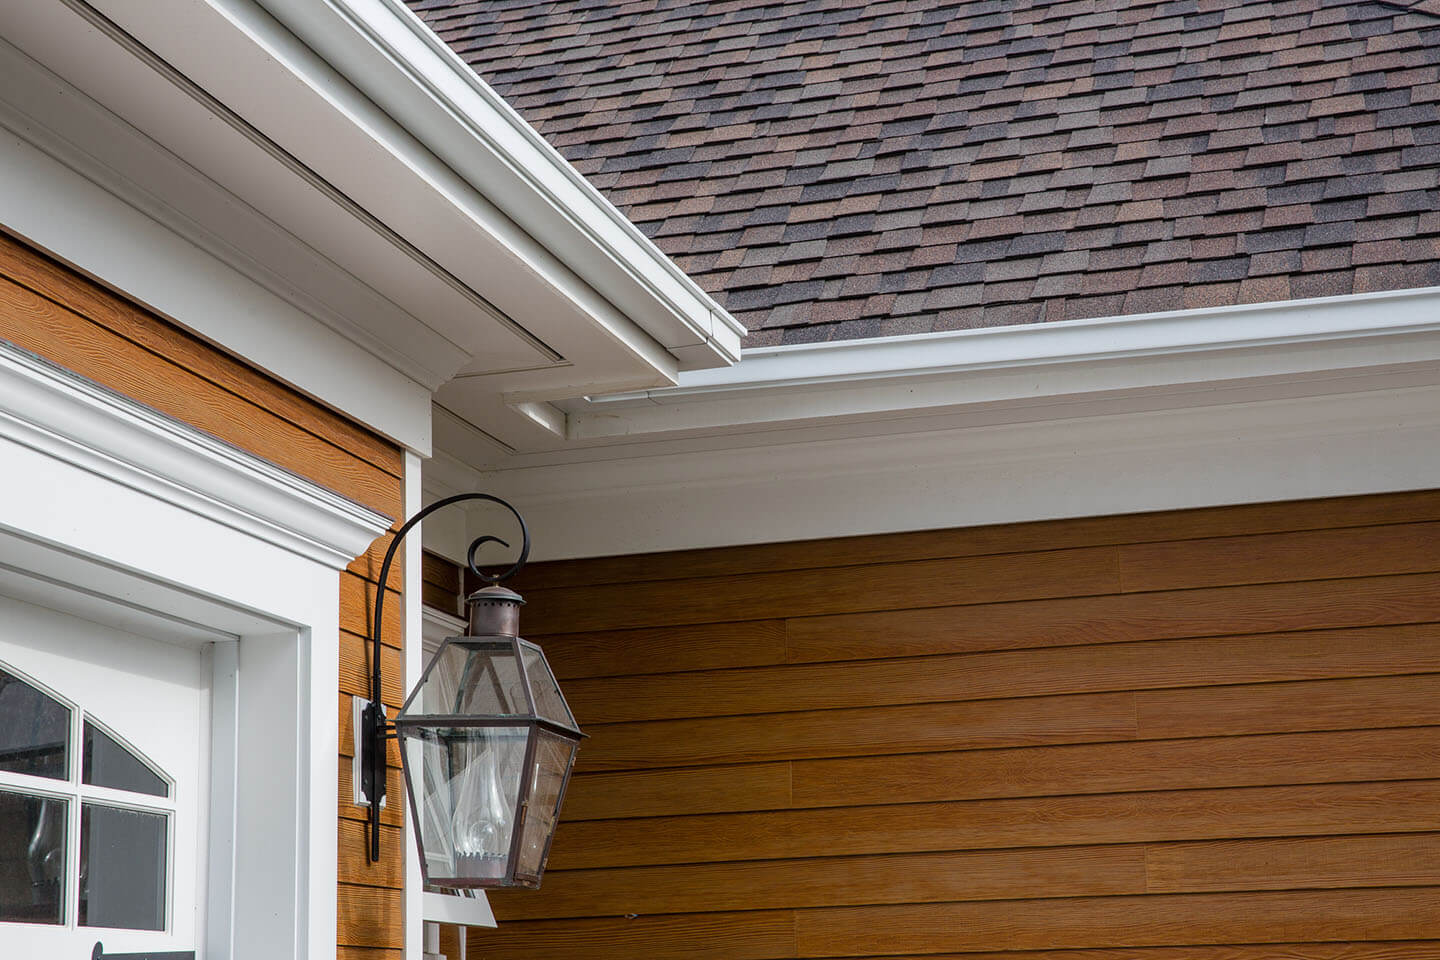
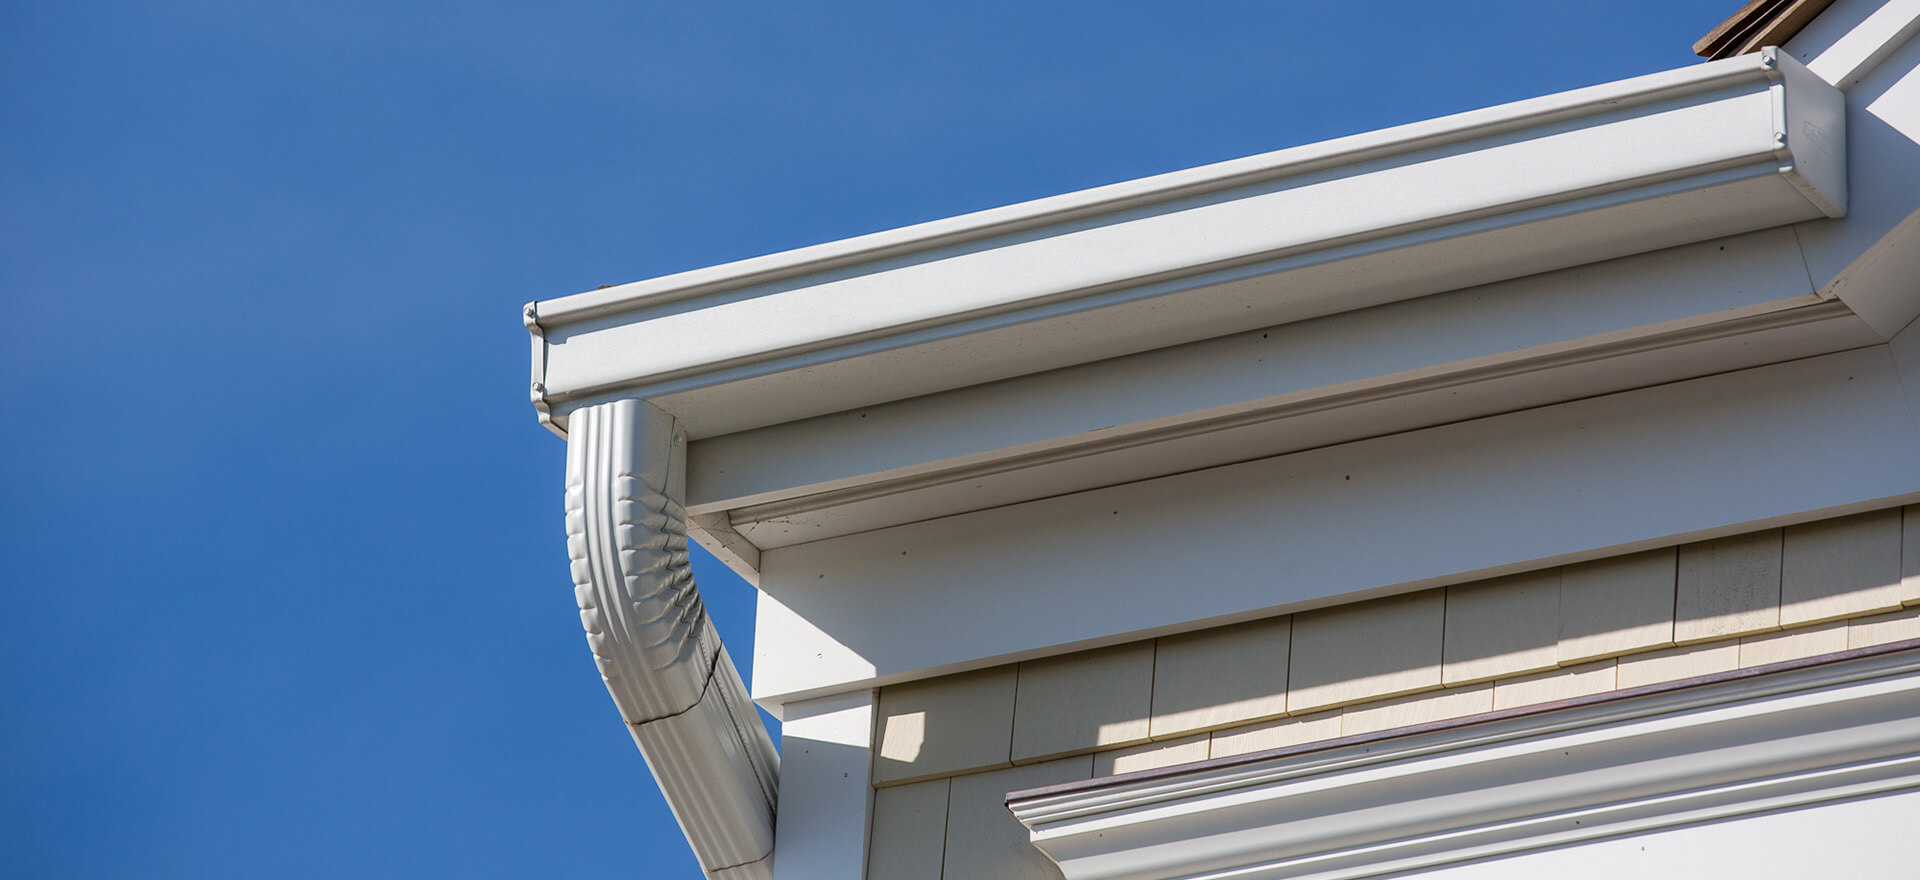
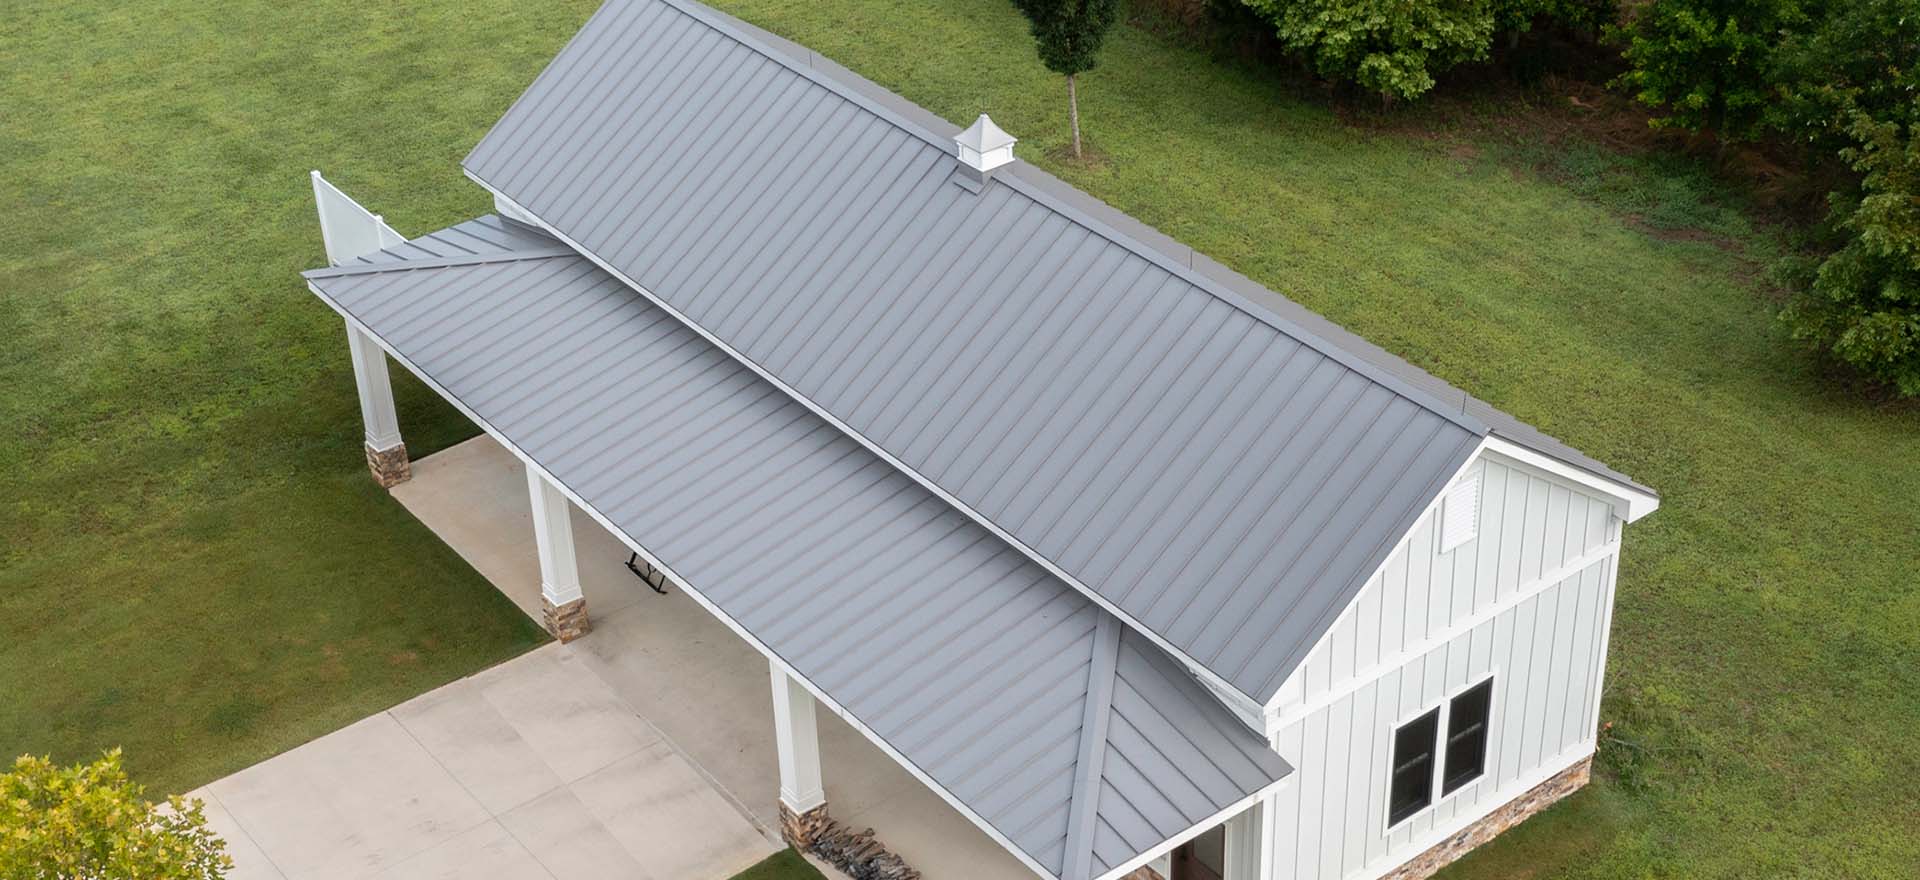
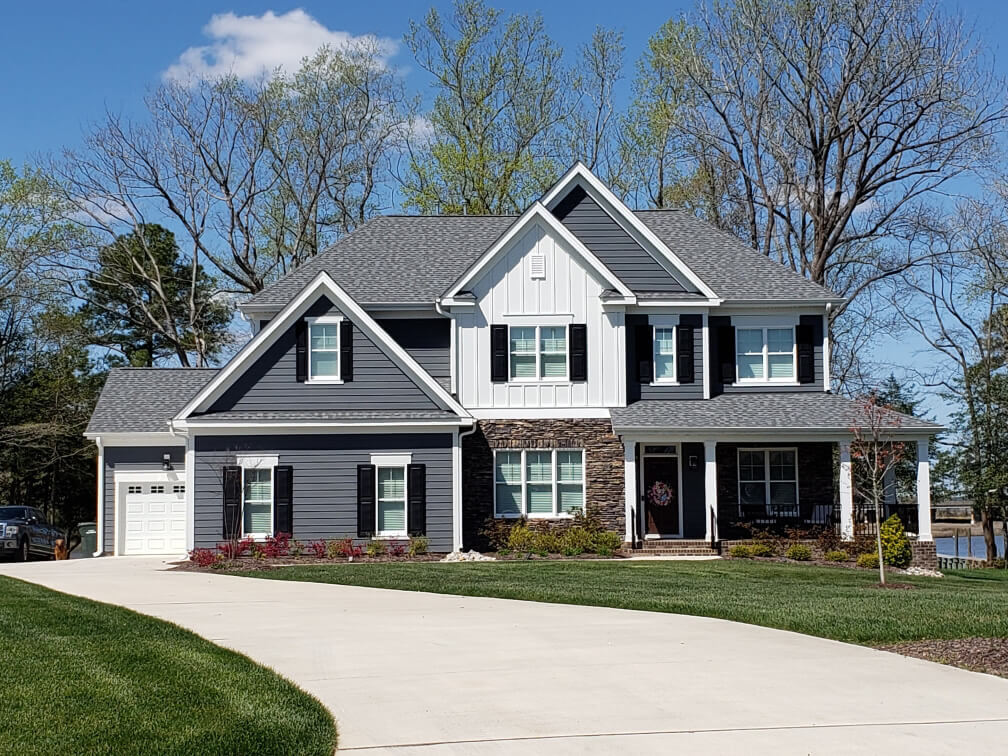
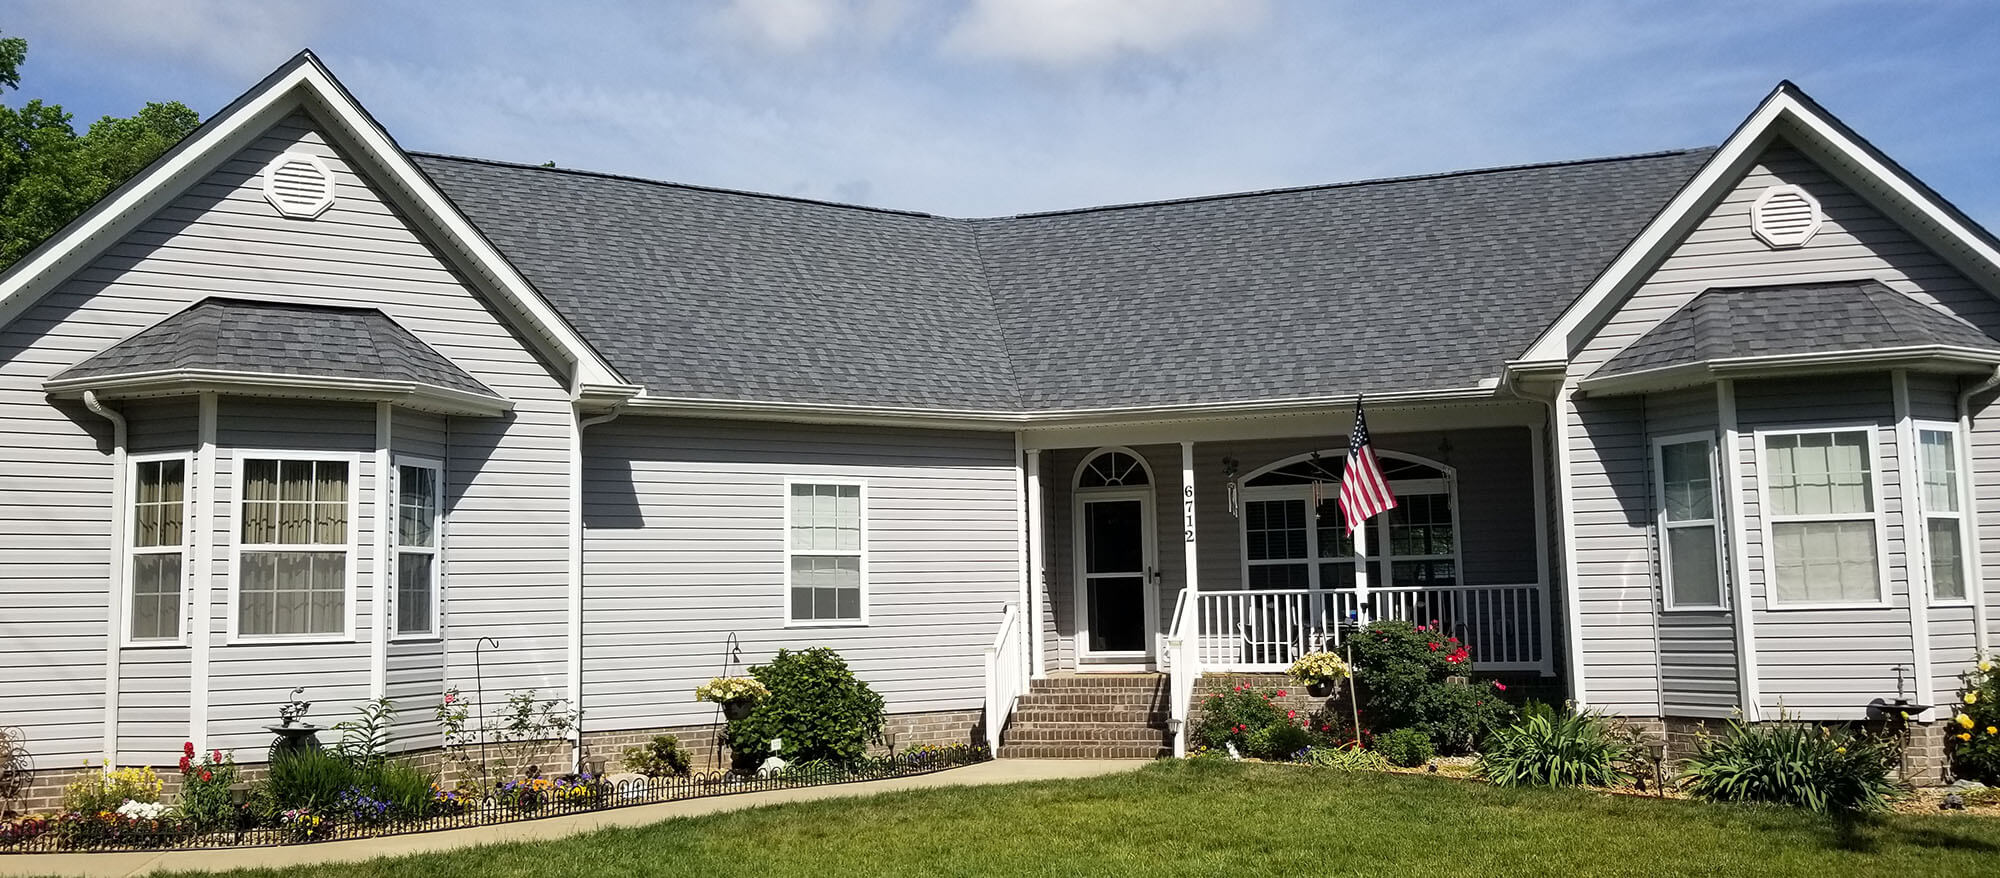
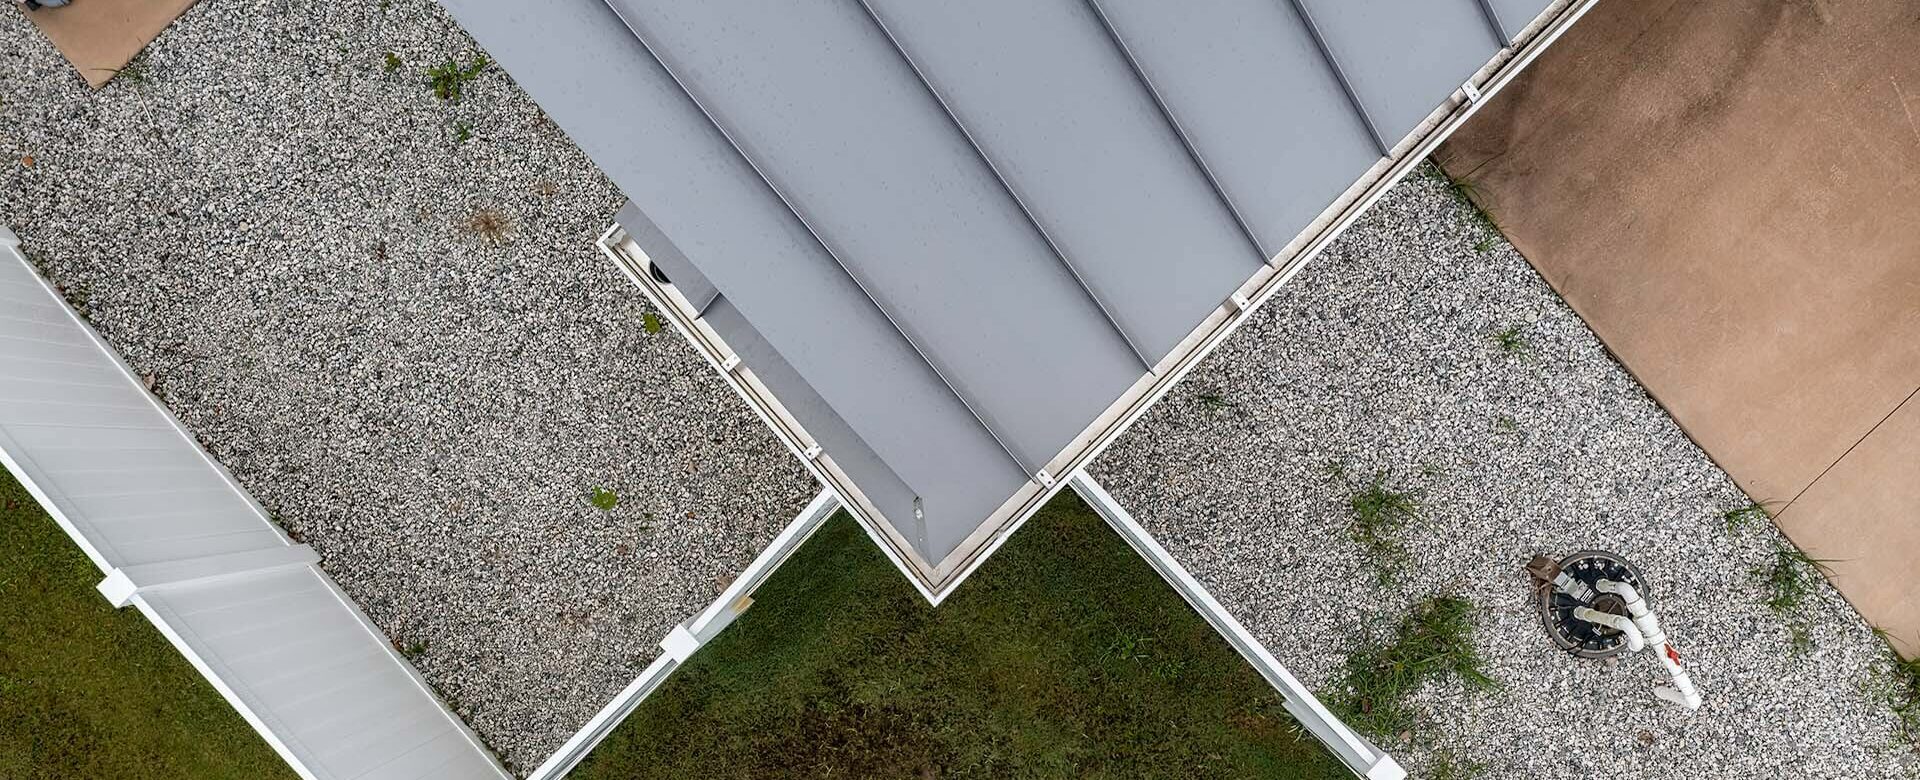
Gutters are your roof’s first line of defense against water damage. Their job is to collect runoff from the entire roof surface and channel it safely away from your home’s foundation. Standard residential gutters come in 5-inch and 6-inch widths, with the larger size handling significantly more volume (an especially important consideration for homes with steep pitches or large surface area). In a region where storm intensity can be unpredictable, upsizing your gutters is a decision most homeowners don’t regret.
Equally important is how the gutters are pitched. A properly installed gutter isn’t perfectly level, it’s angled slightly toward the downspout so water flows rather than sits. Standing water in a gutter is a breeding ground for mosquitoes and can lead to rust and rot. Your gutters may look fine from the ground while actually holding water if the pitch has shifted over time due to fastener failure or foundation movement.
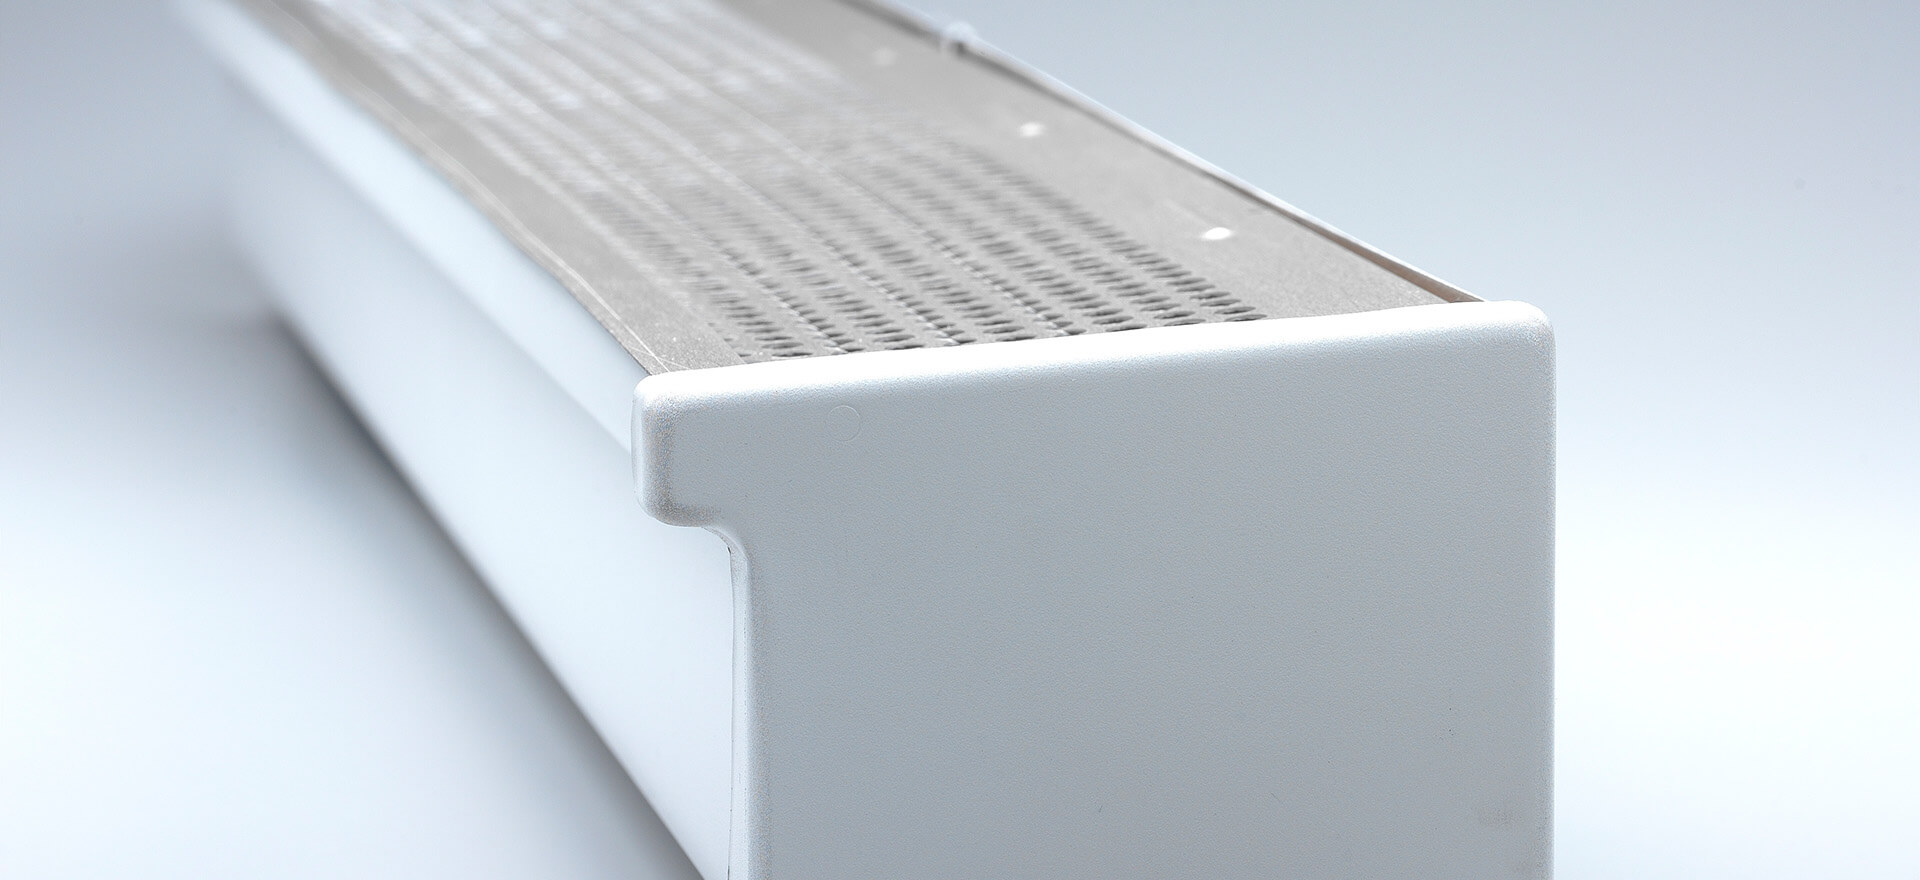
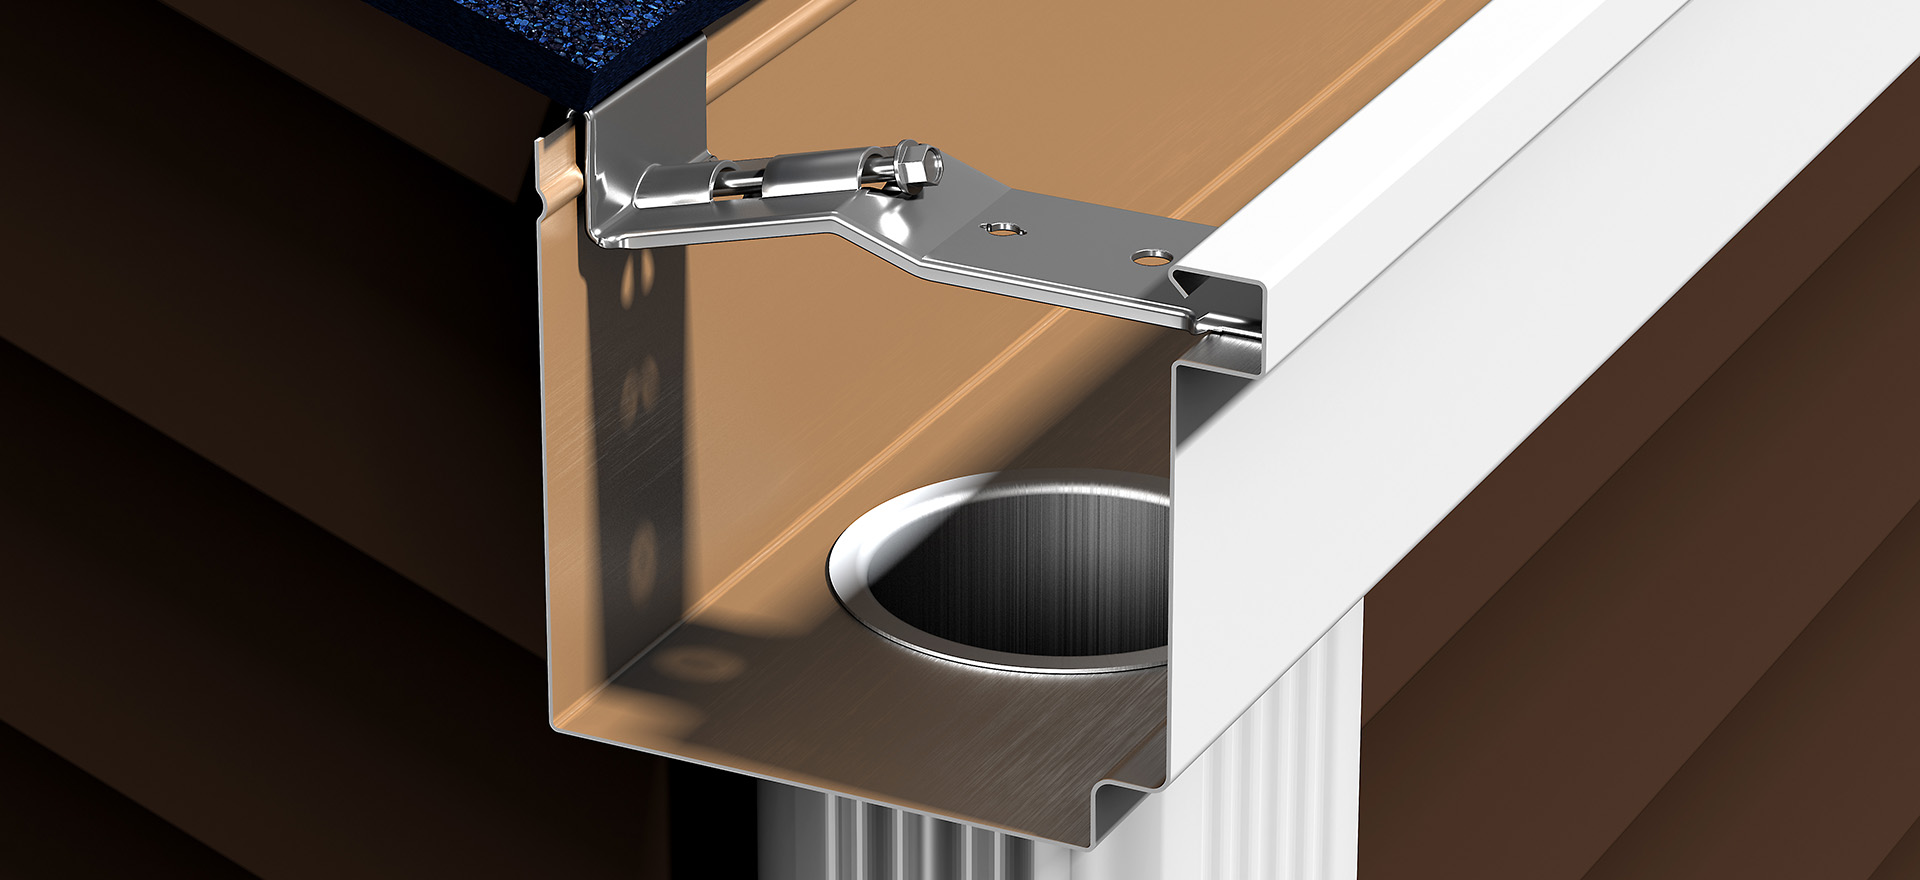
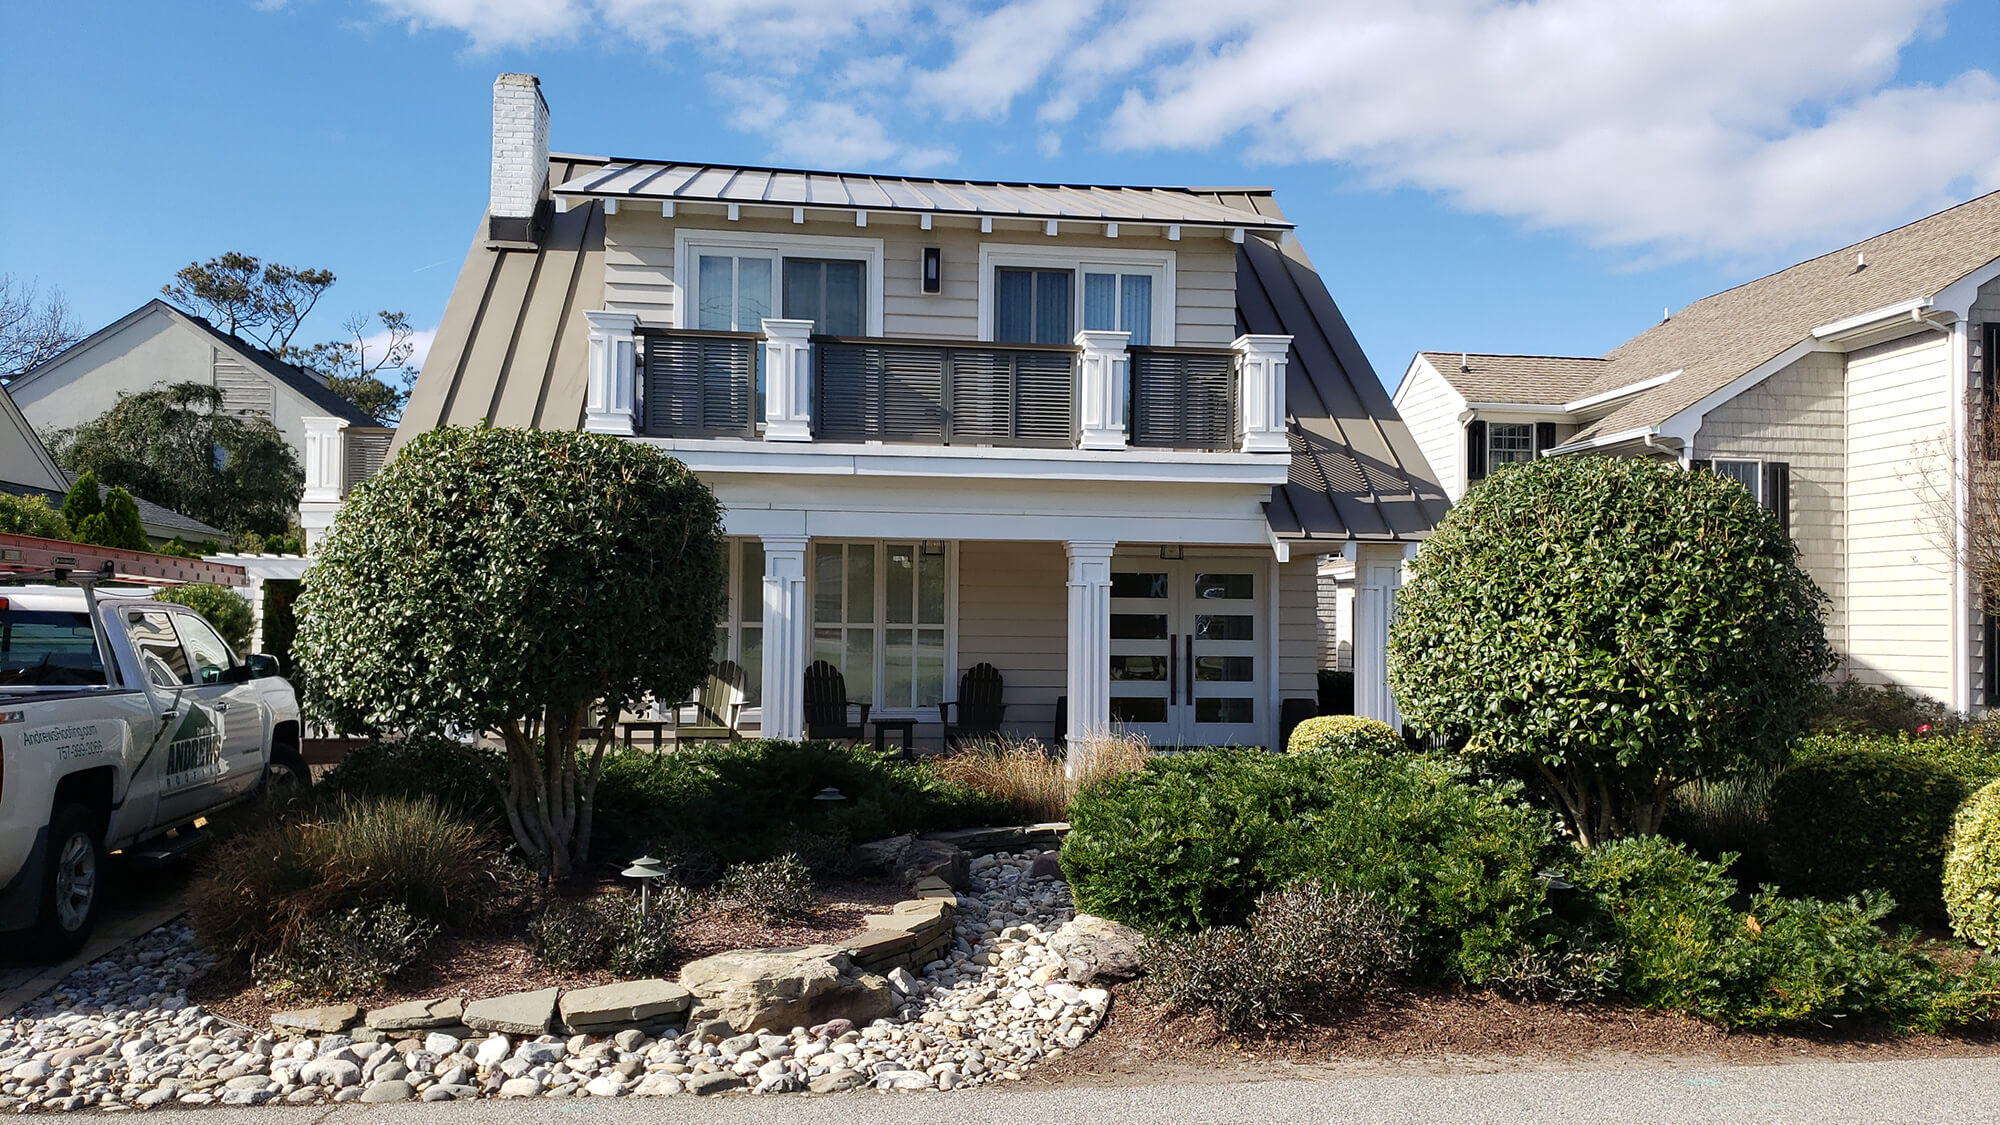
One option that addresses many of the issues we experience in the Tidewater region is the Rapid Rain Gutter System™ which was specially designed for high capacity without the visual trade off. The Rapid Rain looks like a standard 5-inch gutter from the curb, but it’s engineered with a larger-than-standard gutter bottom and downspout to perform like a 6-inch system. It’s also constructed from 18.5% heavier metal than standard gutters and mounted with heavy-duty hangers to hold up through years of coastal weather. This is a great option for homeowners who want upgraded drainage performance without the visual bulk of an oversized gutter.
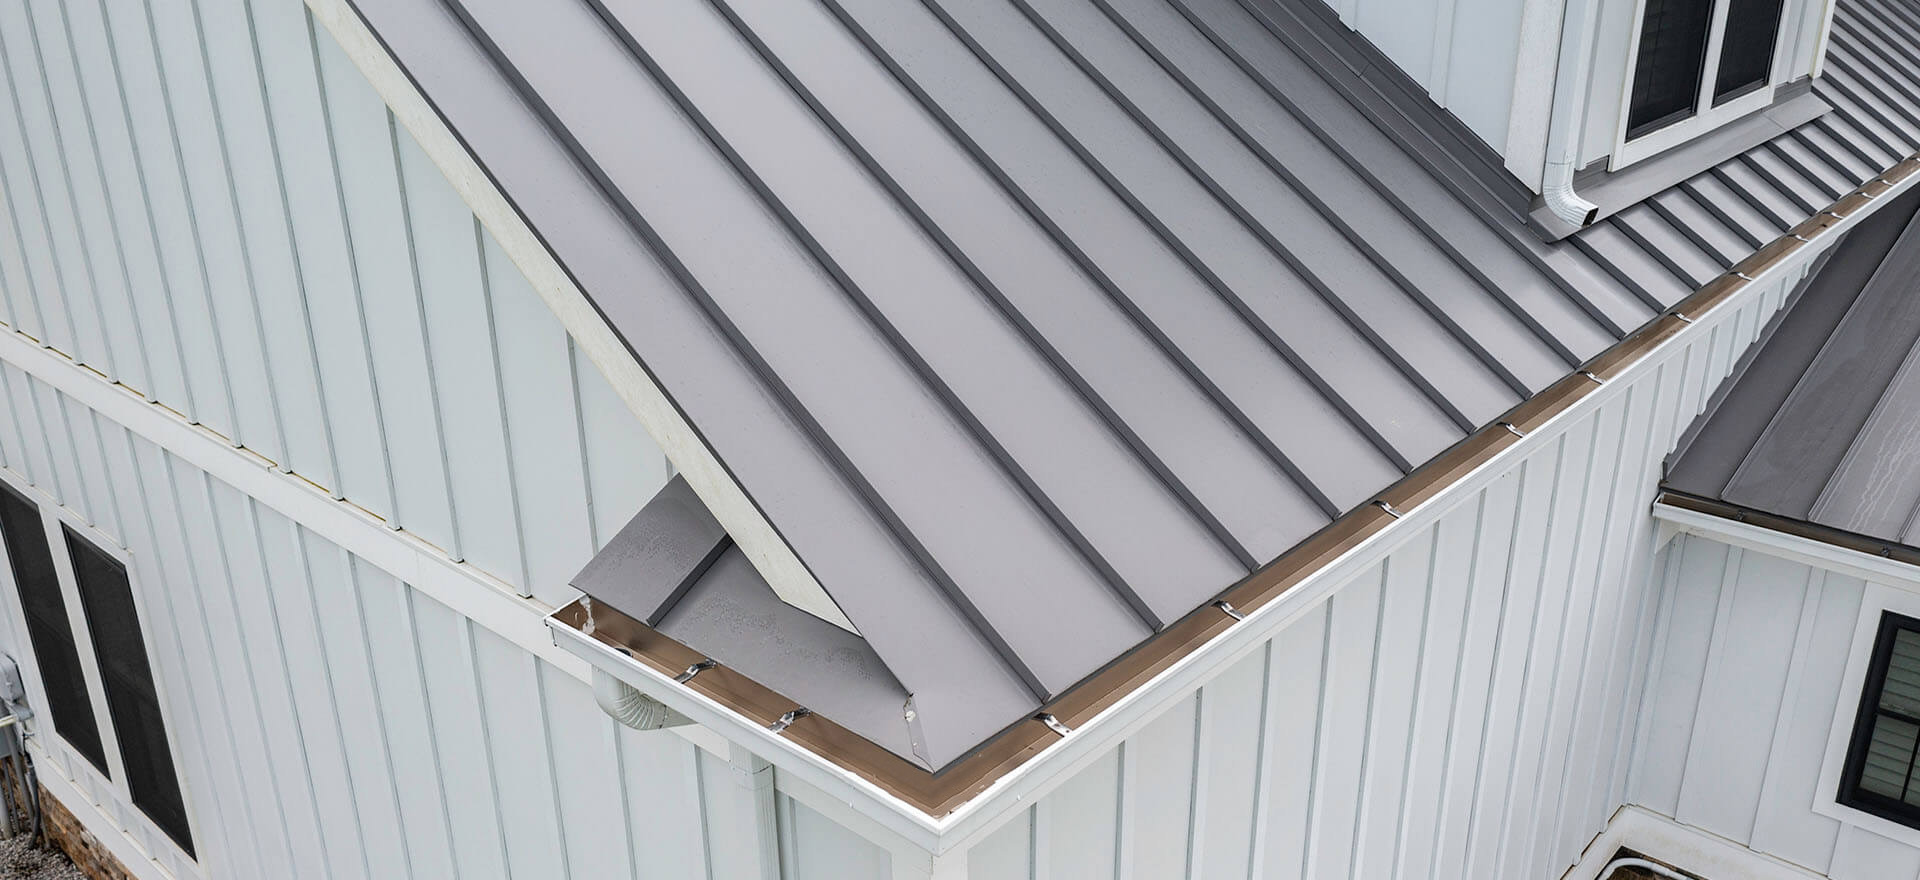
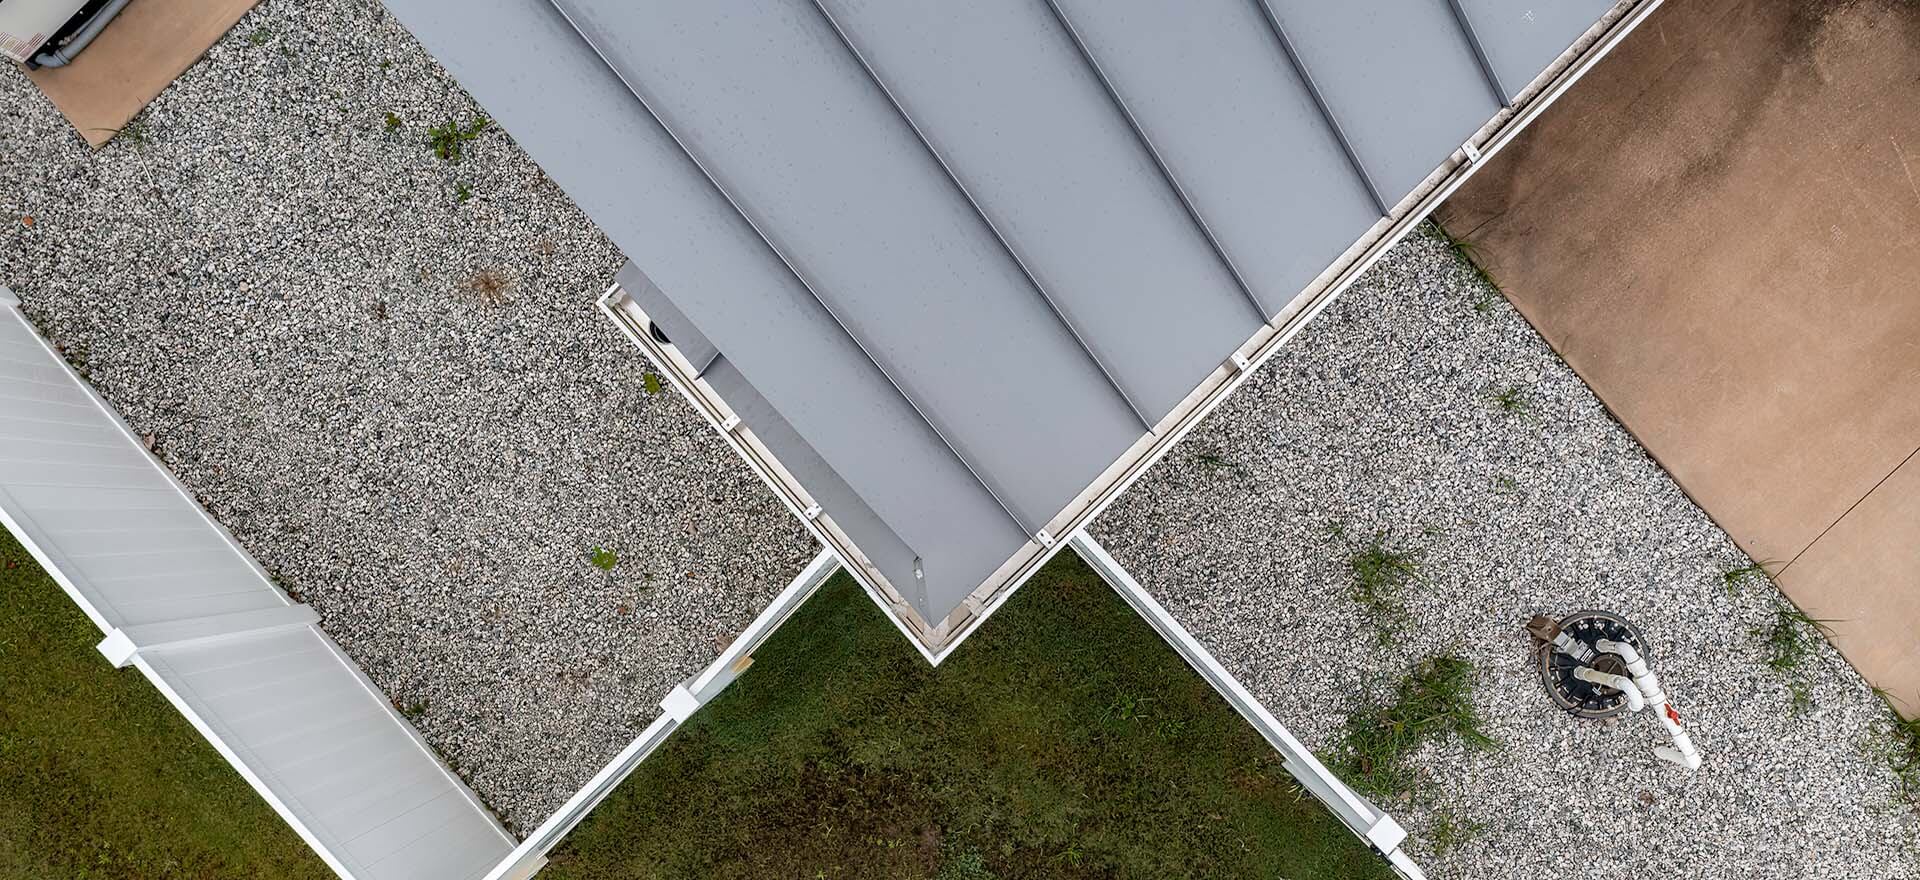
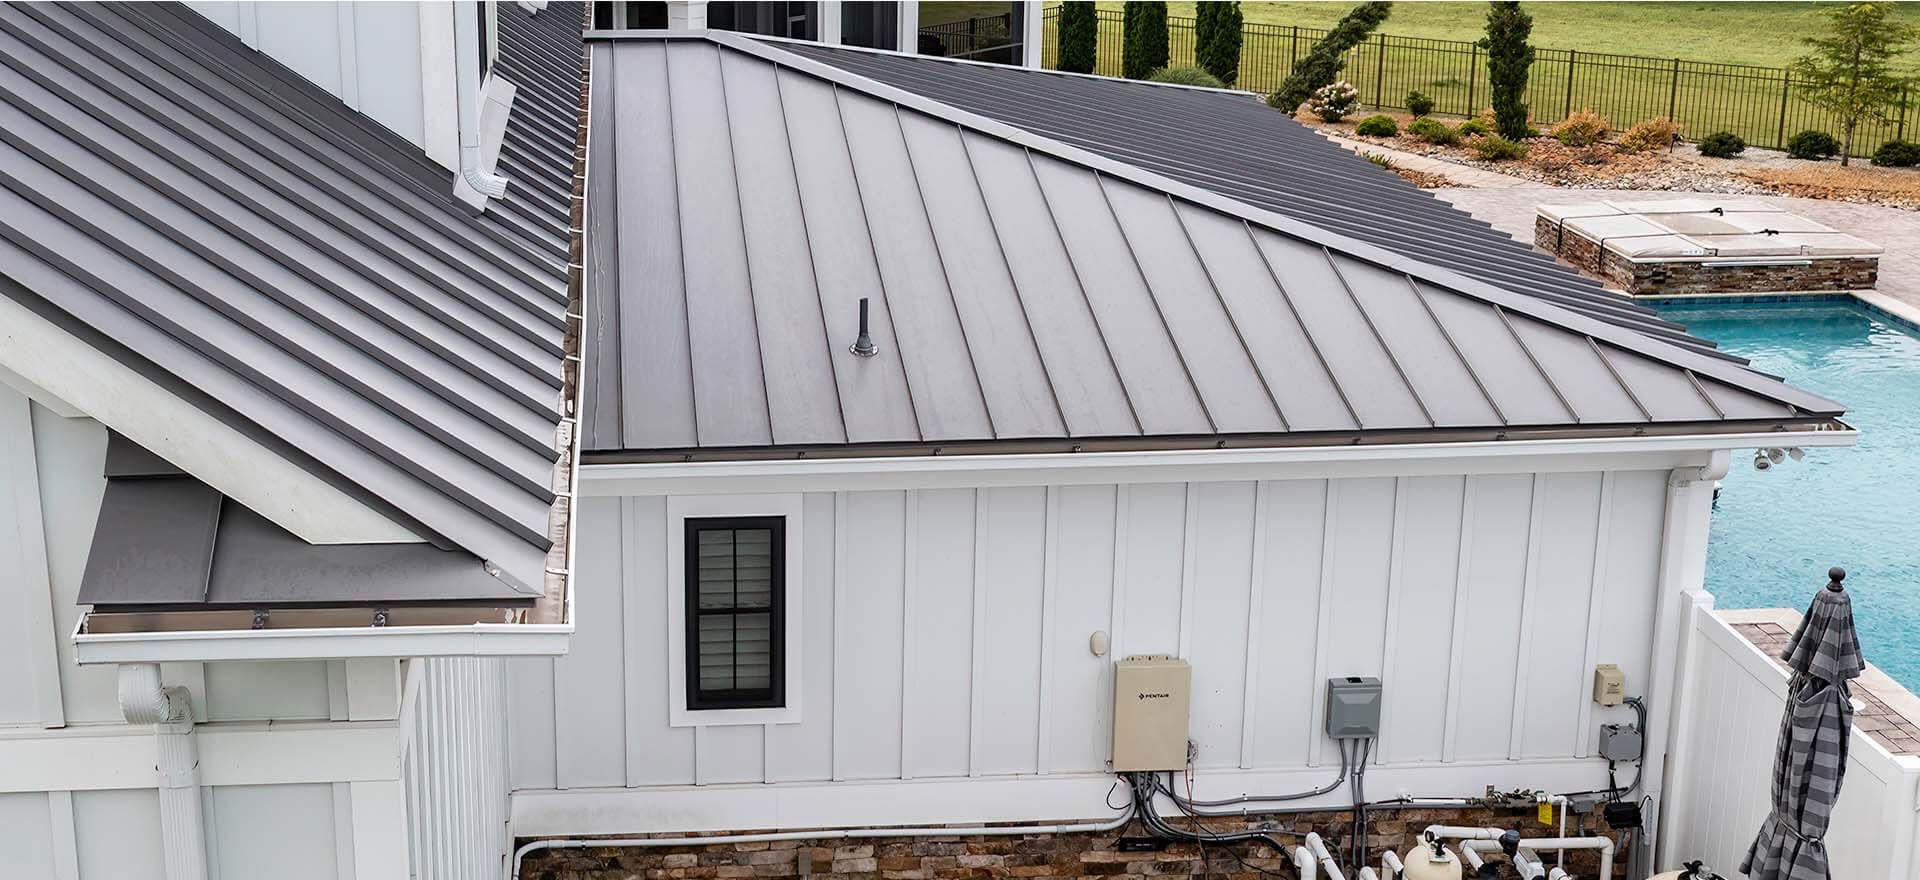
Downspouts: Placement and Number Matter
Downspouts are where drainage systems most commonly fall short. Many homes, especially older builds, were fitted with the minimum number of downspouts, and that minimum may no longer be adequate as the home has settled, trees have grown, or weather patterns have intensified. The general guideline is one downspout for every 30 to 40 linear feet of gutter, but this should be adjusted based on your roof’s size and slope.
Placement is just as important. Downspouts should be positioned at the low points of each gutter run, typically at corners and ideally away from doorways, HVAC units, and areas where pooling near the foundation could become a problem. Extensions at the base of each downspout help direct water at least four to six feet away from the house, reducing the risk of foundation dampness and erosion. If your yard slopes back toward the house, underground extensions or French drains may be worth considering.
Leaf Guards: Worth the Investment?
Leaf guards (also called gutter guards or gutter covers) are designed to keep debris out of your gutters while allowing water to flow through. For homes surrounded by the tall pines, oaks, hickory trees and gumball trees that are so common in Hampton Roads landscaping, they can dramatically reduce how often gutters need to be manually cleaned. However, no gutter guard is completely maintenance-free, and homeowners should install them with realistic expectations.
Upsides:
- Significantly reduces debris buildup and the need for frequent cleaning
- Reduces the risk of clogs that lead to overflow and water damage
- Helps prevent pests and mosquitoes from nesting in standing water
- Some styles can extend the life of the gutter by reducing moisture contact
Considerations:
- Fine debris like pine needles and seed pods can still work their way through certain guard designs
- In heavy rain, water can sometimes overshoot a covered gutter entirely
- Guards still require periodic inspection and occasional cleaning
- Installation quality matters – poorly fitted guards can create more problems than they solve
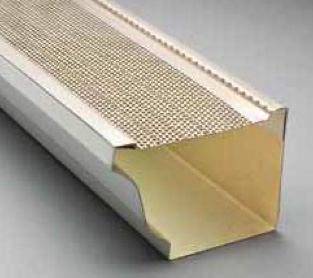
Guard quality varies widely, and micro-mesh styles tend to outperform basic screens or foam inserts in heavily wooded areas. If you’re going with the Rapid Rain Gutter System™, it can be fitted with Andrews Roofing’s patented MicroGuard Leaf Protection, which has over 48 perforations per square inch making it fine enough to block even small debris like pine needles. For other gutter systems, the important thing is just to be sure whatever guard you select is compatible with your gutter profile and installed with care by a professional.
Rain Diverters: A Targeted Tool, Not a Replacement
Rain diverters are metal strips installed on the roof surface to redirect water away from specific problem areas such as doorways, porches, or valleys that tend to funnel runoff water all in one area, creating heavy water streams. They can be a practical and relatively low-cost solution in the right situation. For example, if you have a doorway that has a constant waterfall effect every time it rains, that’s a good place for a diverter.
However, diverters come with their own set of trade-offs. Because they interrupt the natural flow of water across the roof, they can create pockets where debris accumulates. Leaves, twigs, and granules from aging shingles tend to collect along the edge of a diverter, which can eventually trap moisture against the roof surface. If diverters aren’t inspected and cleared regularly, they can contribute to premature shingle wear and even leaks.
So, while rain diverters can solve some problems, they should only be used as a supplement to a larger drainage solution. Use them where they make sense, but don’t rely on them as your primary drainage solution.
Maintenance: Don’t Underestimate This!
Even the best-designed drainage system will fail if not regularly maintained. In Hampton Roads, where tree coverage is dense and storm season runs from spring through late fall, most homes benefit from gutter cleaning at least twice a year. We recommend once in late spring after pollen and seed pods have fallen, and once in late fall after the leaves are down. Doing this before winter weather kicks in can help avoid ice dams and slow leaks that don’t make themselves known until exponential damage has been done.
When cleaning gutters, it’s also a good time to inspect for signs of wear: rust spots, separated seams, loose or bent hangers, and downspouts that have pulled away from the fascia. Check that all downspout extensions are intact and properly directing water away from the foundation. After major storms, a quick visual check is always worth the few minutes it takes. A clog that forms after a heavy rain event can cause overflow damage in the very next storm if it goes unaddressed.
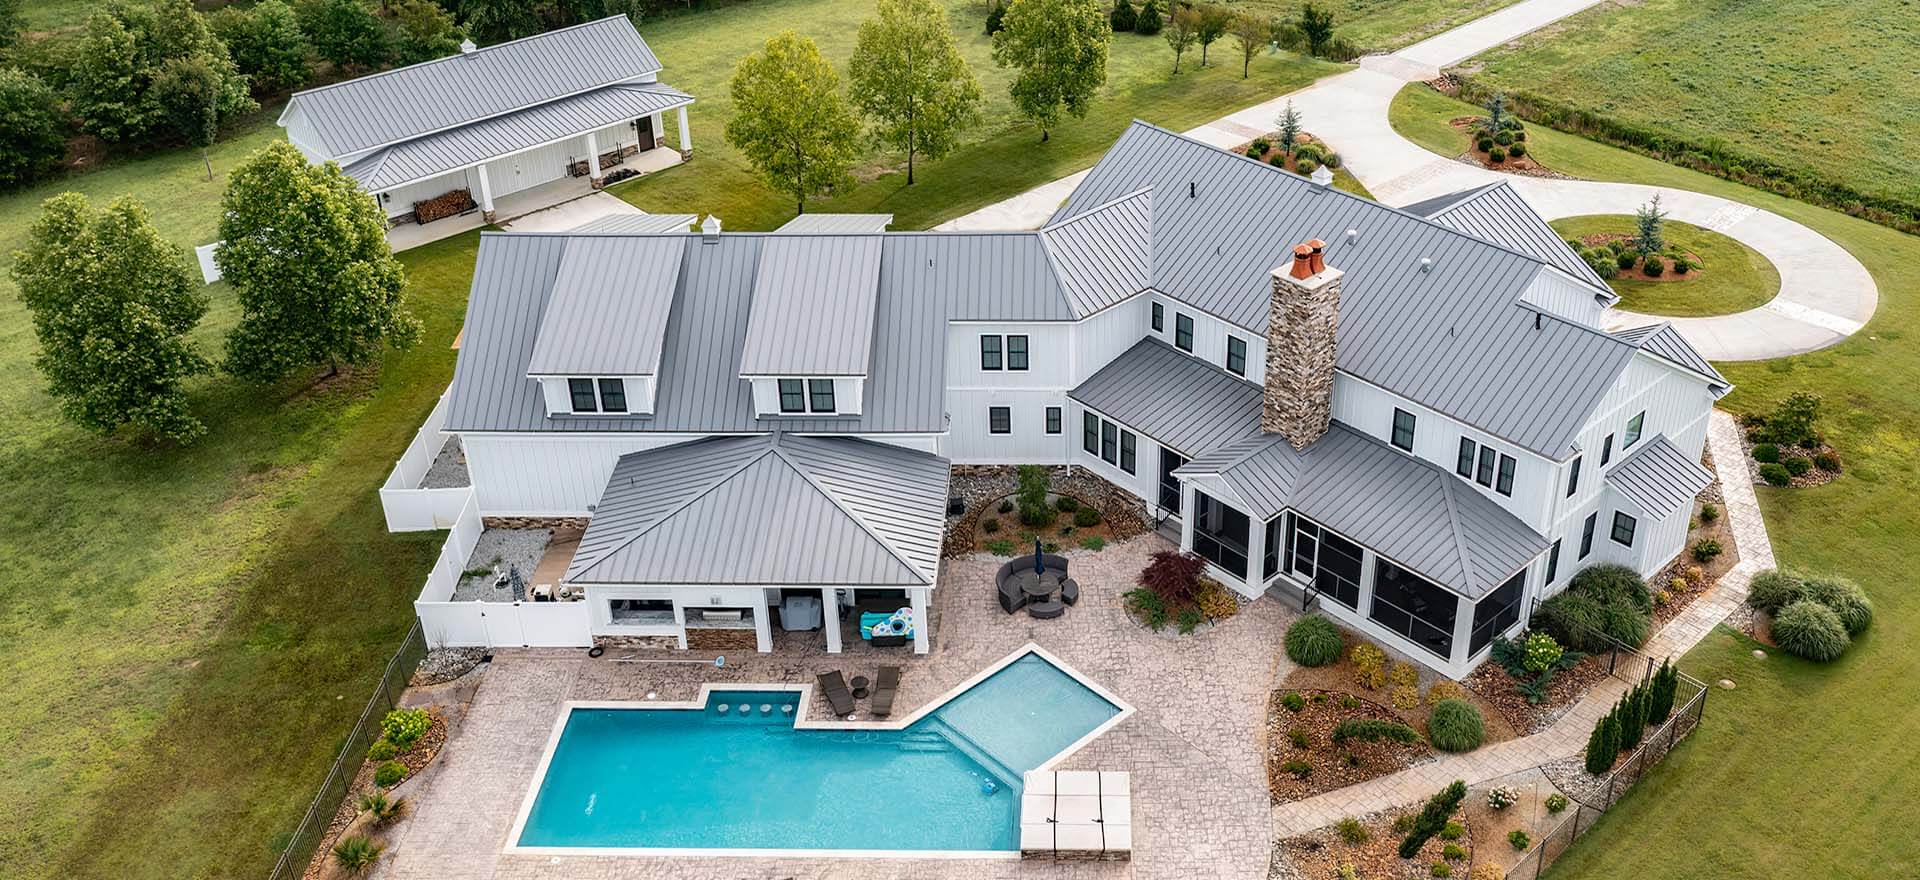
The Right System for Your Home
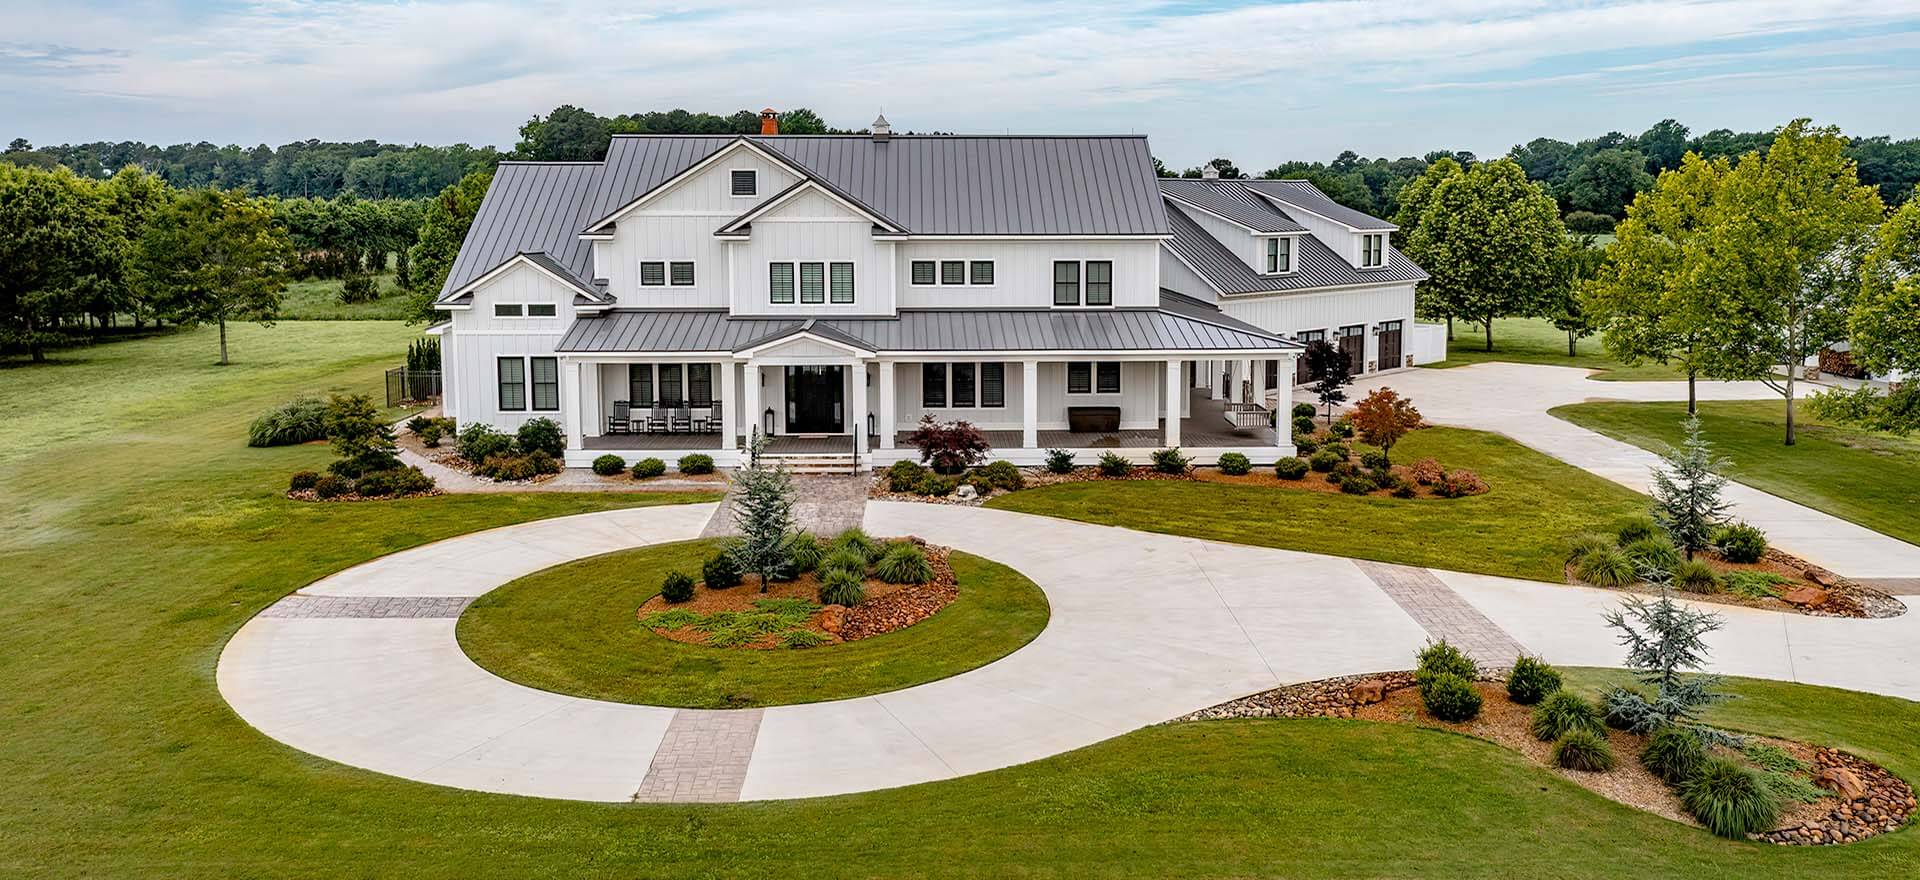
Roof drainage isn’t one-size-fits-all. The right setup depends on your home’s size and roof pitch, the tree coverage on your property, your yard’s grading, and how much maintenance you’re realistically going to do. A home tucked into a wooded lot in Chesapeake has different needs than a townhouse in a newer Virginia Beach development near the beach.
If you’re not sure whether your current drainage system is up to the task of this year’s hurricane season, Andrews Roofing can take a look. We’ll assess your gutter sizing, downspout placement, and overall drainage strategy and let you know if there are any vulnerabilities worth addressing before the next big storm rolls through. A small investment in drainage today can prevent a much larger repair bill down the road. Contact us today for an evaluation.